The Grid Pane
The Grid Pane displays the details of the contacts and provides various other functionalities through the Menu Bar on the top.
The Top Menu Bar
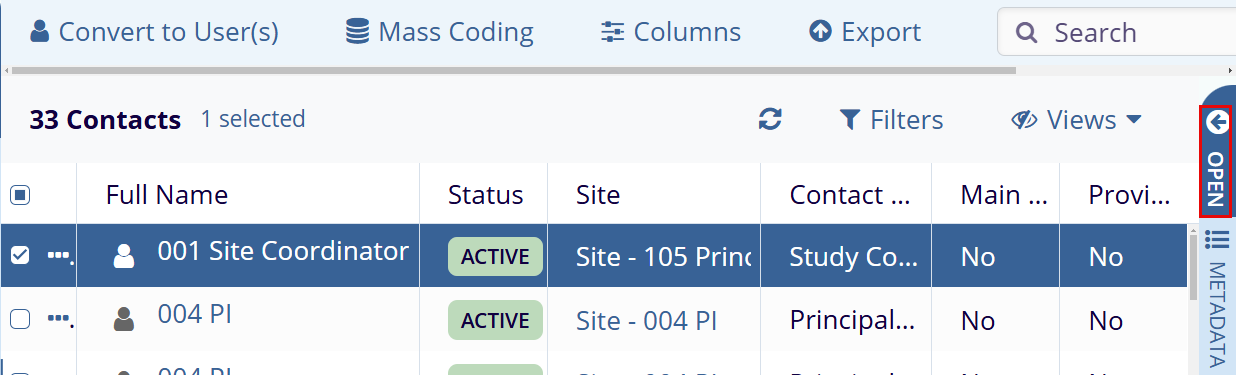
The Menu bar on the top displays buttons for various functionalities. Refer to the screenshot below.

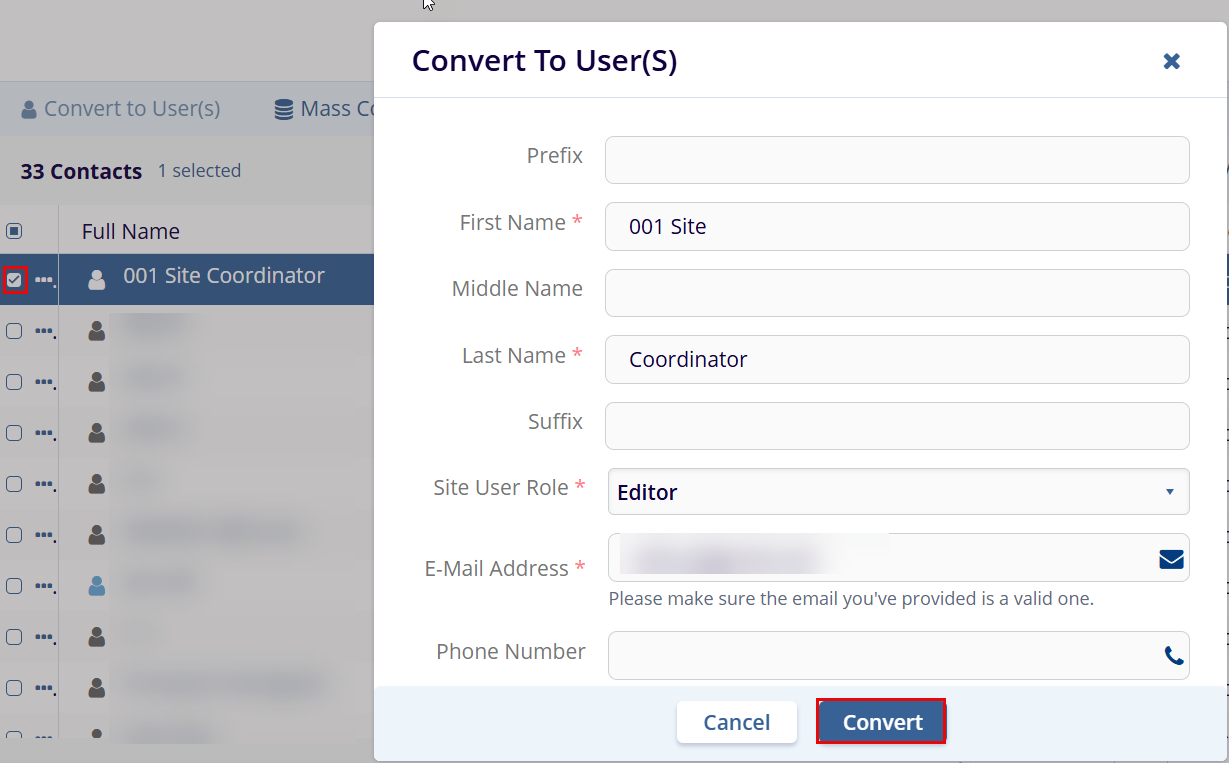
Convert to User(s)
You can choose to assign selected contacts the roles of Editors or Readers in a site by clicking the Convert to user(s) button from the top menu bar. Refer to the screenshot below.
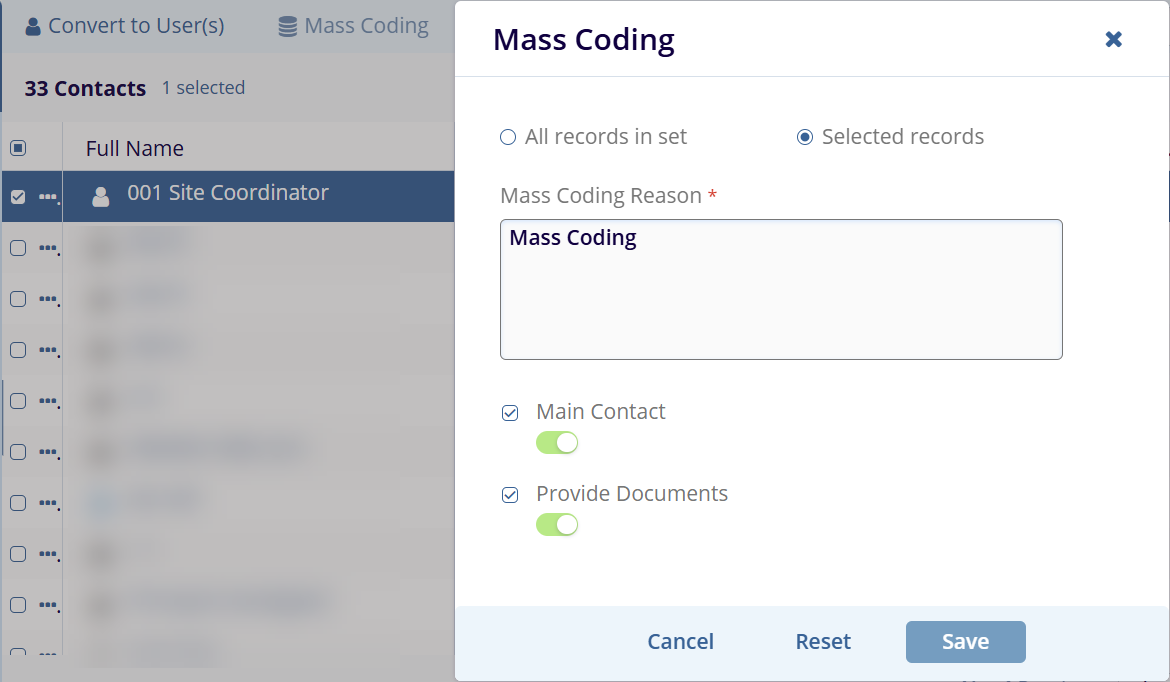
Mass Coding
- Click the Mass Coding option from the top menu bar to enable you to set all contacts in the grid pane or only select contacts in the grid pane as Main Contact at one go for all the sites in the study start-up. Select the appropriate radio button for the same.
- Select the required checkbox(s) and click the Save button displayed at the bottom of the popup window to commit the changes. Refer to the screenshot below:
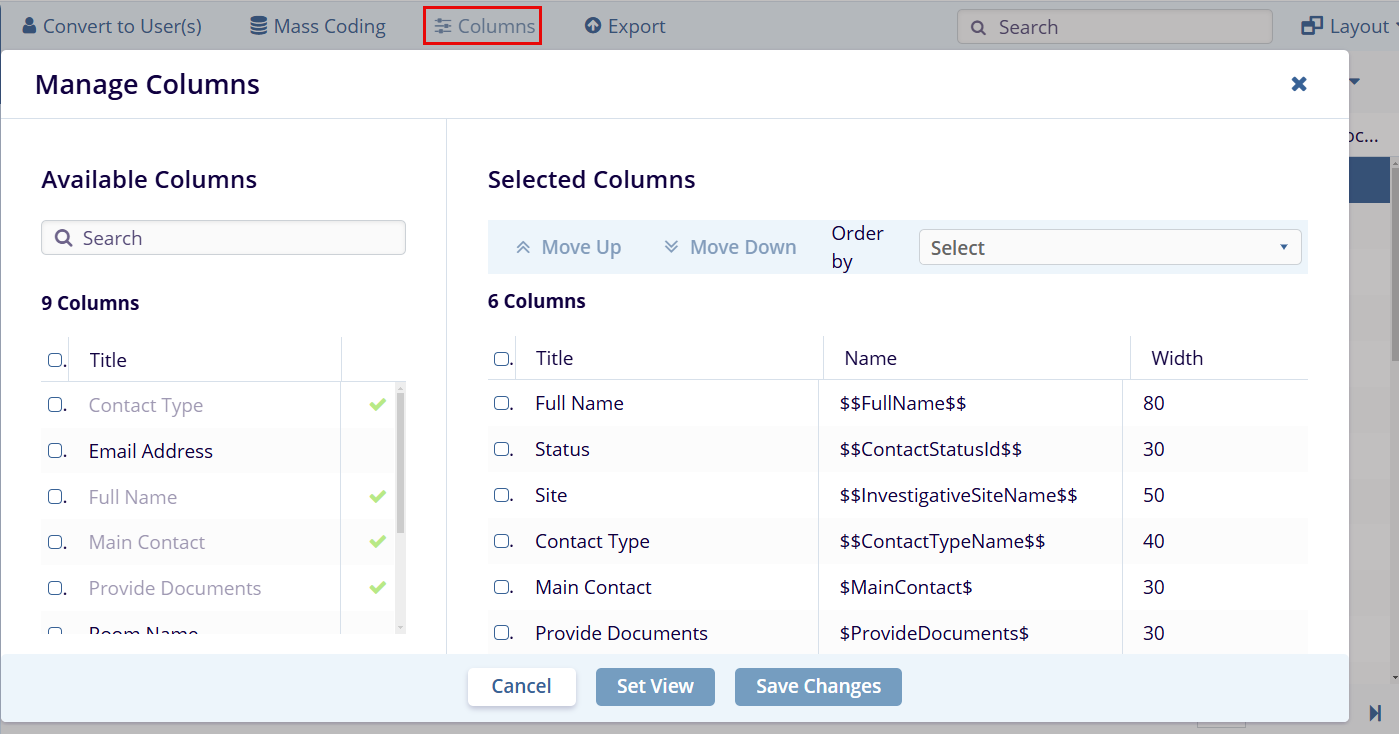
Columns
This option helps the user to select the required columns to be displayed in the grid pane of the Documents section.
- Click the Columns option displayed in the top menu bar.
- This opens the Manage Columns popup window.
- Click the Plus icon of the required columns from the left pane.
- The selected columns are reflected in the right pane.
- Click the Set
View or Save
Changes option displayed at the bottom of the popup
window.
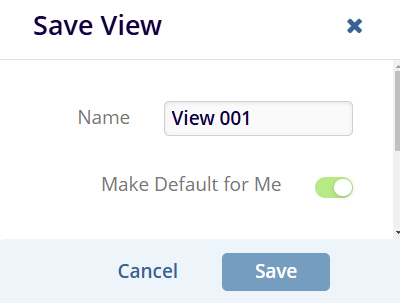
- The Save View popup window is displayed.
- Enter a name in the Name field.
- (Optional) Select the required toggle buttons.
- Click the Save button displayed at the bottom of the popup window.
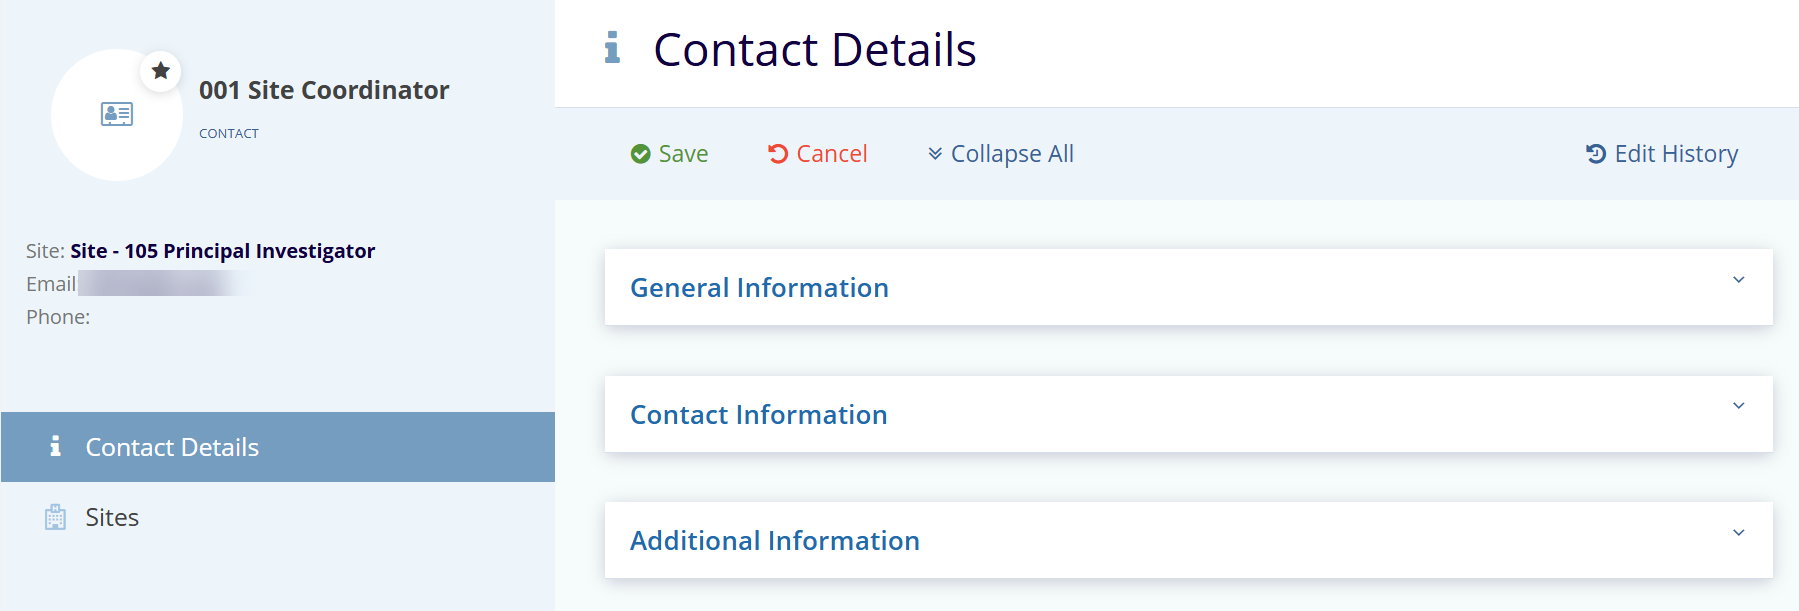
Metadata Panel
The user can make required changes to an existing contact from the metadata panel.
- Select a checkbox of a document to edit.
- Click the vertical Open button
displayed on the right side of the screen.
- The metadata panel displays the contact details.
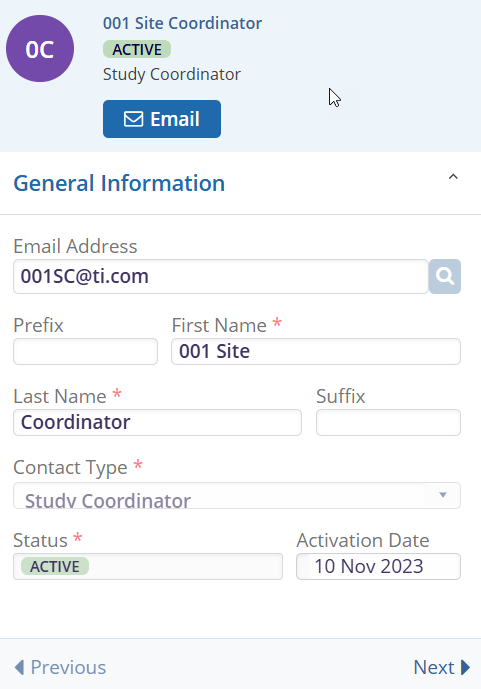
- Double-click on the contact and make the required changes on the Contact Details screen.
- Click the Save button to save the changes.