
Quality Control Query Resolution by Reviewer for Query Responses without Attachments
Once the responder replies to the query email, the reviewer can view the responded message in the room in By Sender view under the In Progress folder.
The reviewer needs to do the following to resolve the query:
- From the In Progress folder, click the document and select the Query Panel from the right of the page.
- At the bottom of the Query panel, two buttons are visible – Respond to
Query and Resolve Query. Refer to the screenshot below:
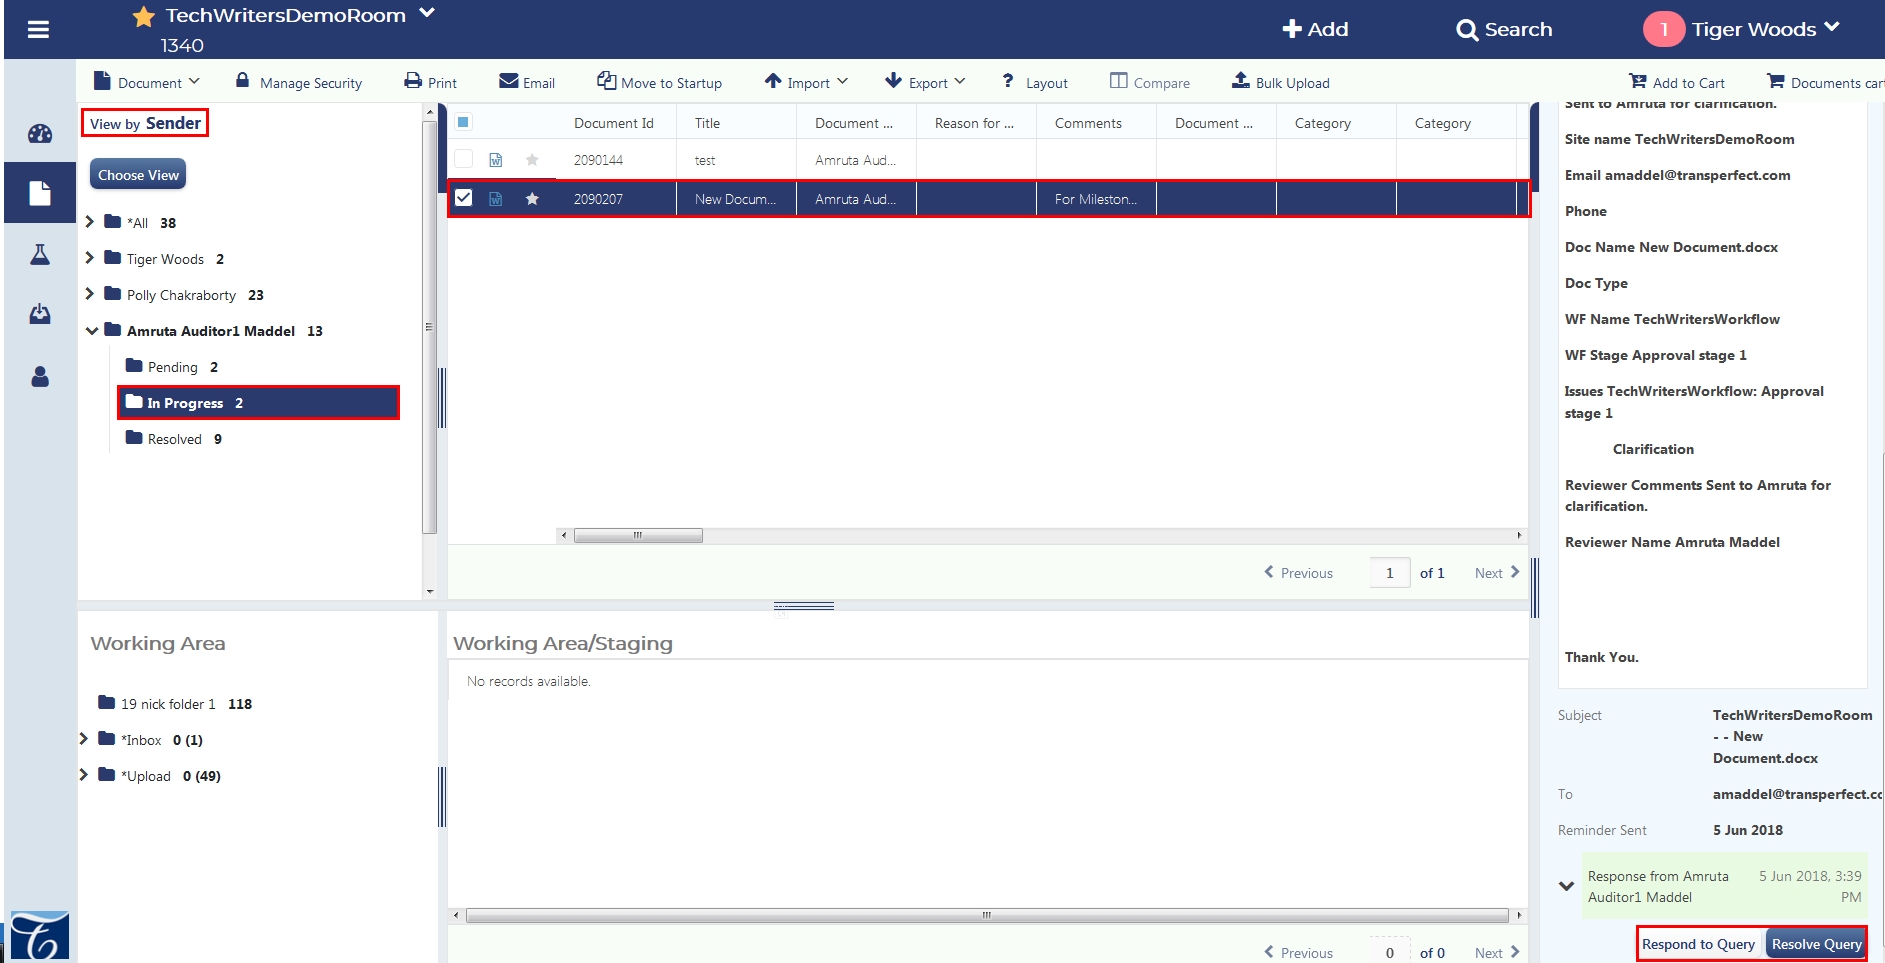
- Click the Resolve Query button.
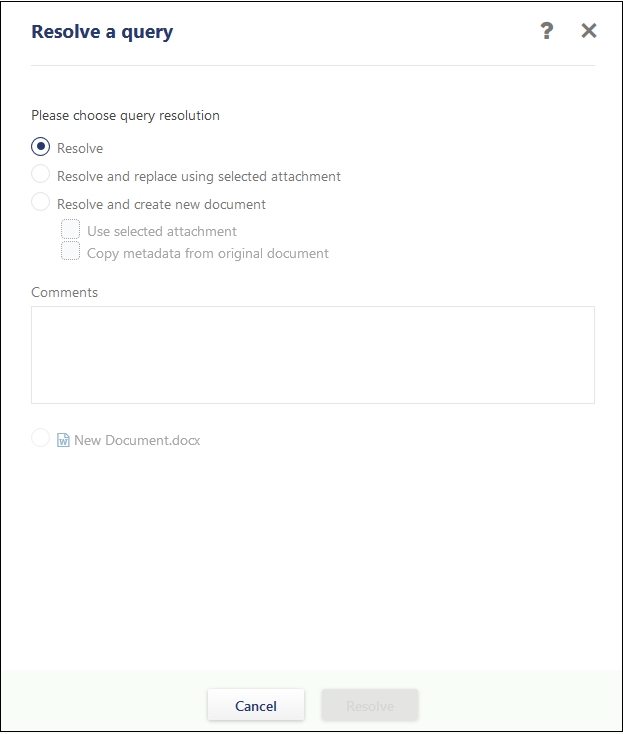
- On clicking the Resolve Query button from the Query panel, the
Query window opens to allow the reviewer to resolve the query. The
reviewer will see the following window to resolve queries without attachments:
 Note:
Note:- On clicking the Return back to Pending button, the document returns back and is available for review again. It will then need to re-start the query process from the beginning. This can be used, for example, if the responder is Out of office and an automatic reply is sent from his/her email inbox due to which the document moves to the In Progress folder.
- The reviewer can also click the Resolve button from the Query window in Pending folder to mark a query as resolved without any additional actions or waiting for the responder to respond to the query email. This can be used if the reviewer decides that a response is not required or the documents will be received in some other way. For example, if a query was created by mistake and the reviewer decides to cancel the query thereby resolving it.
- On clicking the Resolve button from the Query window, the query moves to the Resolved folder under the By Sender view for the reviewer and in the Resolved folder under the By Recipient view of the responder. The user can see the Query History in the History Panel to the right of the page.
- On clicking the Resolve and create new document button and entering the Comments, the reviewer clicks the Next button to arrive at the Document Profile form. Refer to the screenshot below: (add image)
- Enter the document metadata details and provide the attachment.
- Click the Resolve and create document button.
- The document moves to the folder for documents available for review and is also available in the Responded folder in the By Sender/By Recipient view.