
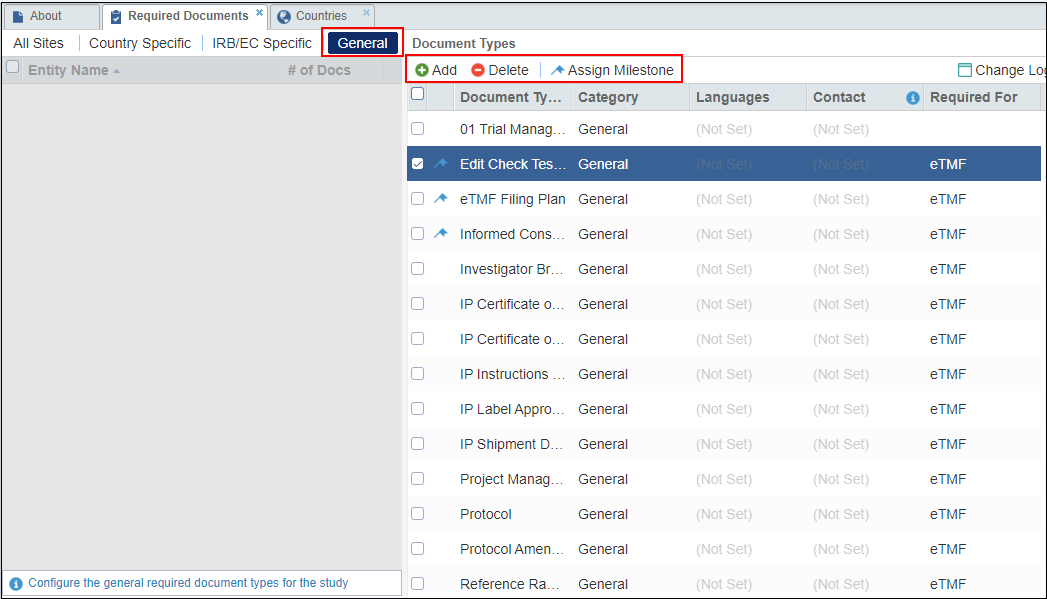
General View
Adding General Required Documents
- Click the General tab from the left panel of the Required Documents panel.
- The Document Types window on the right becomes active.
- Click Add from the top ribbon bar of the Document Types window on the right.
- The Required Documents window opens for you to add General Required Documents.
- Select the particular General category for which you need to add a
required document. Refer to the screenshot below:
- Click the category folder from which you need to select the Required Document that you want to add to the list for all sites. The list of the available document types in that category folder appears.
- Click the checkbox next to one or all of the documents to be required.
- Click Save & Close if you have documents from only one category folder to add, or click Save if you need to add more required documents.
Deleting Required Documents
To delete a Required Document Type for All Sites:
- Click the General tab from the left panel of the Required Documents Panel.
- From the list of Required Document Types in the grid, tick the checkboxes to select the Required Document Types to be deleted.
- Click Delete from the top ribbon bar of the Document Types window on the right. Refer to the screenshot below:
- You will receive a warning asking you to confirm the action.
- Click Yes to confirm and delete.
- The Required Document Types are removed from the list.