Required Documents
- From the left section of the panel, you can select the category (Sites, Country, IRB/EC, and General) of the Required Documents. By default, the All Sites category is chosen.
- From the right section of the panel, named as Document Types, you can:
- Add
 or Delete
  a Required Document to the category
selected from the left pane.
a Required Document to the category
selected from the left pane. - Assign Milestones
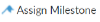 to selected Required Document Types.
 - View the activity log of the selected category from the Change
Log

- Once a Required Document is added, it appears in the Document Types
Grid.
Each View Option in the Required Documents is discussed as below:
All Sites
Country-Specific
IRB/EC Specific
General
- Add
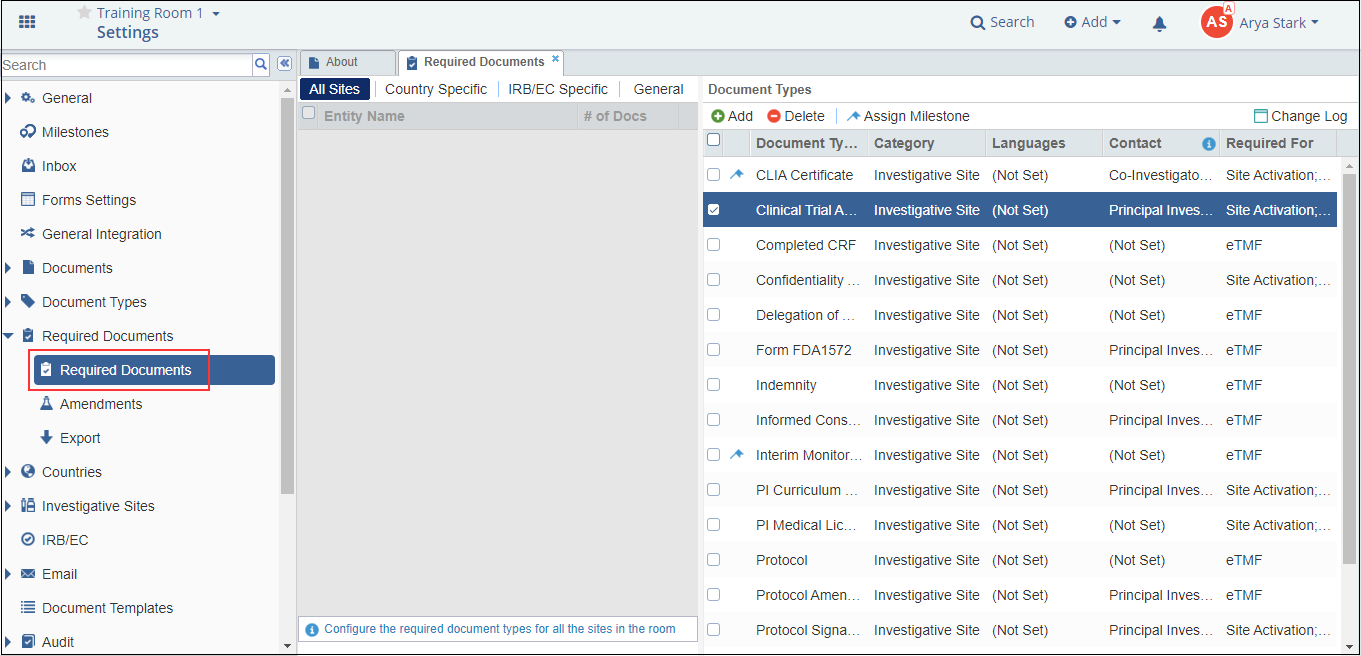
Assigning Milestones to Required Documents
To assign a milestone to a Required Document, follow the steps as below:
- Select the category from the left pane.
- Except for All Sites and General categories, select the Country or IRB/EC from the left pane.
- Select the Required Documents from the right pane.
- Click the Assign Milestone
from the top ribbon bar.
- The Assign Milestone window opens. Choose the milestones from the
dropdown list. Refer to the screenshot below:
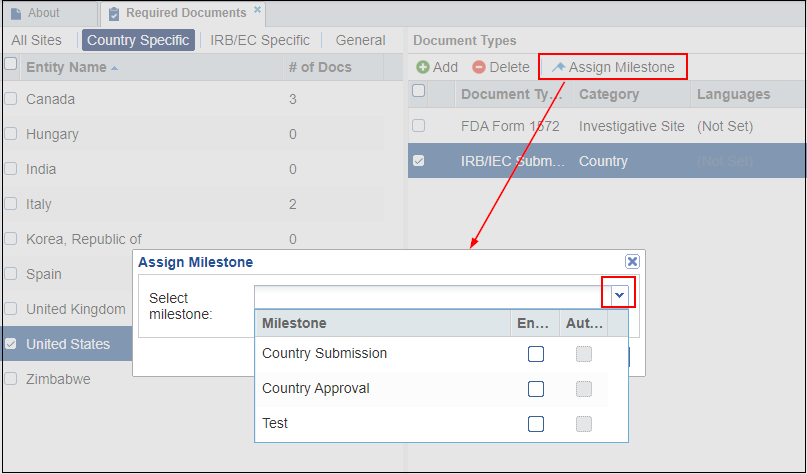
- Choose the milestones from the dropdown list
- Click the Assign Milestone button from the popup window.
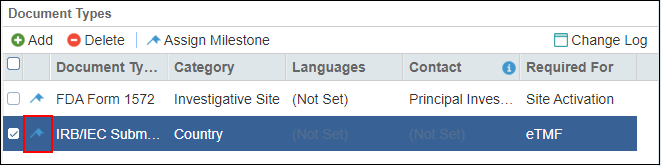
- Notice that the Required Documents to which you assigned milestones are now
flagged with the Milestone icon. Refer to the screenshot below: