General Settings
Individual settings windows are typically available to you as an Administrator under the General Settings tab.
About
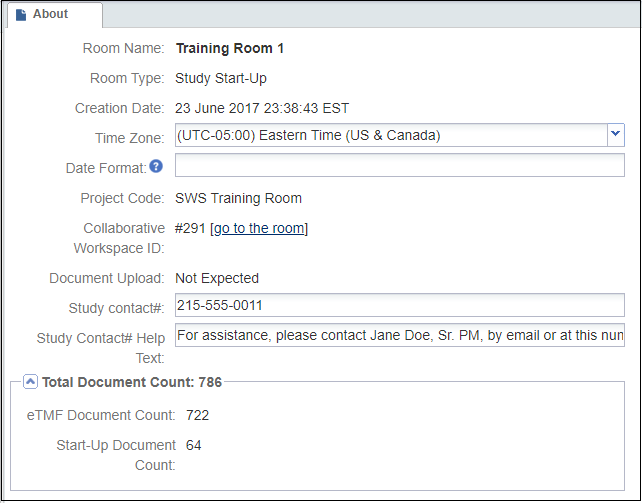 This
window displays the room’s name, room type, and creation date besides other details.
Here you can add a phone number for the Study contact person along with the text of the
message that will pop up on the screen when a user exercises this option. The total page
count and document count for the room are also available here. You can click on the
expand icon to view details. Once desired changes have been made, click Save at
the bottom of the box.
This
window displays the room’s name, room type, and creation date besides other details.
Here you can add a phone number for the Study contact person along with the text of the
message that will pop up on the screen when a user exercises this option. The total page
count and document count for the room are also available here. You can click on the
expand icon to view details. Once desired changes have been made, click Save at
the bottom of the box.About This Room
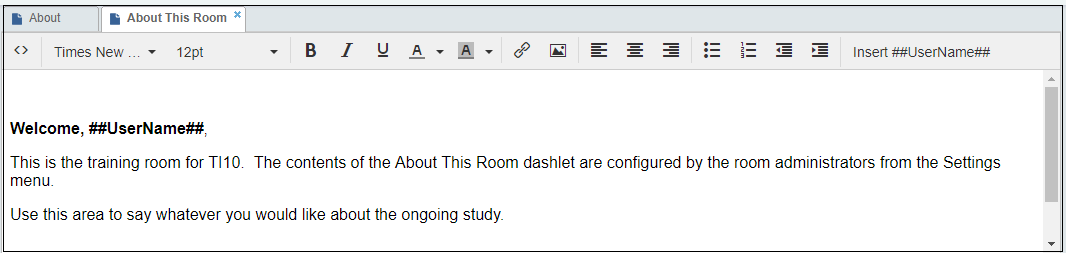
You can view the Change Log History by using the Change Log button that is directly available on the bottom right corner of the About this Room dashlet.
Instructions
Instructions under general settings will be filled out by Administrator-level users. By doing so, this portlet will give ‘instructions’ to those users who can perform limited actions on SSU documents (i.e.,they will be given a simplified User Interface). Unless a user is viewing a simplified UI, this instruction portlet will not be visible to general level users.
Dashboard Setup
Dashboard setup can be accessed via modules. Select any module through the Main Navigation. For example, select eTMF. You can see the setup options like this:

To modify the availability of dashlets to users, click on Dashlets button.
- This Dashlet setup screen appears:
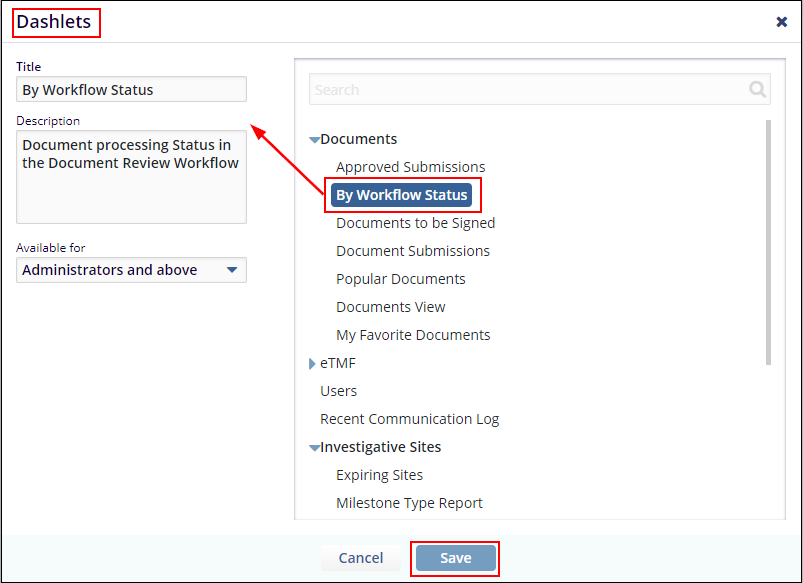
- Expand the options by clicking on arrow
 and select the desired one. Once the option is
selected, details such as Title, Description, and Available
For, get displayed on the left pane.
and select the desired one. Once the option is
selected, details such as Title, Description, and Available
For, get displayed on the left pane. - You can edit the Title and keep it as per the choice.
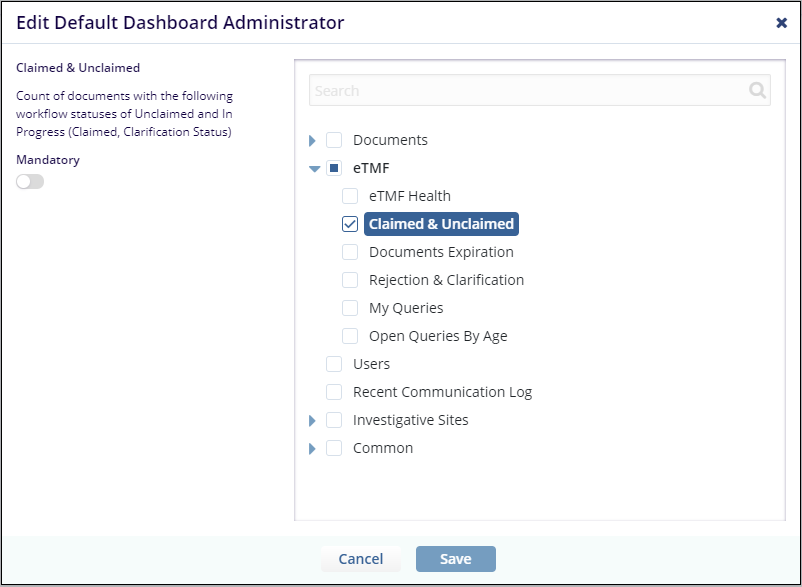
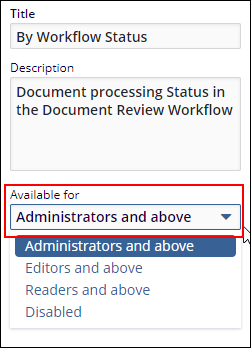
- In the Available For field, you can select the option for whom the
dashlet will be set. See below image:
- Click Save upon the changes is made.
- Setting and Renaming a Dashlet
- Default Dashboard Setup
The above activities are discussed in detail in the sections below.
Renaming a dashlet
To Rename a Dashlet follow the steps as below:
- Select the dashlet and click in the Title field to edit its name.
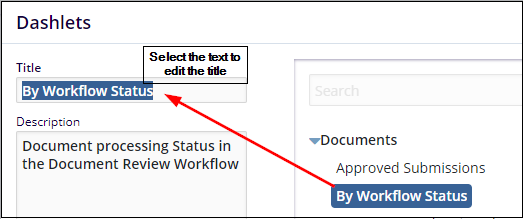
- Click Save.
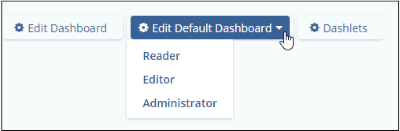
Default Dashboard Setup
You can set the default dashboard for the minimum level role by clicking the button Edit Default Dashboard. The Default Dashboard Setup window opens. Make the appropriate choices as required and click Save.