
Creating an Audit Profile - Adding Auditors
After adding all the general information, you are landed on the Auditors step.
Refer to the screenshot below:
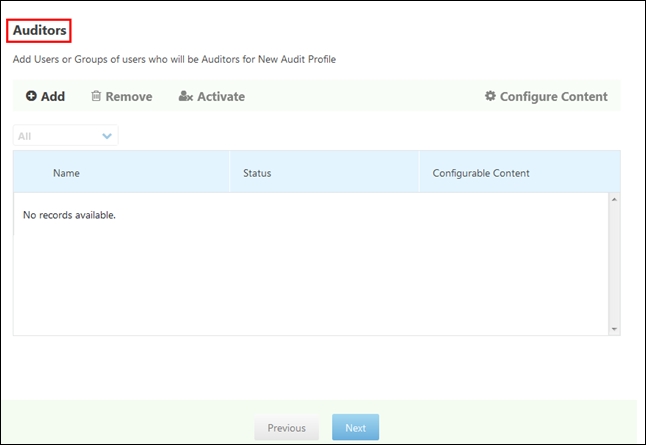
Follow the steps below to add auditors to the current audit profile:
- Click +Add
 from the menu bar of the window. The
Add Users and Groups window appears.
from the menu bar of the window. The
Add Users and Groups window appears. - The window provides two tabs – Users and Groups to add users and/or
groups as required. Refer to the screenshot below:
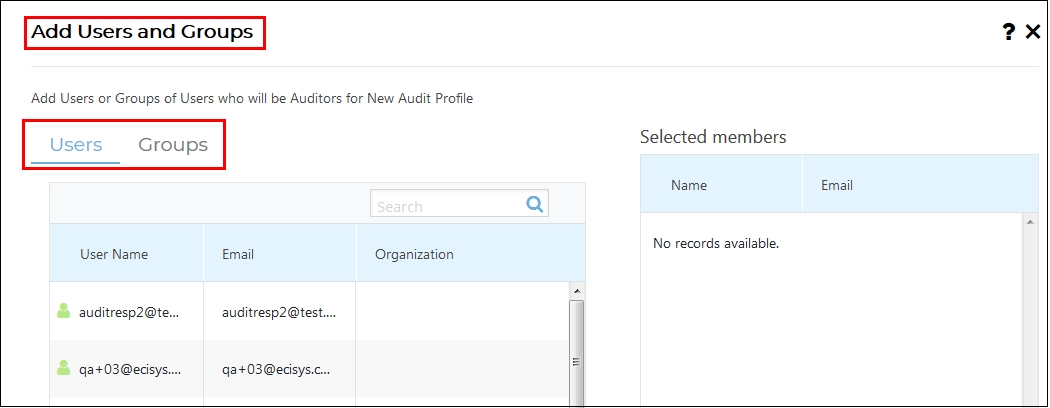
- Hover the mouse over the required user/group and click + icon
 that appears to the right of the selected
user/group or double click the user/group to add them to the auditor
list. The names of the users/groups will populate the Selected
Members panel to add to the audit.
that appears to the right of the selected
user/group or double click the user/group to add them to the auditor
list. The names of the users/groups will populate the Selected
Members panel to add to the audit. - You can also search for the user/group by entering the name in the
Search box above the grid and then click the Magnifying icon
 to the right. Refer to the screenshot
below:
to the right. Refer to the screenshot
below: 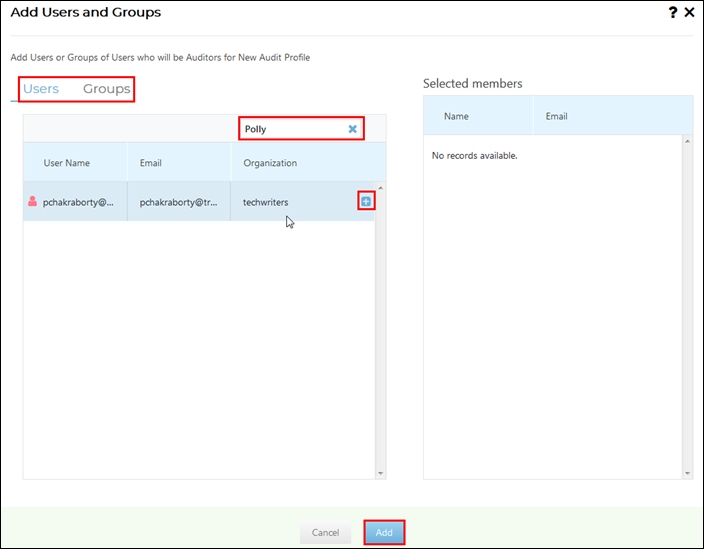
- Click Add from the bottom of the Add Users and Groups window.
- You are taken back to the Auditors window and the selected members appear in the grid.
- Hover the mouse over the required user/group and click + icon
- Click Next at the bottom of the Auditors window.
- You can also choose specific documents types, investigative sites, and folders to be available to the auditors for audit by clicking Configure Content in the Auditors section.
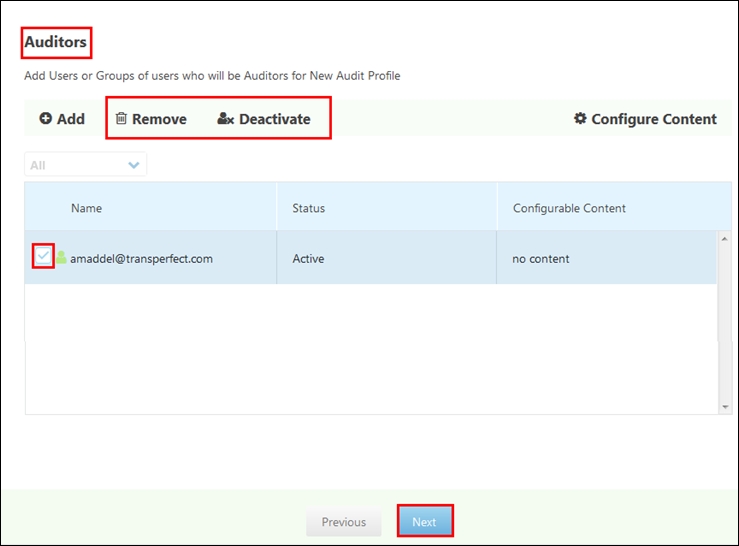
- During the process of creating an audit profile you may choose to remove,
activate/deactivate auditors:
- Tick the checkboxes next to the auditor names and click Remove
 to
remove them from the list.
to
remove them from the list. - Tick the checkboxes next to the auditor names and click
Deactivate
 to deactivate auditors. Alternatively, select a deactivated auditor
and click the Activate
to deactivate auditors. Alternatively, select a deactivated auditor
and click the Activate
 button to activate an auditor. Refer to the screenshot below:
- Tick the checkboxes next to the auditor names and click Remove
- Click Next at the bottom of the Auditors window.
Once you have made the selections, click Next. You are taken to the next step of the Audit Profile to add Audit Managers.