
Resolving Queries Raised during Audit
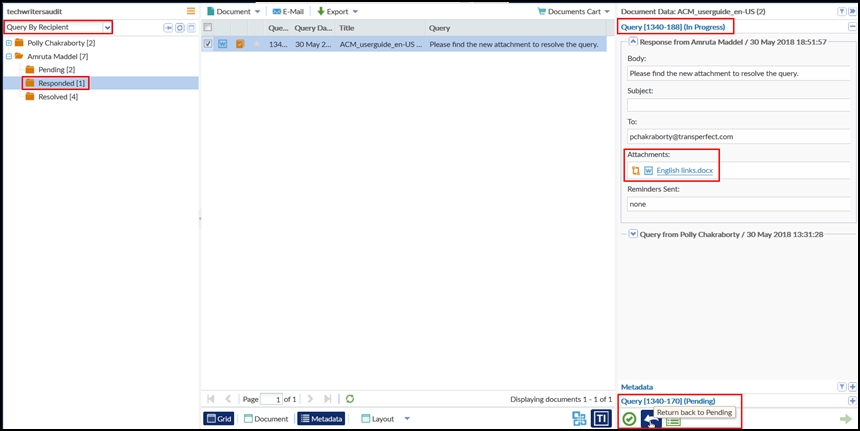
The user who receives the email responds back with an attachment to resolve the query. You can view the responded query in the Responded folder of Query By Recipient view under the selected audit. Refer to the screenshot below:
To resolve queries raised during audit:
- Navigate to the Query By Recipient view.
- Select a query from the grid on the right.
- Click the Metadata button from the bottom of the grid. This will open the Document Data Panel.
- Click the Resolve button from the bottom of the Document Data Panel. If the resolution is not acceptable, you can click the Return to Pendingbutton from the bottom of the metadata panel. The document returns back to the Pending folder and can be resent for query again.
- This will open the Query window to comment and resolve the query.
- Enter the comments and click the Resolve button or Resolve and
replace attachment button on the window as per your selection. Refer to the
screenshot below:
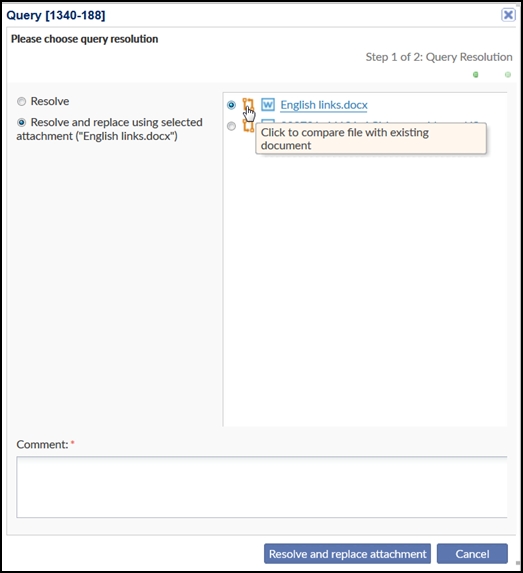
- Resolve: This option will just mark the query as resolved without any additional actions.
- Resolve and replace using selected attachment: This option allows you
to replace the existing attachment with the one which is received as a part
of the query response. Select the document from the right pane and click the
Compare icon to compare the attachment received with the document
in audit.
If you are satisfied with the response received, enter your comments and click Resolve and replace attachment button.
- This will resolve the query and the query will now move automatically to the Resolved folder under the name of the auditor.
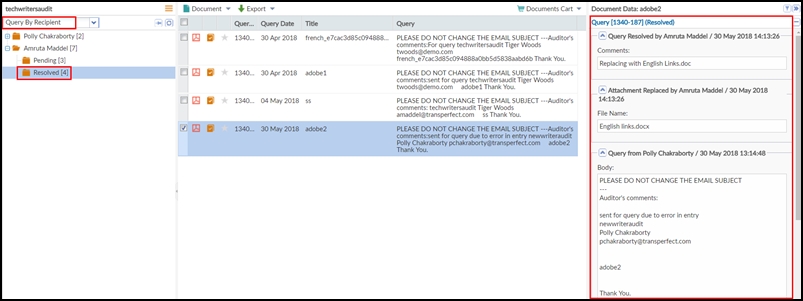
- Click the Resolved folder from the Index Pane to view the resolved
query. Refer to the screenshot below:
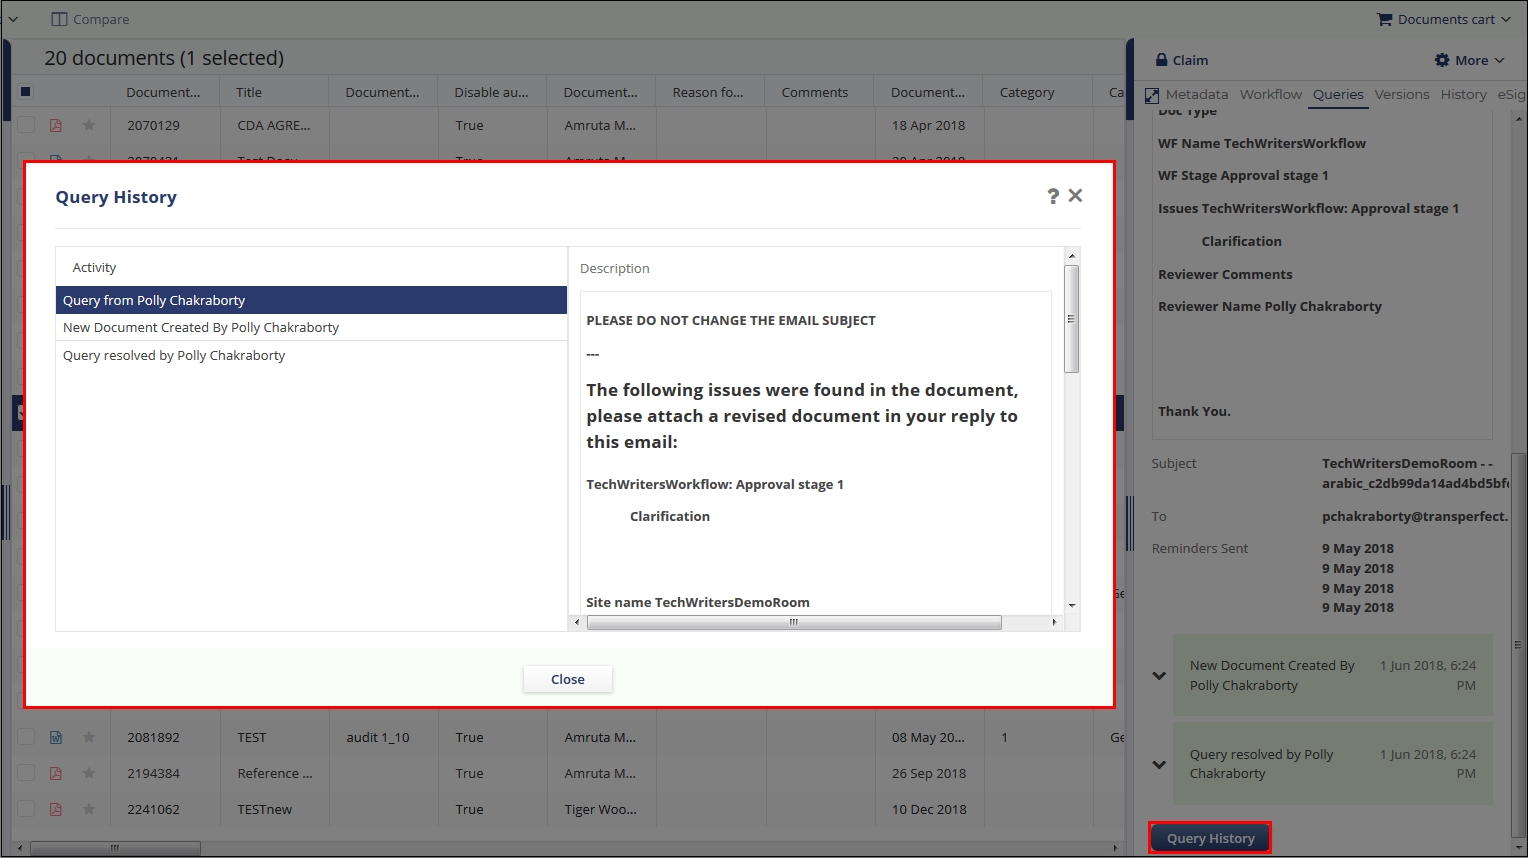
- You can click the Query History icon at the bottom of the Document Data Pane
for a query to view the Query History in a window that pops up.
 Note: To know how to view a deleted queried document, proceed to section Deleted Queried Documents.