
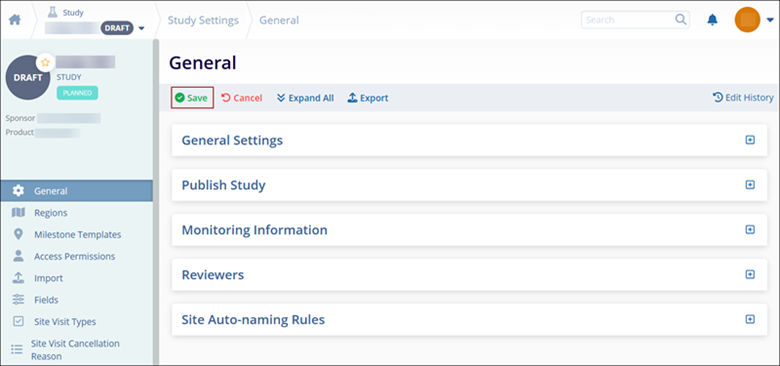
General
To configure the General Settings, follow the steps below:
-
Navigate to the Study Settings screen and click on the General link from the left-hand navigation pane.
-
Click on the Edit button from the top menu bar.
-
Expand the following sections and configure the necessary settings.
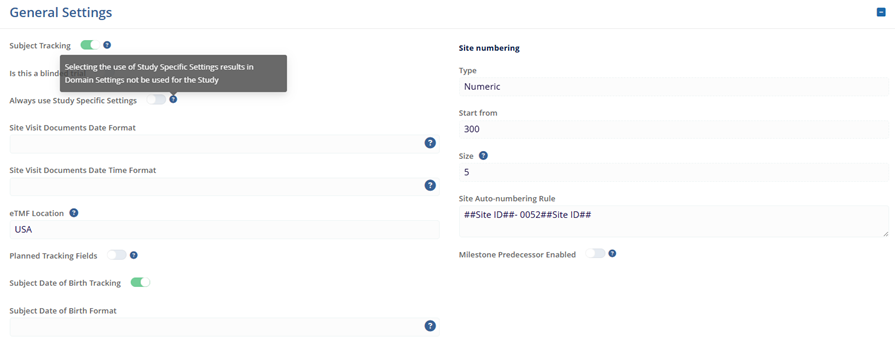
General Settings:
On the General Settings screen, configure the following settings.
- Subject Tracking
- Is this a blinded trial
- Always use Study Specific Settings
- Site Visit Documents Date Format
- Site Visit Documents Date Time Format
- eTMF Location
- Planned Tracking Fields
- Subject Date of Birth Tracking
- Subject Date of Birth Format
- Site numbering
- Type
- Start from
- Size
- Site Auto-numbering Rule
Note: Hover over the tooltip of each field to view its meaning and instructions related to that specific field.
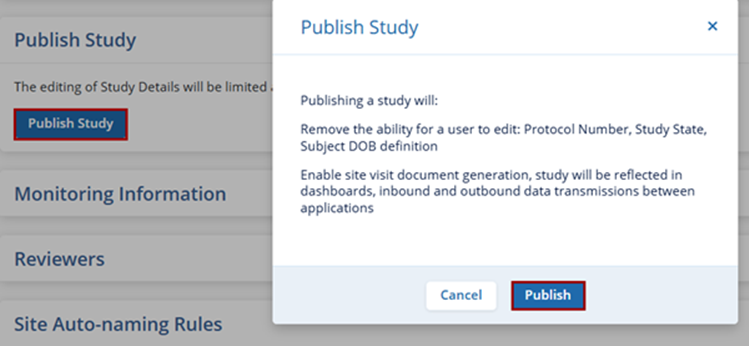
Publish Study:
The Publish Study section allows users to publish a study in a draft state. To publish a study, click on the Publish Study button. On the confirmation popup click on the Publish button. Once the study is published, users cannot edit study information like Protocol Number, Study State, and Subject DOB definition.
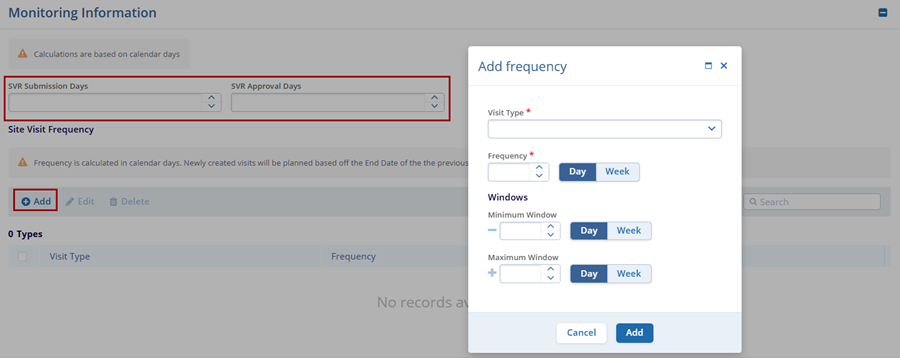
Monitoring Information:
Configure the following settings within the Monitoring Information section.
- SVR (Site Visit Report) Submission Dates
- SVR (Site Visit Report) Approval Days
- Site Visit Frequency
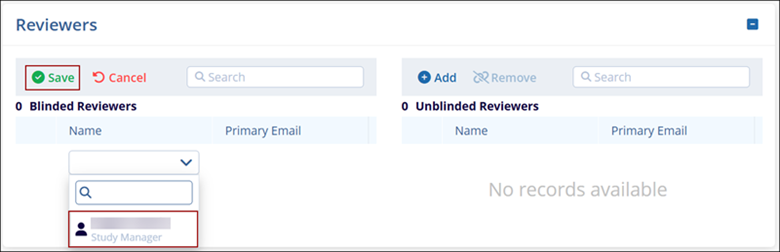
Reviewers:
Reviewers are members of the study team responsible for reviewing, approving, or rejecting site visit reports. They must be assigned before any reports can be generated for the study. Within the Reviewers section, users can designate both blinded and unblinded reviewers. A single user may serve as a blinded or unblinded reviewer, but the user must be separately added in the Blinded and Unblinded Reviewers section.
- Click on the +Add button for each type of reviewer.
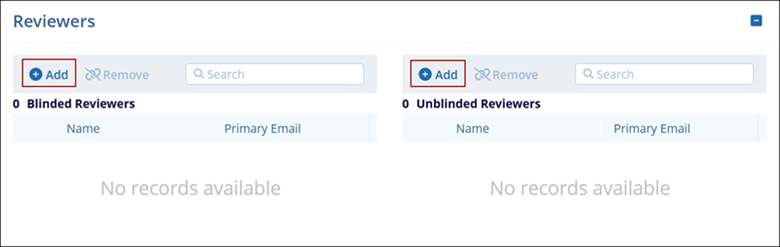
- Select the reviewers from the available list and click on the Save button.
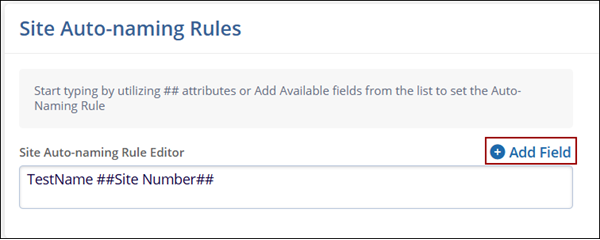
Site Auto Naming Rules:
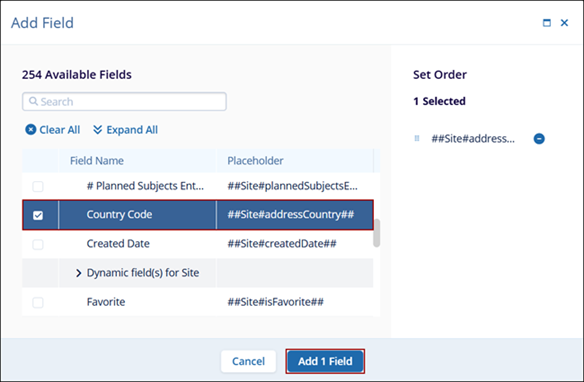
- Click on the +Add Field button within the Site Auto Naming Rules section
- Within the Add Field window, select a field and click on the Add Field button
Once all the changes are made, click on the Save button at the top-left of the window.
 .
.