Regions
Within the Regions settings, users can add, edit, delete, and export regions created at the study level.
Add Study Regions
To add regions within a study, follow the steps below.
- Navigate to the Study Settings by following the steps detailed in the Study Settings section.
- From the left-hand navigation pane, click on the Regions.
- On the Regions screen, click on the +Add button.
- On the Create Regions enter the following details.
- Region Name*
- Countries*
- State/Province
- Cities
- Click on the Create button.
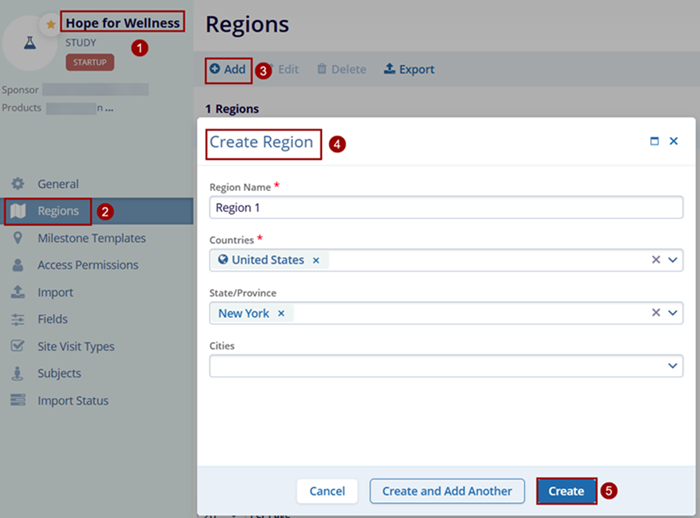
Note: To enter the State/Province and Cities values, select only a single country for the region definition.
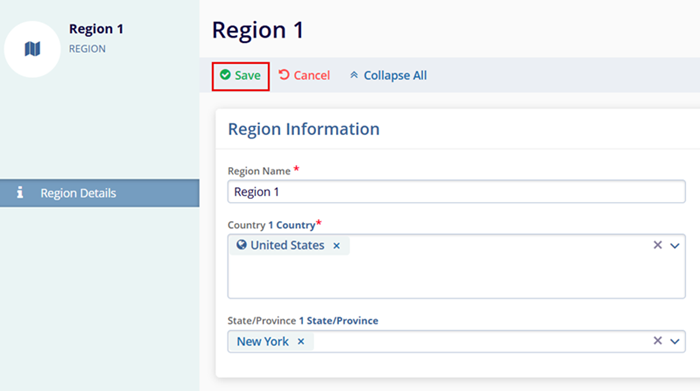
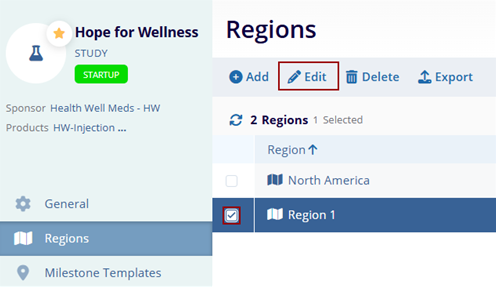
Editing Study Regions
To edit regions associated with a study, follow the steps below.
- Select the region by clicking on the checkbox.
- Click on the Edit button.
- On the Region Details screen, make the required edits and click on the Save button.