
Viewing or Editing Site Profiles
After selecting the required view as shown above, the user can edit a site profile as follows:
- Select a site from the grid.
- Click Edit in the top menu ribbon to open Site Profile of the site selected.
The site profile opens, or Double-click a site from the grid to open its Site
Profile window.
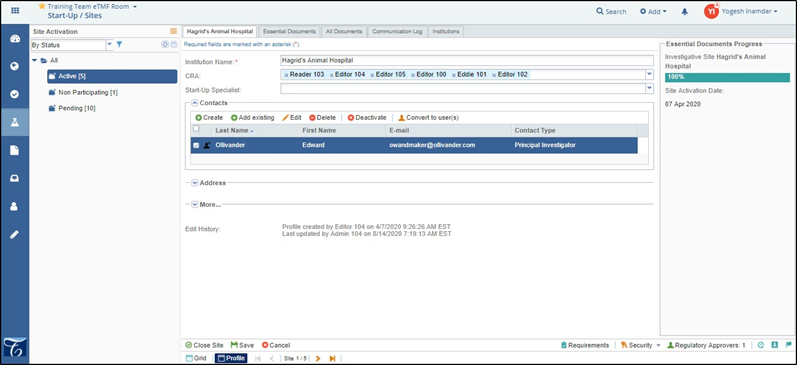
- The Essential Documents Progress panel on the right side shows the Progress percentage bar to track the site completeness as the essential/required documents collected and reviewed.
- Below the Essential Documents Progress Bar, the Regulatory Pack Sent Date, IRB/EC Submission Date, and Site Activation Date are automatically displayed as per their entries in the database.
- Based on the IRB/EC Submission Date, Next Meeting Frequency and Date, Approval
cycle, and Buffer time, the system will predict the Projected IRB/EC Approval Date
and display it on the right panel of the site profile window. If, for some reason
the IRB/EC did not approve the documents, the system will automatically project the
Next Approval Time. Refer to the screenshot below.
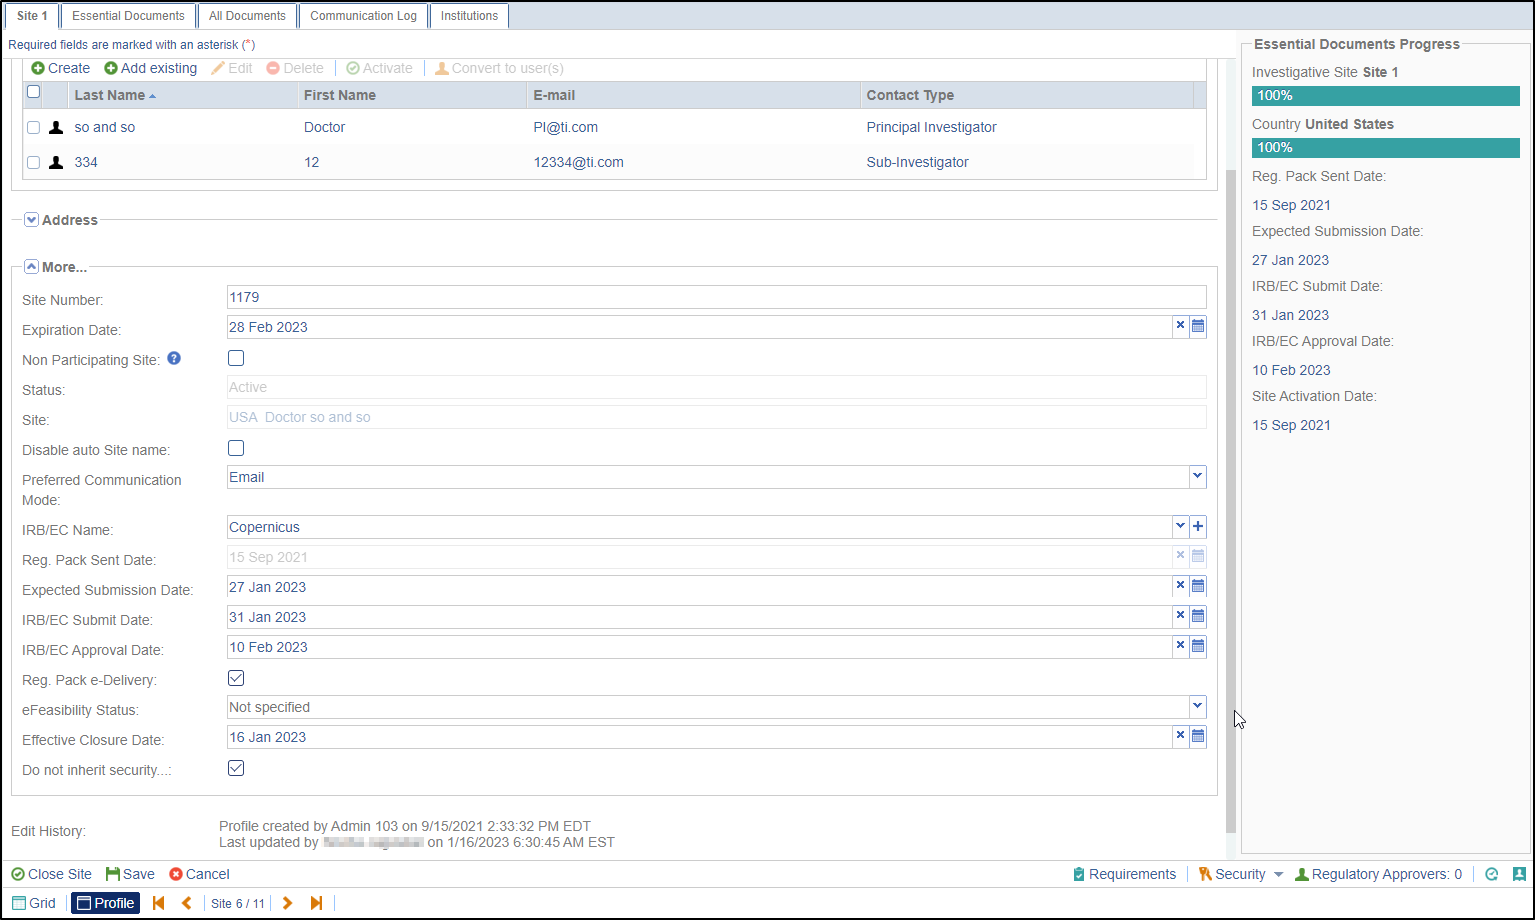
Besides these, based on the Projected IRB/EC Approval Date and Start-Up Processing time (specified in the Study Start-Up Settings), the system will also display the Projected Site Activation Date on the right panel. Refer to the screenshot below:
But if there are no IRB/EC Submit Date and Expected Submission Date specified in the site profile, the system will not display them in the right panel. Instead it will project the Next Pre-Submission Deadline Date based on the meeting schedule specified in the IRB/EC profile. To display the Projected IRB/EC Approval Date, the system will use the Next Pre-Submission Deadline Date. The process to project the Projected Site Activation Date remains the same as mentioned above. The projected Next Pre-Submission Deadline Dates can be viewed by clicking the last calendar icon next to the Expected Submission Date field.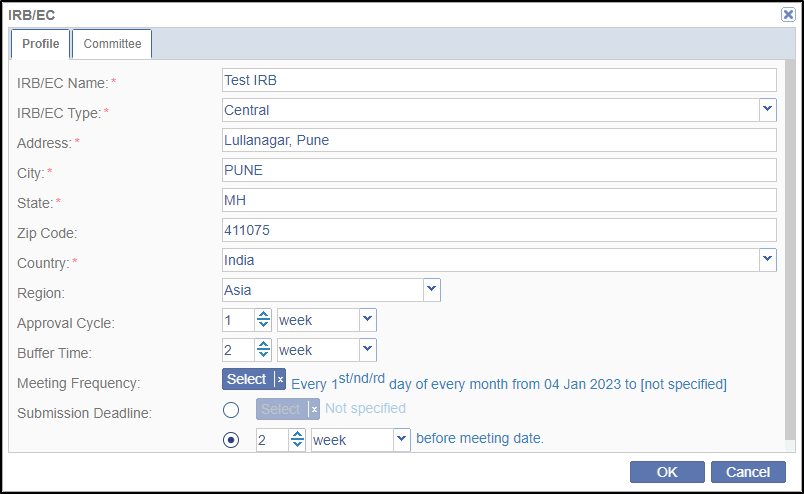
- Make necessary additions or changes to the data fields in the profile. Refer to Creating Sites and Adding Contacts in case of clarifications.
- Click Save at the bottom of the panel.