
The Quality Review Status
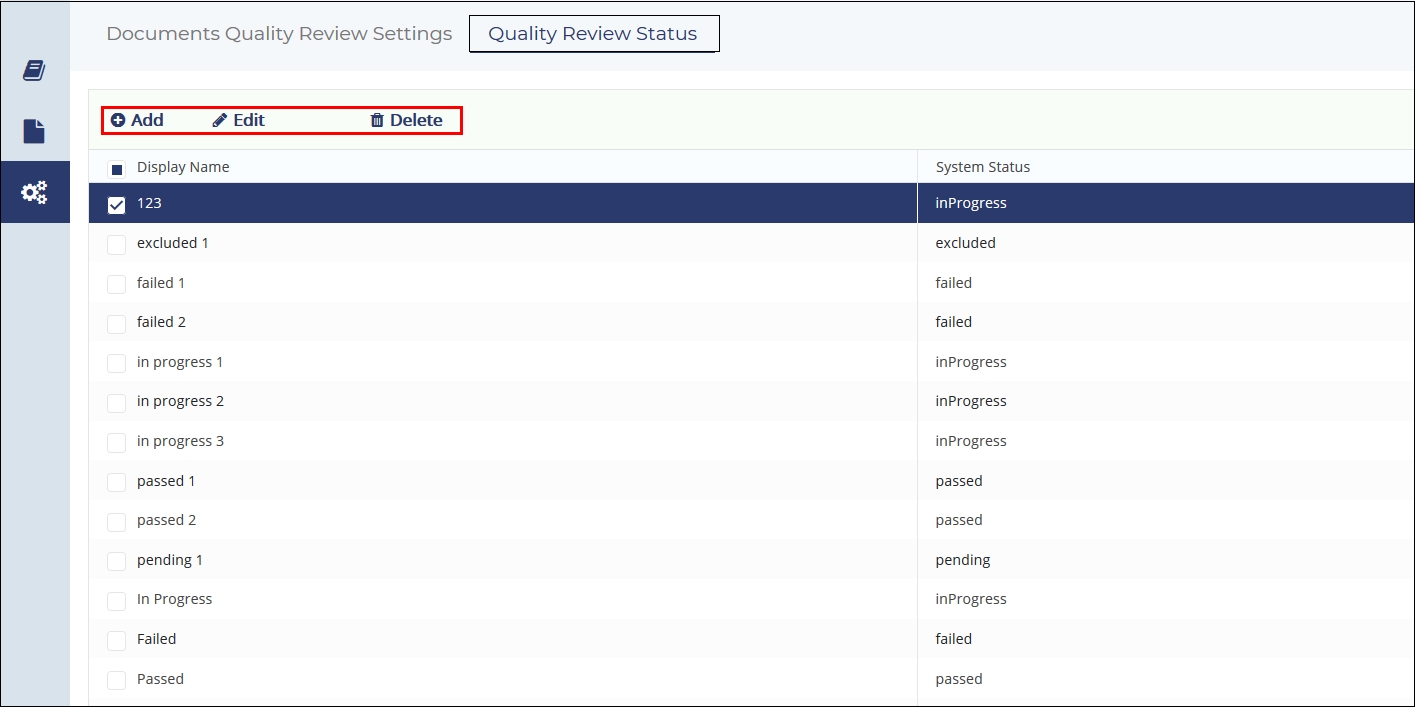
Every system audit status has to be added into the Audit Status window before an audit can be built. The system statuses are Passed, Failed, Pending, In Progress, and Excluded. Each of these statuses must be mapped to a Display Name.
From here you can do the following:
- Adding Statuses
- Editing Statuses
- Removing Statuses Each of these are discussed in the sections below:
Adding Audit Status
Follow the steps below to add audit statuses:
- Click the Add
 from the Quality Review Status tab.
 - The field under the Display Name and System Status fields gets activated.
- Type in the Display Name.
- Click the drop down arrow from the System Status field and select the established System Status term to associate with the newly added Display Name.
- Click the Add in the Command columns to save the changes. The status gets
saved to the list. Refer to the screenshot below:
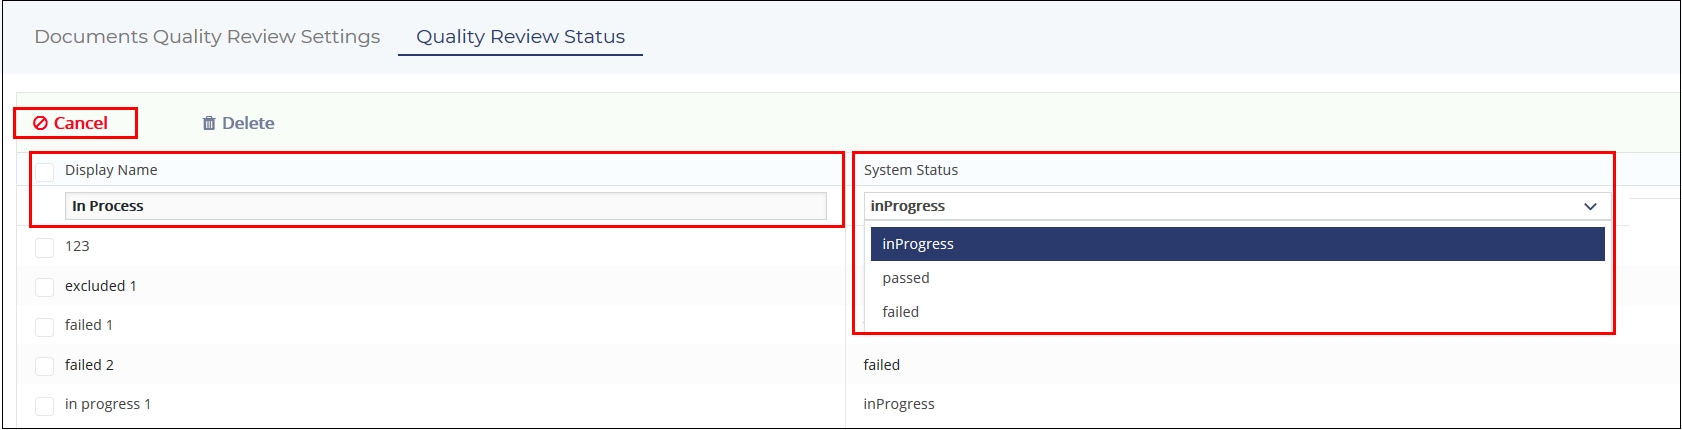
- Notice that when you click the Add button and the fields get activated, the Add button changes to Cancel.
Editing Audit Status
Follow the steps below to edit audit statuses:
- Select the audit status from list in the Quality Review Statuses window.
- You can edit the audit in the following by:
- Selecting the audit from the list and then the Edit
 button from the top ribbon bar OR,
 - Clicking the Edit icon that appears on hovering the mouse over the
audit. Refer to the screenshot below:

- Selecting the audit from the list and then the Edit
- Notice that the Add and Edit buttons changes to Save and
Cancel when the audit is activated for editing. Refer to the screenshot
below:
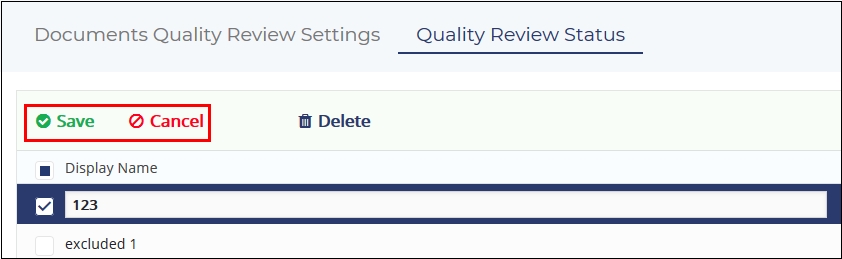
- Make the required changes and click Save.
Removing Audit Status
Follow the steps below to remove audit statuses:
- Select the audit status from the list in the Quality Review Status window.
- Either click the Delete
 from the top ribbon bar or click the Delete
icon that appears on hovering the mouse over the audit.
from the top ribbon bar or click the Delete
icon that appears on hovering the mouse over the audit.