
Grid Filters
For a document grid, you can apply and save filters to make the search for the documents easier.
To apply filters:
- Click the Filter icon above the document grid.
- The Filter options are enabled at the top left corner of the documents grid.
Refer to the screenshot below:

- From the enabled options, you can perform the following:
- Create New Filter
- Add Existing Filter/Manage Filter
Each of these is discussed in the separate sections below:
Creating New Filter
- Click the +
 sign above the documents grid.
 - The Create Filter window opens. The window displays the following:
- A textbox that displays the Title for the filter selected.
- The options for matching the filter records. Refer to the screenshot
below:
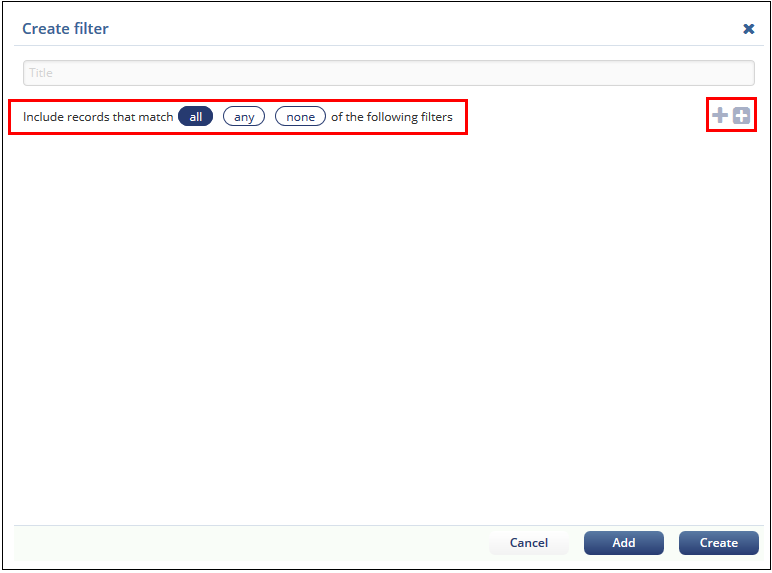
- Notice that there are two + plus signs to the right of the window
which allows you to create a single filter and group of
filters.
Adding Single Filter
- To add a single filter, click the first
+ sign. Refer to the screenshot below:

- A dropdown appears. Click the dropdown and select the fields to which you want to apply filters.
- Select the operator and enter the value for the selected field. Refer to the
screenshot below:
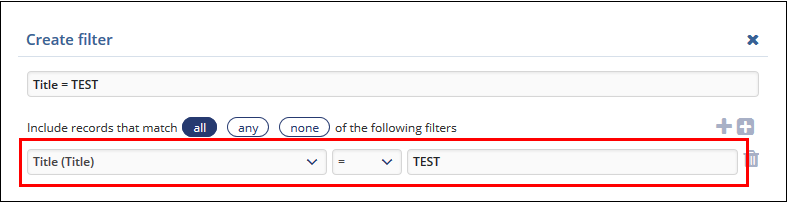
- Click Add if you wish to display the filter in the current view or click Create if you want to save the filter and use it later.
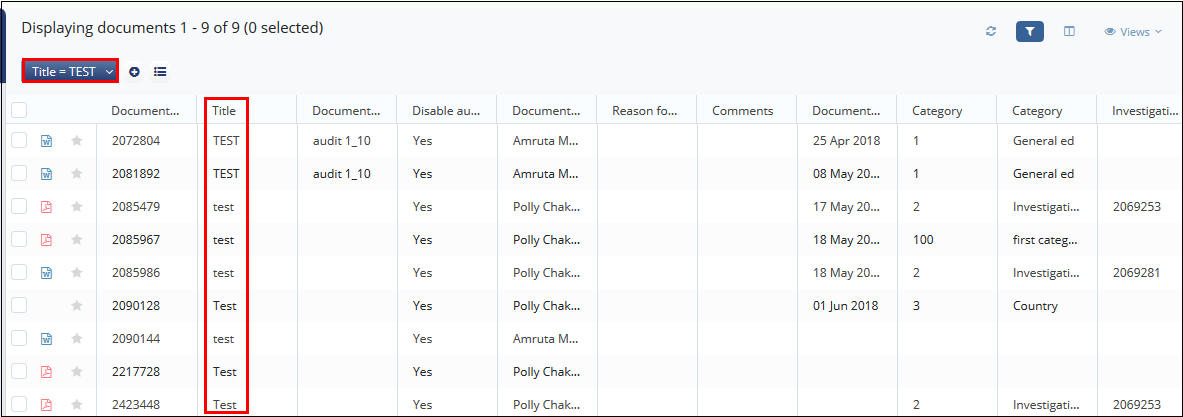
- After creating a filter, when you select the filter and apply it for the
document grid, the search results display accordingly. The screenshot below
shows an example of the filter result applied for the Title = Test.
- Similarly, you can add group filters to apply for the document grid and
search for the results by clicking the second + sign
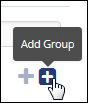 . Proceed
further as discussed above to add group filters.
. Proceed
further as discussed above to add group filters.
Add Existing Filters / Manage Filters
Manage filters allows you to view and share the created filters by you and by others. When you click the Manage Filters icon above the documents grid, the Filters window
opens. Refer to the screenshot below:
icon above the documents grid, the Filters window
opens. Refer to the screenshot below: 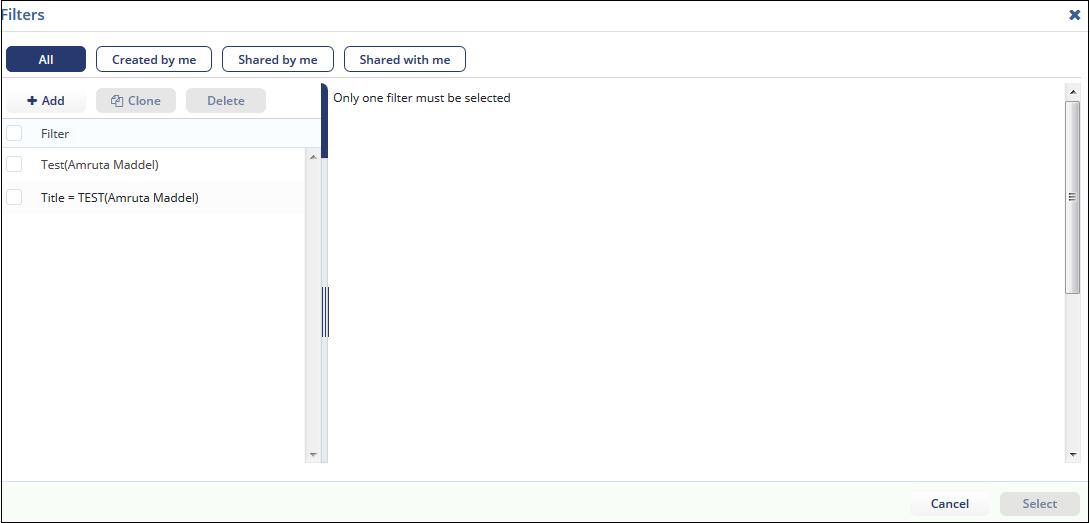
You can perform the
following activities on the filters in Manage Filers window:
- Share Filters
- Clone Filters
- Delete Filters
Sharing Filters
To share a filter:
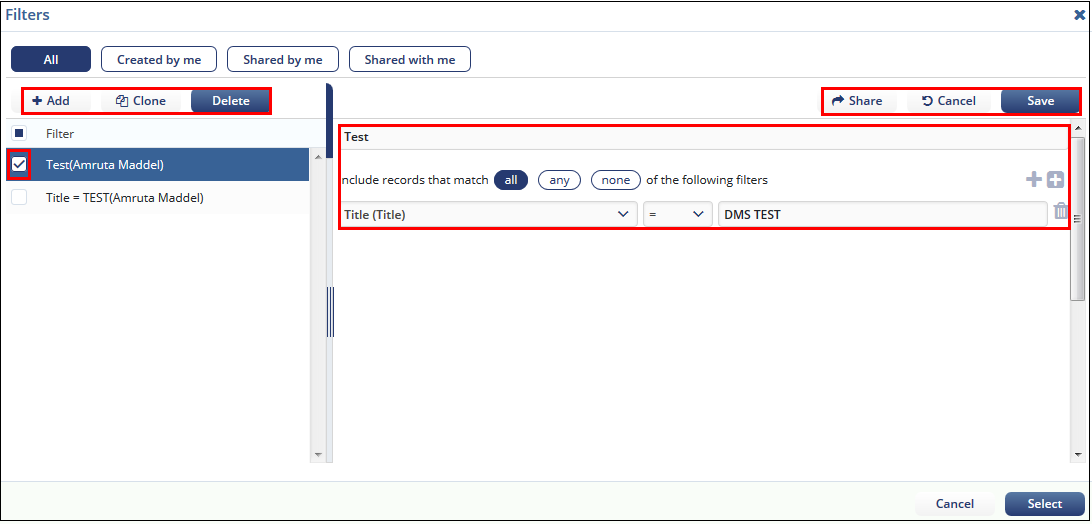
- Select the filters from the list of filters in the Filter window.
- The selected filter appears in the right pane of the window and the
buttons Clone, Delete, Share, Cancel, and
Save are enabled. Refer to the screenshot below:
- After selecting a filter, click the Share button. The Share window opens.
- Select the Users / Groups to whom you want to share the filter and click Share.
Deleting Filters
Similarly, select the filter from the list of filters and click Delete to delete the filter.
Viewing Shared Filters
You can view the filters that are created by you, shared by you and that are shared with you by clicking the required tabs in the Filters window.