
Documents Grid Views
While in a specific folder, the user may want to filter the columns and view only the columns that are required. This can be done by customizing the grid view. You can create your own view and set that particular view as a default view so that you can view only that information which is required in the grid.
Besides, you can also apply filters to the grid and save the view for future use.
- Navigate to the eTMF/ Documents view.
- Select the required folder and update the columns as needed. The documents grid gets updated as required.
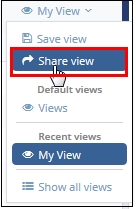
- Click the Views dropdown at the top right corner of the grid.
- The list of options appears. Refer to the screenshot below:
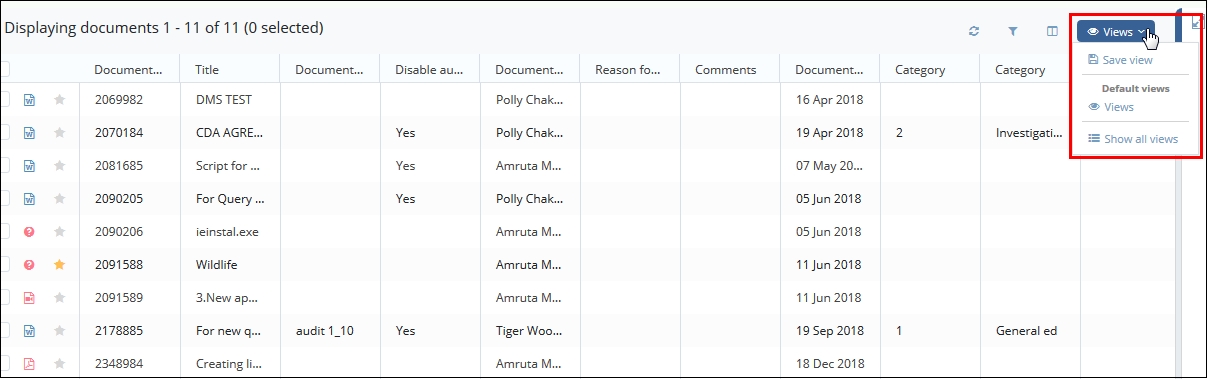
- You can perform the following actions:
- Save View
- Set Default View
- Show all views
- Share the Views
Save Views
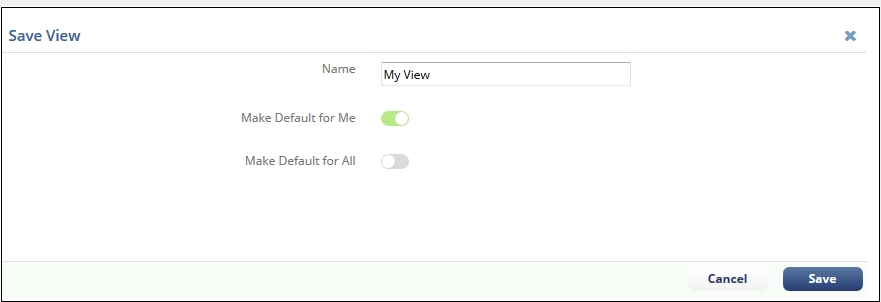
Enter the name of the view and enable the options by clicking the toggling buttons below for the default view. You can either make the view default for you or for all the users who accesses the folder to which the view has been set. Click Save to save the changes.

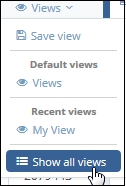
Show All views
If the room has multiple views created in a room, and if they are visible to all users, you can view all the views in a room.
- Click Show All Views from the from the Views dropdown. Refer to the
screenshot below:
- The Views window opens which contains the following tabs:
- All: This displays the list of all the views in a room.
- Created by me: This displays the list of all views that are created by you.
- Shared by me: This displays the list of all the views that are shared by you to the other users.
- Shared with me: This displays the list of all the views that are shared with you by the other users.
- Default Views: This displays the list of all default views.
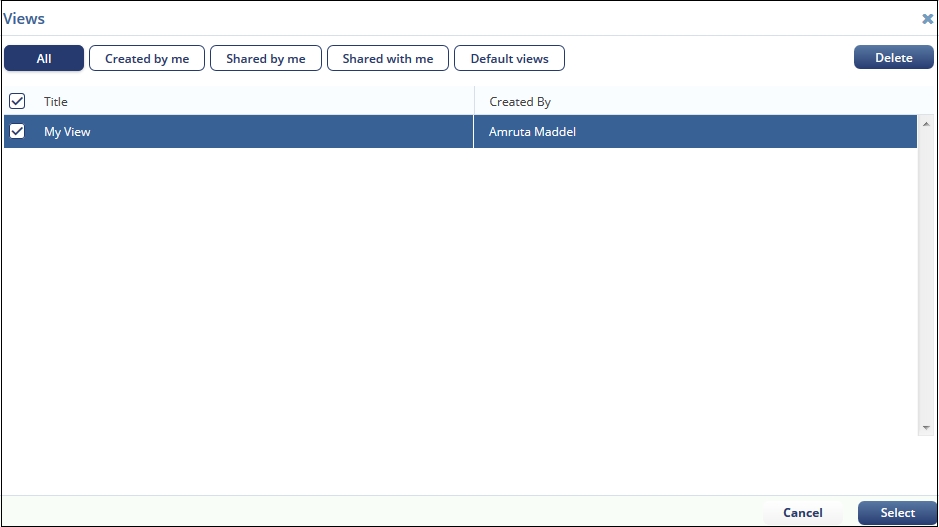
To delete a view, select a view from the list and click the Delete button at the top right corner of the window.
Share Views
- Select a view you want to share from the list of views. The selected name of the view displays.
- Now, click the Views dropdown. The list of options appears.
- Click Share View. Refer to the screenshot below:
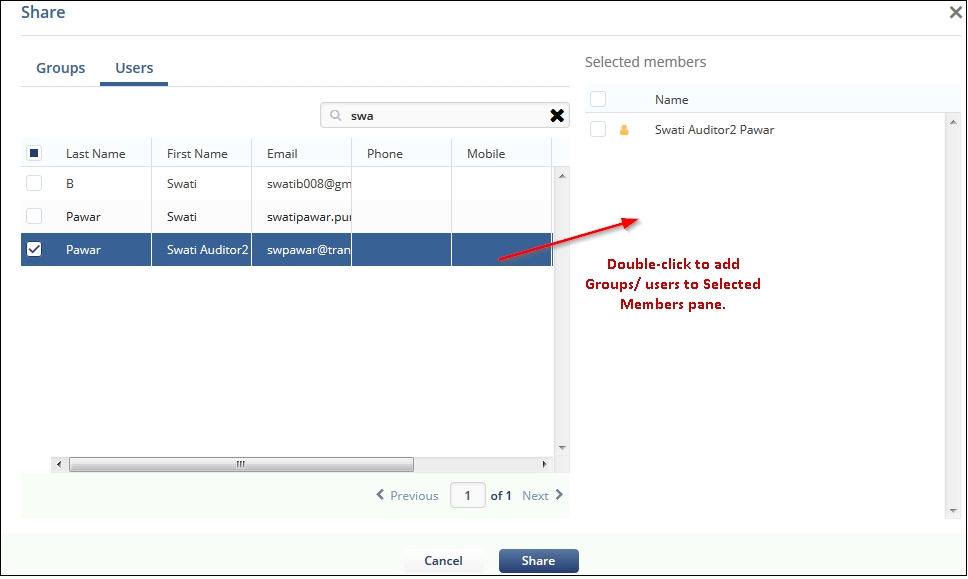
- The Share window opens.
- Select the Groups or Users to whom you want to share the view. Double click the user from the left pane to add them to the Selected members pane.
- After selecting Gorpus/Users, click Share. Refer to the screenshot below:
- This shared view now displays under the list of Shared by me in the Show All Views.