
Configuring the Document Grid
Users are able to configure which columns are displayed in the Document Grid. This function is not limited to the Documents module. Very nearly any grid in the system can be configured to the user’s preferences.
- Click the Manage Columns button from the
top-right corner of the documents grid. Refer to the screenshot
below:
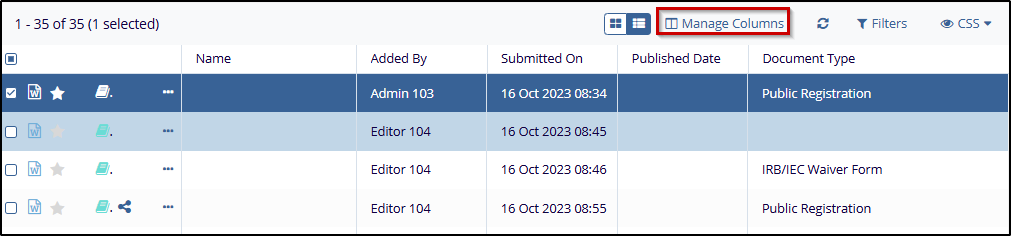 Figure 14: Manage Columns
- The Manage Columns window will open which displays the
following panels:
- Available Columns Panel: This panel displays the list of all available columns in a room.
- Selected Columns Panel: This panel displays the list of all columns that are selected and added from the Available Columns.
- To add a column to the Selected Columns pane from the Available
Columns pane, hover the mouse over the column name in the Available
Columns.
- A ‘+’ sign appears next to the column name.
- Click the ‘+’ sign to add the column to the
Selected Columns. The column gets added to the list of Selected
Columns.
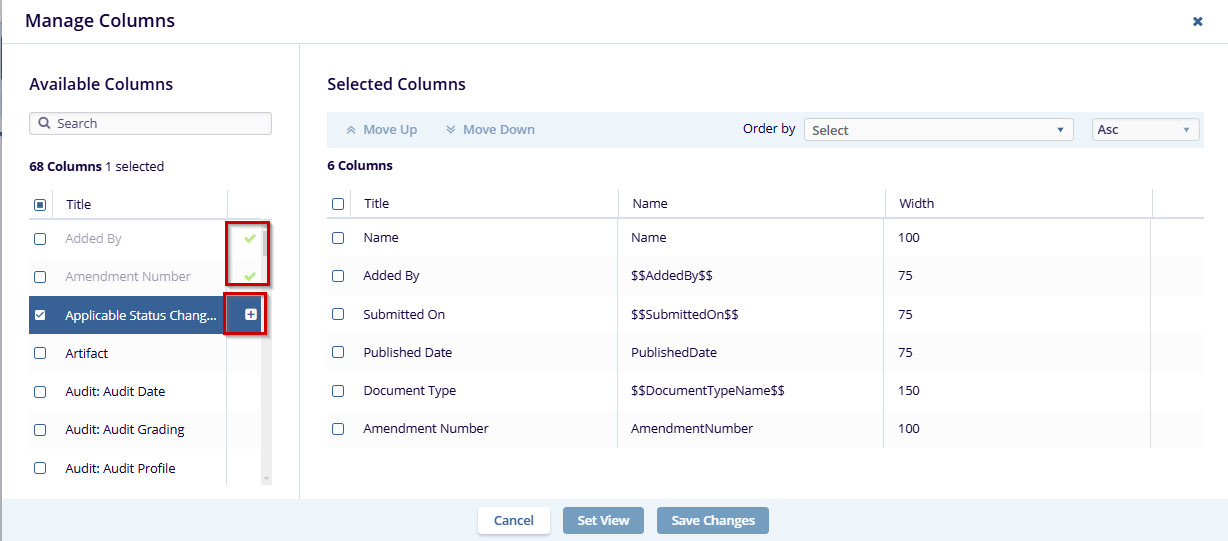 Figure 15: Manage Columns Page
- Alternatively, you can also double-click the columns in the Available Columns to add to the Selected Columns.
- After adding the columns to the Selected list, they are greyed out in the Available Columns list.
- Similarly, you can remove the columns from the Selected Columns list by clicking the - icon that appears next to the column name on hovering the mouse over the column OR double-click the column to remove it from the list.
- Besides adding and deleting columns, you can also change the sequence of the columns by
- clicking the Up or Down buttons located at the extreme right of the window.
- Click Save to save to changes.
Once you have figured out which view will work best for you, you can do the following:
- Save your view
- Set it as the default view
- Share your view
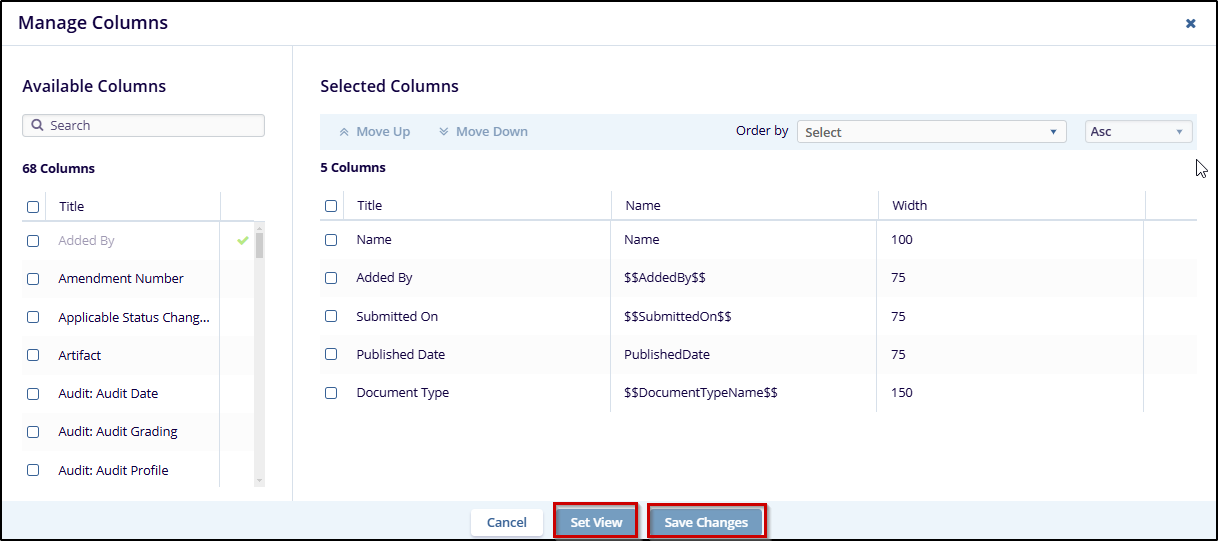 Figure 16: View Types