
Regular Invite
Note: Users can also be invited from the Room Settings
→ Security → Users.
Follow the steps as below to create a new user and add the user to a group:
- Navigate to the Main Navigation → Users Management → Users.
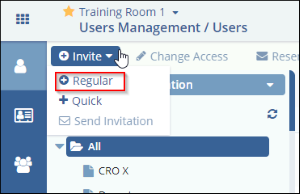
- Click the Invite dropdown from the top menu bar and then select
Regular Invite from the dropdown list that appears. Refer to the
screenshot below:
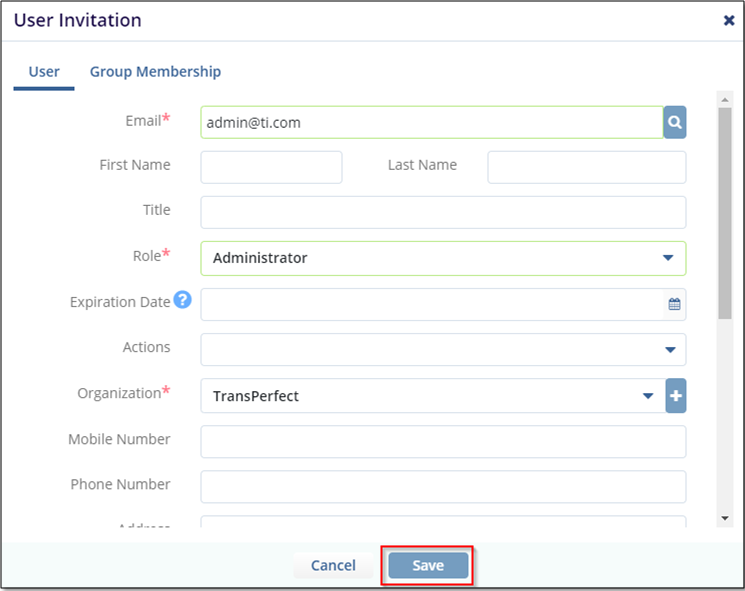
- The User Invitation - Edit User page opens.
- Complete the form and click Next.
- The User Invitation - Group Memberships page opens to allow you to add the user to a group.
- Complete the details as required and click Finish.
- The user is now created. You can view the user on the dashboard.Note: The Edit User and Group Memberships pages are discussed in separate sections below.
Edit User
- Complete the User Profile as required.
- The fields of importance are discussed below:
- User Email: This is used by the user as a unique identity to log in to Trial Interactive. This can be typed in or searched by clicking the magnifying lens icon at the end of the field. If you type in an email address that does not adhere to an email id format, you will receive a validation error message asking you to enter the correct one.
- Role: Choose the role from the dropdown to be assigned to the user. The roles can be either of an Admin, Editor or, Reader in a particular room.
- Actions: These are tasks that the user would be allowed to perform under the specific role that can be assigned by selecting the Action name from the Actions dropdown.
- Expiration Date: Enter this date if you want the user access to be revoked after the lapse of a particular period.
- Organization: Choose from the dropdown the organization to which the user belongs to. The Administrator can also create an organization, if not available from the list, by clicking the ‘+’ sign at the end of the textbox.
- Allow Multiple Sessions: Click the toggle bar to Yes if you want to allow the user to login through different browsers at the same time.
- Invite Later: Click the toggle bar to Yes if you want to prepare a user for the room but not want to send the real invitation. So users will be prepared for invitation sending, and when the time comes, they can be invited later. For example, a user is in training and would be allowed access to the room later.
- Silent Invite: Click this toggle bar to Yes if you
want to invite the user without sending the invitation email. In
such a case, you will need to provide a temporary password in the
Password field that appears on activating this option.
Remember: You can select either Invite Later or Silent Invite only at a particular point in time.
- Click Next to proceed to the Groups memberships page to add
the user to the required group. Refer to the screenshot below:
Groups Memberships
From this page, you can select the required groups from a pre-created list of groups to add the user as a member. If the group does not exist, then you may create the group on the fly through Add New Group. Besides, you can also edit or delete a group. Note that the Edit Group and the Delete Group buttons enable on when you select the group from the list. Refer to the screenshot below:

Click the links below for more details on any of the operations: