Editing and Deleting Users
Editing Users
Follow the steps as below to edit user access:
- Navigate to Main Navigation → Users Management → Users.
- From the left pane Index View, select the preferred category to view the users.
- From the list of users displayed in the right pane under the selected category, tick the checkbox of the user to edit.
- From the top ribbon bar, click the three dots
 and then click Edit from the options
that appear. Refer to the screenshot below:
and then click Edit from the options
that appear. Refer to the screenshot below: 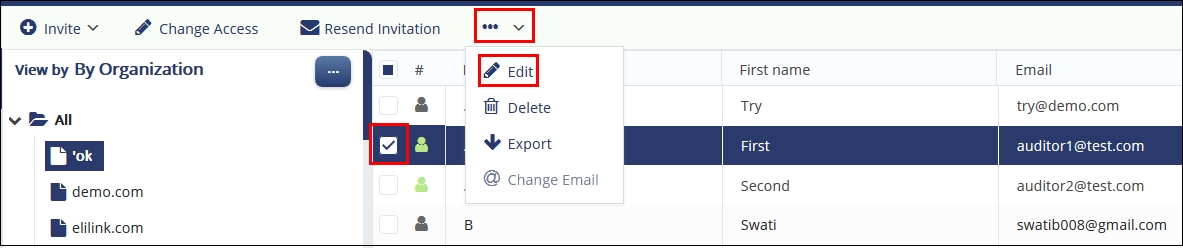
- The Edit User popup opens, which contains the following section:
- Edit User
- Group Membership
- System Groups
- Activity Log Refer to the screenshot below:
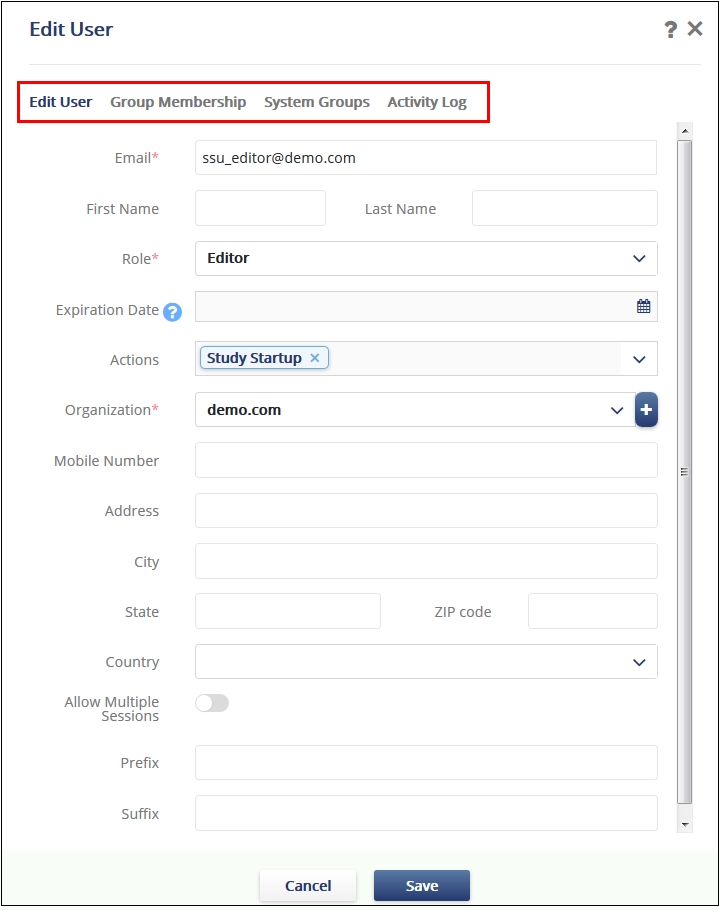
- Select the Edit User section to edit the user details and click Save.
- Select the Group Membership section to add, edit, delete groups and click Save.
- Select the Systems Group section to manage the assigned security to groups at the system level and click Save.
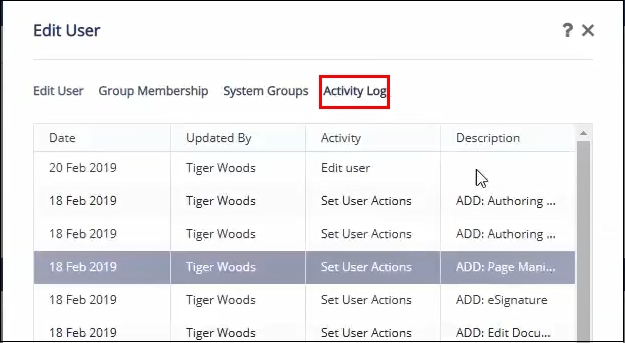
- Select the Activity Log section to view the timestamp of activities
for the user and click Save to commit the changes. Refer to the
screenshot below:
Note: Follow the same procedure for editing General Information, and Group
Membership as discussed in Invite Users.
Deleting Users
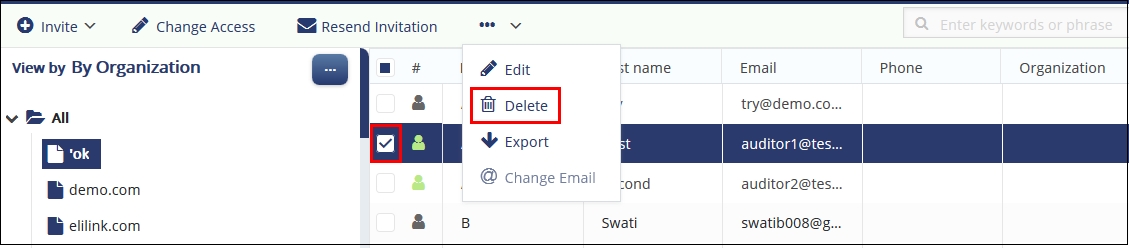
Follow the steps below to delete users from a room:
- From the left pane Index View, select the preferred category to view the users.
- From the list of users displayed in the right pane under the selected category, tick the checkbox of the user to edit.
- From the top ribbon bar, click the three dots
and then click Delete from the options
that appear. Refer to the screenshot below: