
Adobe eSignature - Assigning signers to the documents
- Visit the desired room in Trial Interactive. Click the Documents tab. Open the appropriate folder from the index to display the documents in the documents grid.
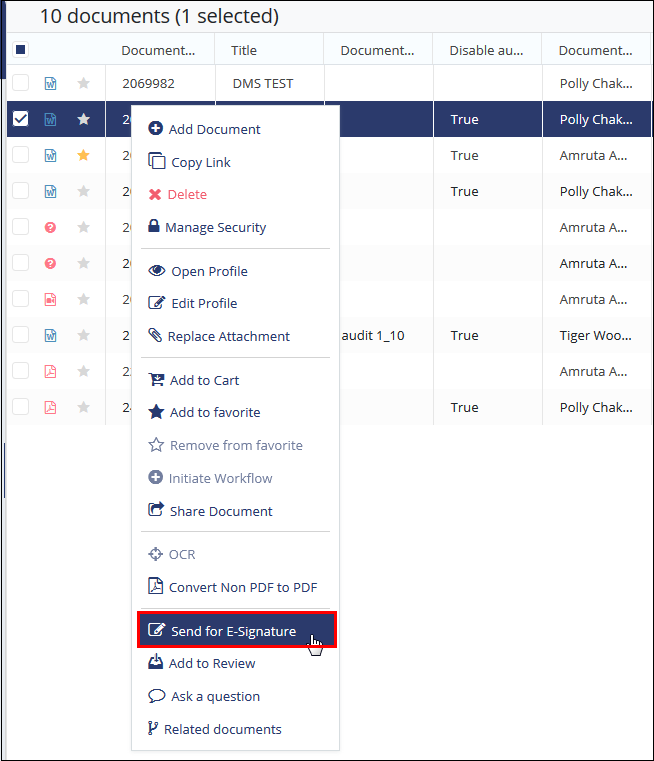
- Right-click the desired document and click Send for e-signature.
Refer to the screenshot below:
Alternatively, you can also send the document for eSignature from the eSignature Panel to the right. - The Send for eSignature dialog box opens.
- Select the eSignature Type and assign the users for the document
eSignature by clicking the Add button. You may add one or more
signers to the document. Refer to the screenshot below:
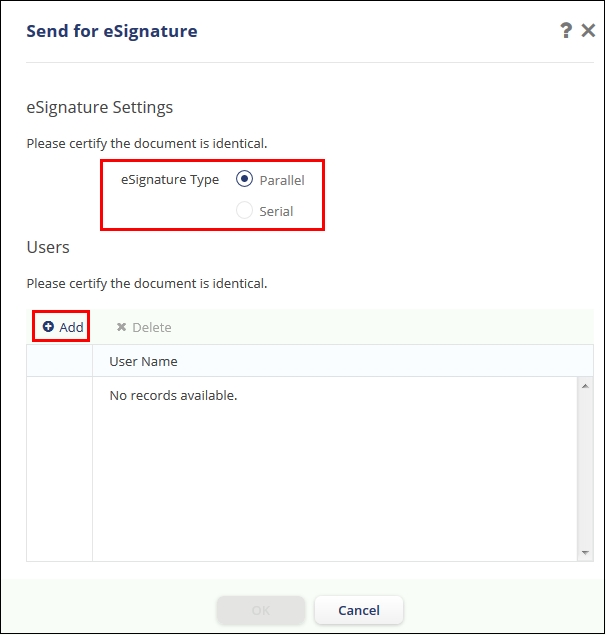
If you wish to assign a sequence in which your signers should sign the document, select the Serial option to decide the sequence.
- Click the OK button after adding the desired signers.
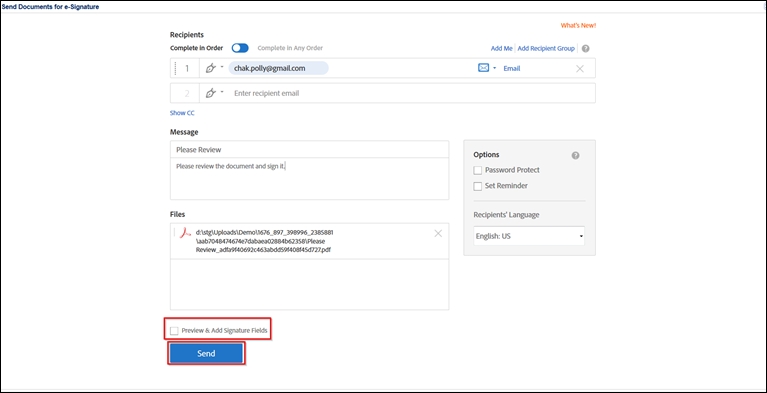
- Recipient window with the list of email ids of signers enlisted opens.
- Tick the Preview & Add Signature Fields checkbox located at the end of the page to determine the placement of signatures on the document.
- Click Next. Refer to the screenshot below:
- From the Recipients field select the signer and, drag and drop the fields on your document from the right menu option that you wish to include in the signature.
- Repeat the above step for every e-signer.
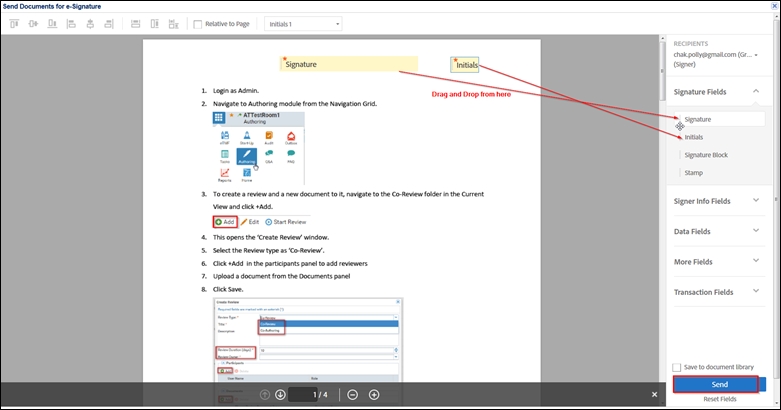
- Click the Send button located on the bottom right corner of the
window to complete the signer assignment process.
The system will trigger an email to the signers designated by you with a link to the document for eSignature.
You may also review the documents to be signed, along with the signer details, in your dashboard under the Documents to be signed dashlet. Refresh the page to view the latest updates.