
Setting Up a Workflow
Documents requiring Change Control can be submitted for review or signature workflows either upon submission to TI or after content is generated/edited in TI.
To initiate a Workflow, the Document Owner can open the document actions menu and select ‘Initiate Workflow’, or they can use the paper plane icon visible on the document line in the grid.
A document requiring a Workflow will be displayed in the Document Index with a paper plane icon next to it. Clicking on it will open the Workflow Setup Wizard. This step is required to initiate any Review or Signature workflow.

The Document Owner or Proxy Document Owner (as designated in the folder security settings) will select one of the workflows available in the room.
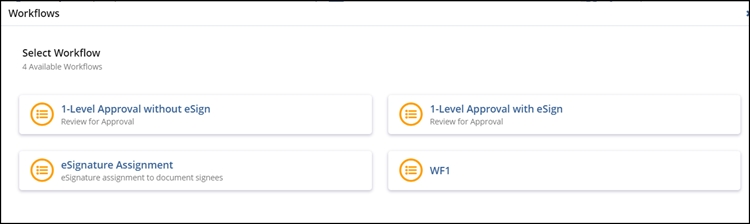
Workflows are available in the room are set in the configuration phase of the room build. If any changes or additions to the available workflows are required, contact your Trial Interactive representative.
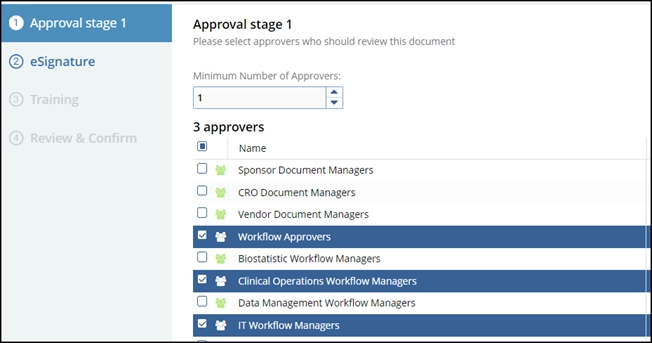
After selecting a Workflow, the setup process will guide the user through the selection of required Reviewers and, if applicable, eSignature Managers (These are the users that will be able to create the actual eSignature request). The number of steps in the wizard may vary. The screenshot below is an example.
In the last step, the user will review and confirm the workflow settings, then activate the workflow by clicking on ‘Add Document(s) to Workflow.’
Reviewers can now locate the document to perform their review steps using the Collaborate Dashlets: Documents to Approve and Documents to Sign or by using the index views: Document Lifecycle, eSignature, and Workflow. Reviewers and signers can also access documents requiring their attention through links that are provided via email.
Important: It is our recommendation that users should, where possible, reach out to the Trial Interactive Service Desk whenever assistance is needed in workflow creation or maintenance.
