
Adding Child Group
Follow the steps as below
to create child groups:
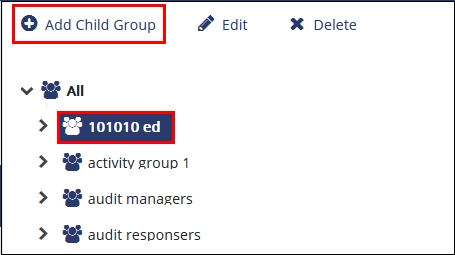
- Click the arrow to the left of All Groups to expand groups and select the required group from the list to which you want to add child group.
- Note that the Add Group button at the top left corner now changes
to Add Child Group and the buttons Edit and Delete
are also enabled. Refer to the screenshot below:
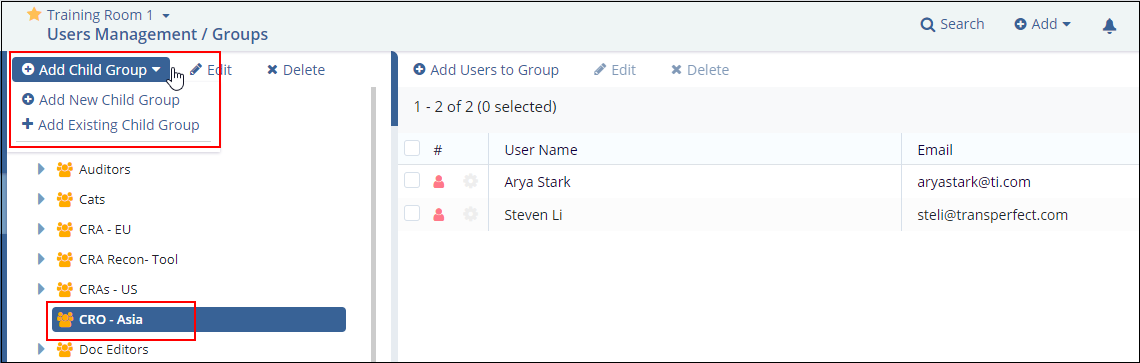
- Click Add Child Group from the top menu. There are two options of
group addition: a) Add New Child Group, b) Add Existing Child
Group. See the screenshot below:
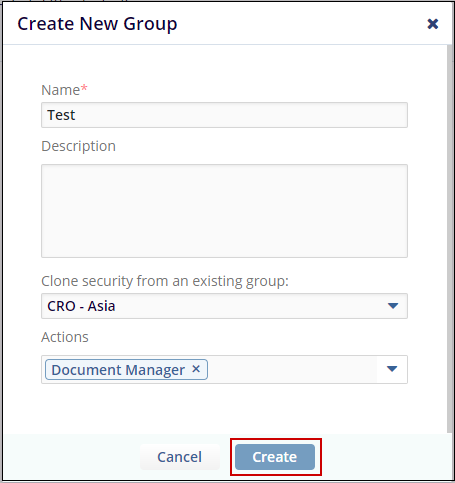
- If Add New Child Group is selected, then the below screen appears.
Enter the details of the group to be created and click Create
button.
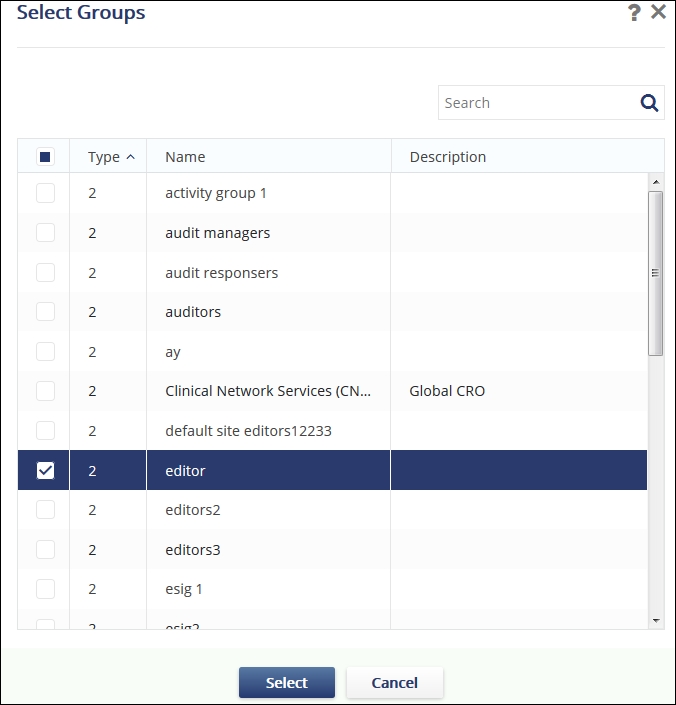
- If the option of Add Existing Child Group is selected, then the Select Groups popup opens.
- Select the required group from the list to for which you want to create a child group.
- Click Select. Refer to the screenshot below:
The group gets added to the Parent Group to which it is added.