Creating a Contact View
To create a Contact View, follow the steps below.
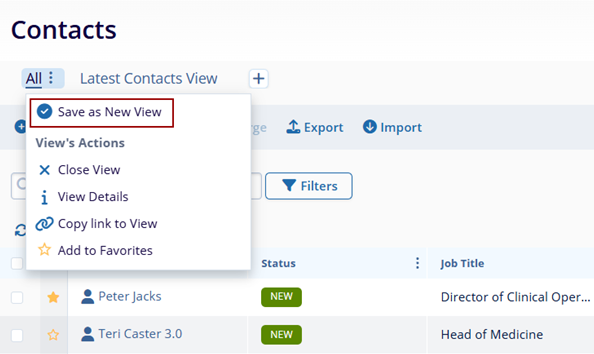
- Click on the ‘All’ hamburger icon
and select Save as New View.
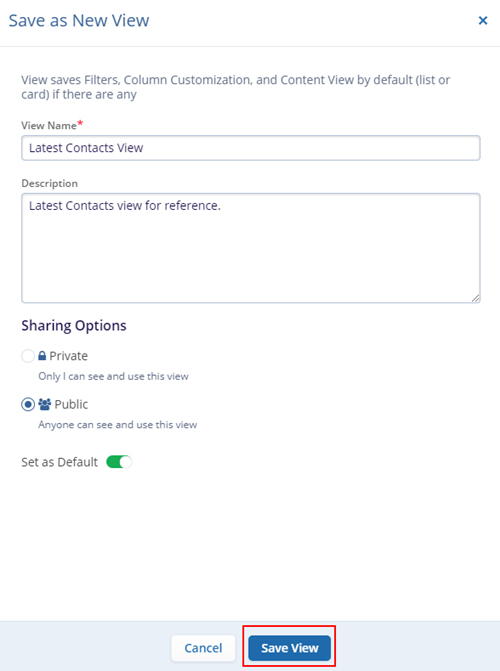
- On the ‘Save as New View’ screen, specify View Name, Description, and Sharing Options-Private or Public. For the ‘Public’ option, it is possible to set it as a default view by enabling the Set as Default toggle button.
- Once all the details are entered and configured click on the Save View
button.
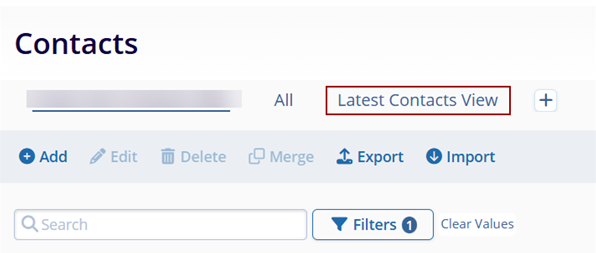
- Once successfully saved, it appears on the Contacts home screen.