Editing a Contact
Method 1
To edit a Contact, follow the steps below.
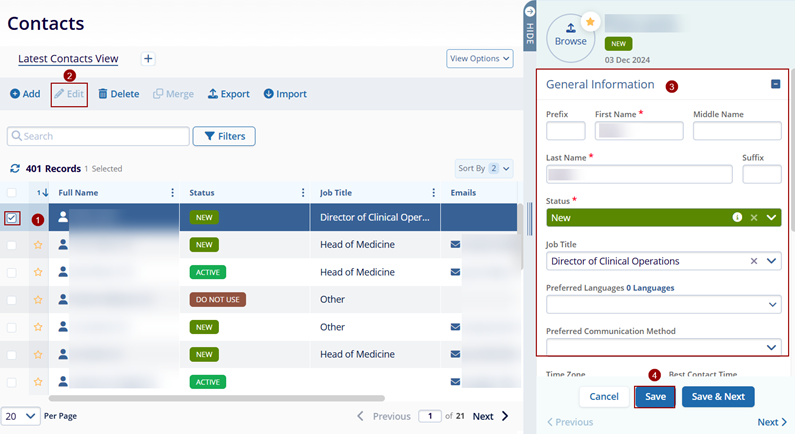
- Click on the checkbox before the contact’s name.
- Click on the Edit (pencil) icon and it opens a quick view panel on the right side of the screen.
- Make the required changes to the contact information in the panel.
- Once all the changes are made and verified, click on the Save button.

Note:
- Clicking on the Save & Next button saves the contact’s edited details and the quick view panel displays details of the contact next in the list.
- Clicking on the Cancel button, discards all the edits.
Method 2
Additionally, the contact details can also be edited through the Contact details page.
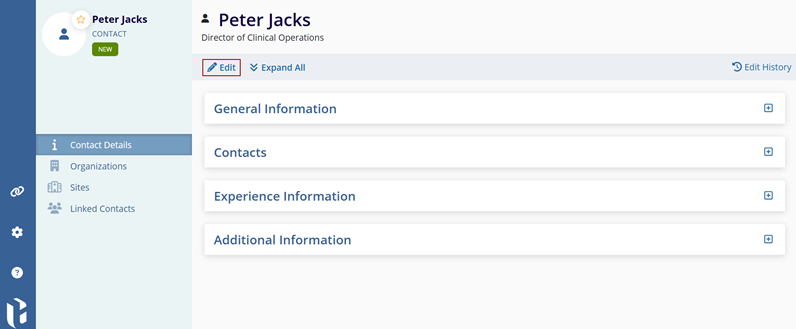
- Click on a contact name which will open the Contact Details page.
- On the Contact Details page, click on the Edit
button from the top menu bar.

- Expand the General Information, Contacts, Experience Information, and Additional Information sections and make the required changes.
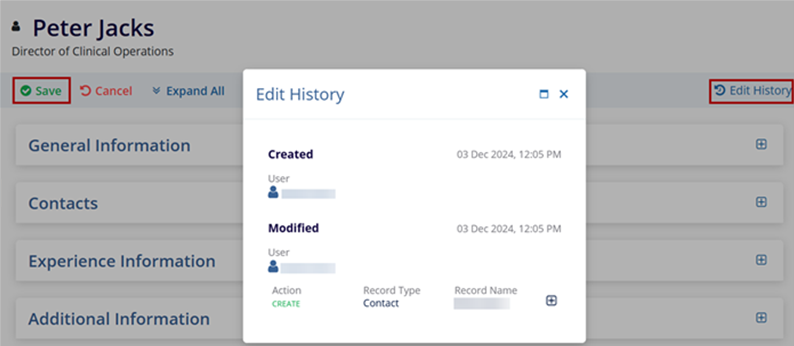
- Click on the Save button once all changes are made.
- Click on the Edit History button to view the contact edit history.

Important
- Select the Organizations link from the left-hand navigation pane to view and associate organizations with the contact.
- Select the Sites link from the left-hand navigation pane to view the sites associated with the contact and manage site configurations within the contact.
- Select the Linked Contacts link from the left-hand navigation pane to view all contacts associated with the contact.
