Exporting Contacts
To export contacts, follow the steps below.
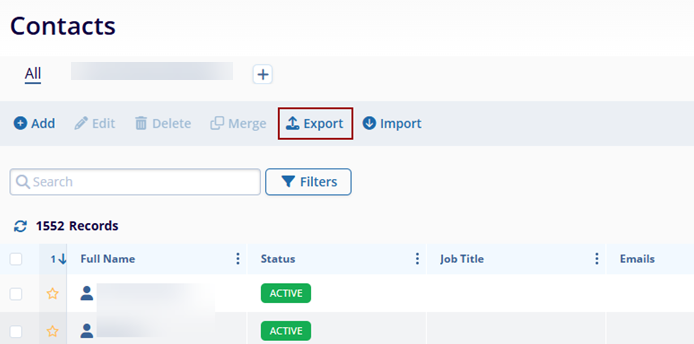
- On the Contacts screen, click on Export from the top menu bar.
-
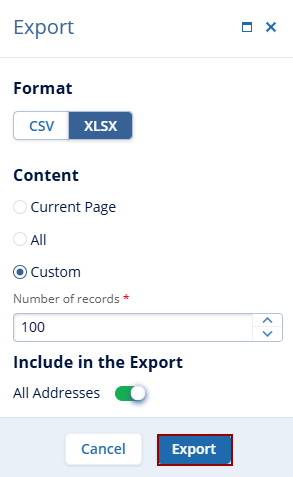
On the Export dialog box, select the file format to export the contacts data. Users can export contacts in either CSV or XLSX file formats.
- For the CSV or XLSX file formats, select either of the following:
- Current Page: This option will export data on the existing page of the Contacts screen.
- All: This option will consider all the contact data.
- Custom: Here, specify the number of records to be exported by either clicking on the up and down arrows or entering the number of records since it is a free text field.
-
Include in Report: Click on the All Addresses toggle button to include addresses in the exported file.
Note: The Include in Report option is available only if the XLSX file format is selected.
- Once the desired file format and the content is selected, click on Export.
- Once the export is finished, the system displays a notification message on the top right
corner of the screen stating the data export is completed. Here, click on the Get Job
Results option to download the export file on the local system.

- The files will be downloaded to the local system and will display the file
formats.
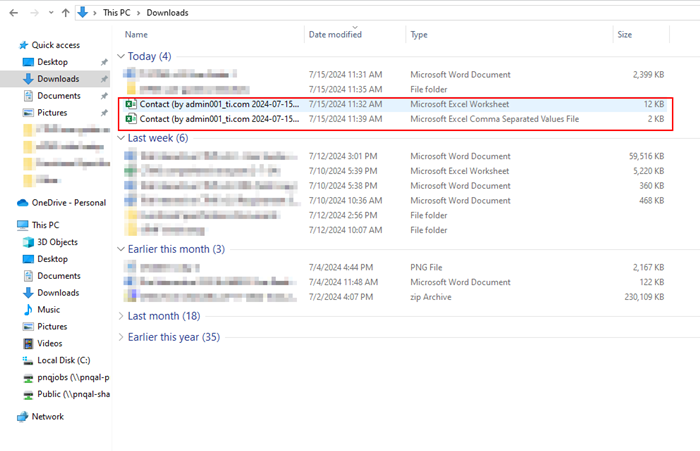
- The CSV file will display just one tab with the contact details.
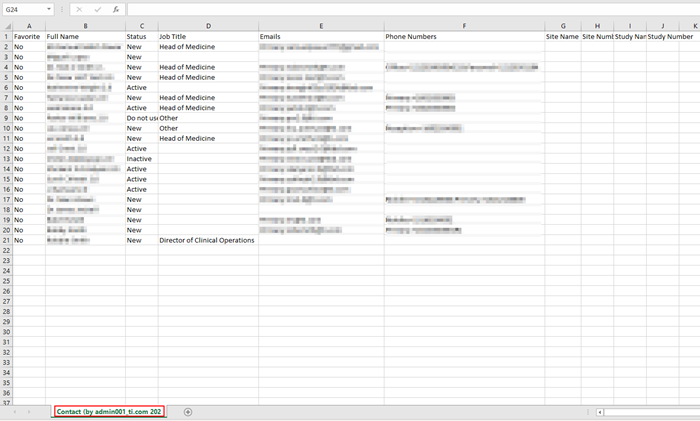
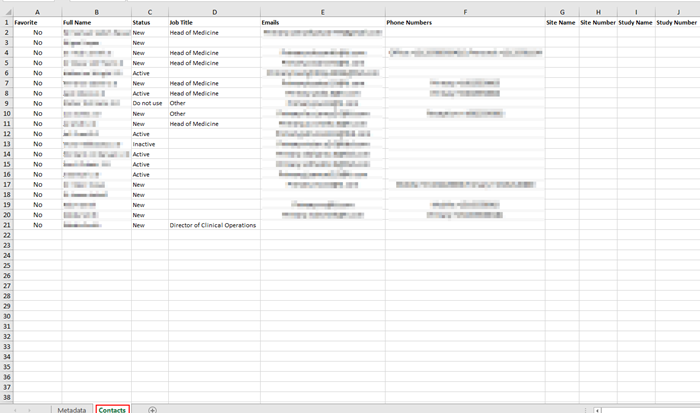
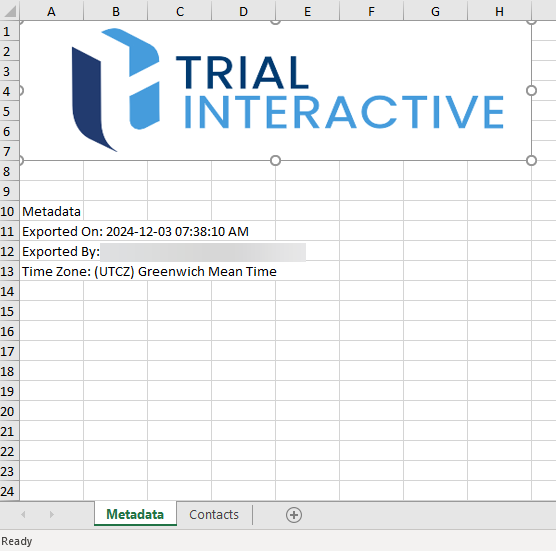
- The XLSX file will display the following two tabs:
-
Metadata: This tab has details like the time of export, name, and email of the person
who initiated the export, and time zone.
-
Contacts: This tab has the contact details.
