
Signing the Documents in DocuSign
If you are assigned to electronically sign a document, follow the steps mentioned here:
- When you are assigned a document for eSignature, you should receive an email containing the link to the room where the document is stored. Click the Review Document link to access the room. Alternatively, click the Dashboard tab in the eTMF module and scroll down to find the Documents to be signed dashlet.
- Click the document listed in the Documents to be signed dashlet. A new window to review and act on the document will display.
- You can also proceed to the eTMF/Documents or SWS/Documents module
(depending from where you need to e-sign documents) and select the required
document from the Waiting for Signatures folder under e-Signature
Documents view in the Index pane. Either way, click Sign Document
to begin the review and signing process. Refer to the screenshot below:
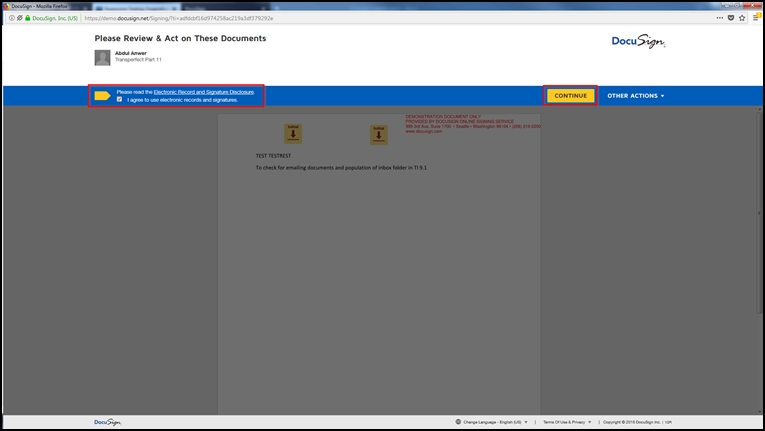
Click Continue. If you are assigned to sign using the Serial
signature, a place where you are supposed to sign will be highlighted in the
document. Click the sign icon. You will be prompted to choose your style for
the signature (font, size, etc.). Refer to the screenshot below:
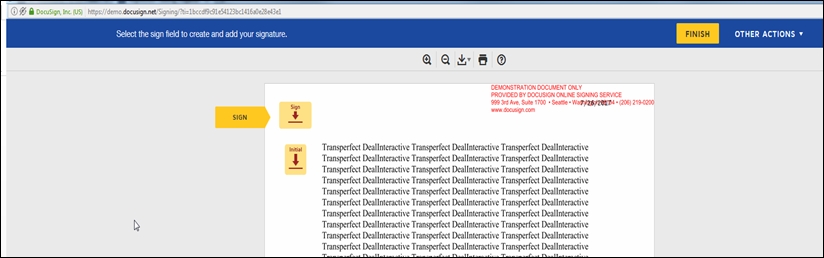
Click Finish to complete the eSignature process.