
Essential Documents
Setting up of Essential Documents for Sites, Countries, and IRB/ECs involve the following steps:
1) Adding Required/Essential Documents from Settings for Sites, Countries, and IRB/ECs.
2) Adding, editing, and reviewing documents of each Essential Document type from the menu bar.
The Top Menu Bar
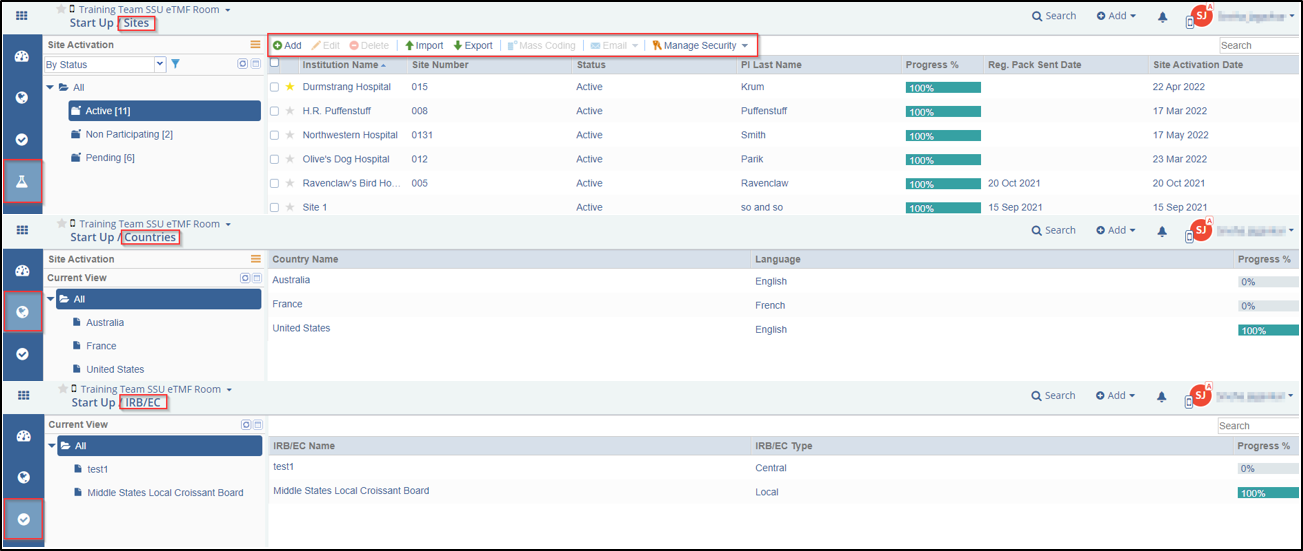
Refer to the screenshot above:
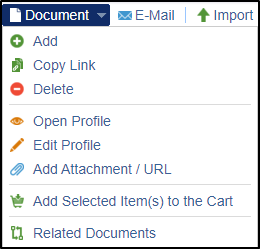
Add
You can add essential documents by two methods described below.
Method 1:
1. Navigate to the module to which you want to add documents as required. The modules here are Sites, Countries, or IRB/EC.
2. Select the document type to which you want to add the document from the Grid Pane.
4. Click the Add
 option. The Document Profile pop up window is displayed.
Complete the required fields, marked by a red asterisk *, including the attached file.
5. Screenshots for modules - By Site and By Country are provided as below:
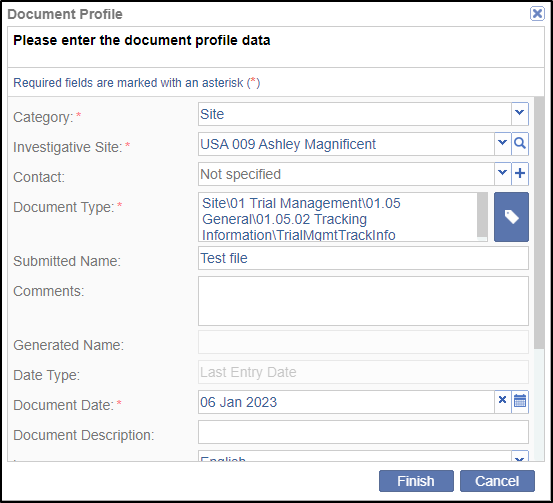

6. You can either attach a file to a document type by clicking the magnifying lens at the end too.
7. Click the Finish
 button at the bottom of the window. The document takes its
place in the grid with a Pending status.
button at the bottom of the window. The document takes its
place in the grid with a Pending status.
Method 2:
- Navigate to the toggling menu bar and select either one of the following -
Countries, IRB/EC or Sites.

- For Countries and IRB/EC, from the Current View select a Country name or IRB/EC name to open the grid pane. You can also double click a country name or IRB/EC name to open the grid pane.
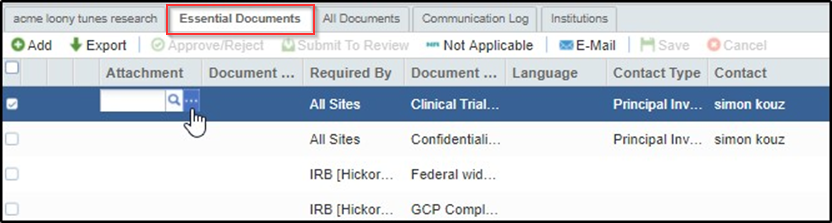
- Click the Essential Documents tab in the grid pane.
- Select a document and double click in the Attachment column. This activates the
magnifying glass and the elipsis (three dots) to upload attachments. Refer to
the screenshot below.
- Enter the required URL in the Provide link to external document pop up window. Click Add. Refer to the screenshot below.
- Click the Save button in the top menu bar once the documents are
uploaded. Once saved, the status of the document displays as 'Pending'. If not
saved, the document appears with a red mark in grid pane.Note: To make changes in the uploaded document click the Edit button displayed in the top menu bar. After making the required changes click the Finish button.
Edit
Once a document is added to a document type, its profile is available for editing, if required. To edit a document:
1. Select a document from the grid
2. Click the Edit button from the top menu bar.
3. The Edit Document Profile window opens. Make changes and click Finish to commit the changes made to the document profile.
Open Profile
To view the profile of a document you can click the Open Profile button from the menu bar. This opens the Document Profile window. Refer to the screenshot below:
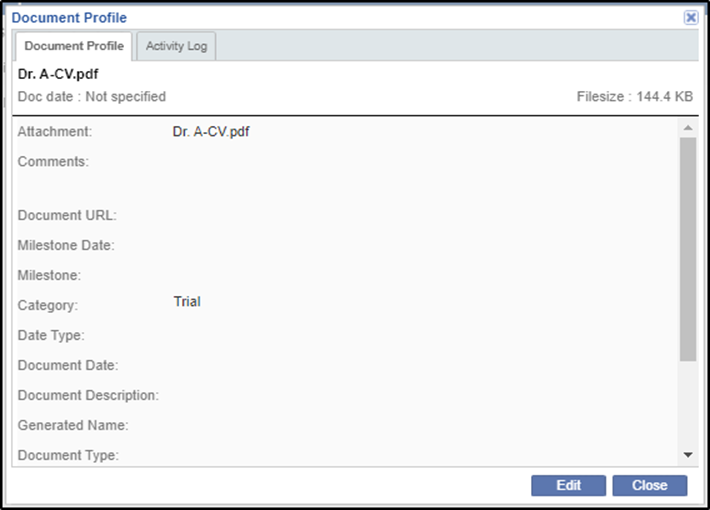
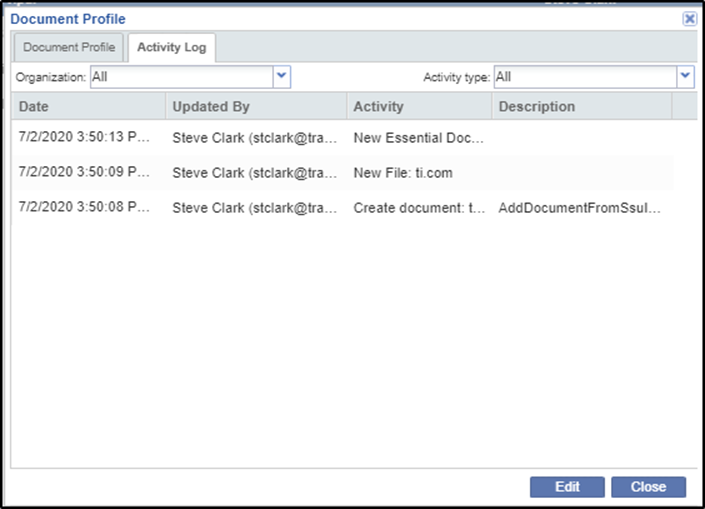
This window consists of two tabs: Document Profile and Activity Log.
The Document Profile tab shows the profile of the document. Refer to the screenshot above.
The Activity Log tab shows all the activities performed by users on the document. Refer to the screenshot below:
Export
1. Click the Export
 button in the top menu bar. The Export window opens.
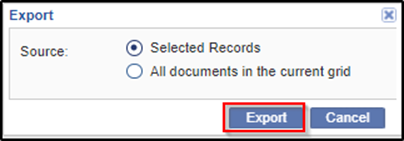
2. You can either export selected documents from the grid, or all documents from the current grid.
3. Click the Export button at the bottom of the window. An Exporting Documents window opens.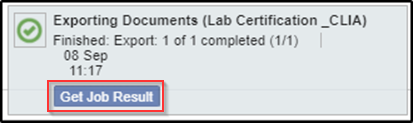
4. Following the on-screen instructions, click the Get Job Result button to get the results that are delivered in a zipped folder. The zipped folder is found in Downloads folder of your system.
Approve/Reject
The documents are reviewed and approved by the Start-Up Specialists and then by the Regulatory Reviewer. Both these roles are assigned to users within the TI SSU module. Notifications within TI can be sent out to notify both these roles when they have pending tasks to complete.
A Start-up Specialist can approve documents only for his or her own sites.
To approve documents:
1. Select a document from the grid.
2. Select the Approve/Reject
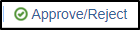 button from the top menu bar. The Approve/Reject Documents
window opens.
button from the top menu bar. The Approve/Reject Documents
window opens.
3. You can select the Status to be Approved or Rejected as you deem fit.
4. Select the appropriate approval date.
5. Click Approve. Refer to the screenshot below.
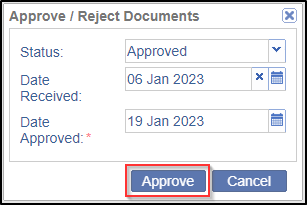
6. The document’s status changes to Approved or Rejected as selected by you.
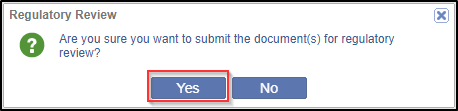
Submit to Review
Once documents are collected and approved by a start-up specialist, the documents should be submitted for regulatory review.
1. Select the check box of the document that displays the 'Approved' status or the documents to be submitted to review in the Essential Documents grid.
2. Click the Submit To Review button in the top menu bar. Refer to the screenshot below.

3. Click Yes in the Regulatory Review pop up window. Refer to the screenshot below.
You can approve several documents simultaneously.
1. Select the checkboxes for several documents from the grid pane.
2. Click the Approve/Reject button from the top menu bar. The Approved/Reject Documents window opens.
3. Click Approve at the bottom of the window to save changes.
Not Applicable
A document type can be marked Not Applicable if such a document is not required for the study start-up.
Click the Not Applicable
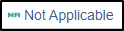 button in the top menu bar and enter the reason in the pop
up window for the document to be not applicable. Click Save after entering the
reason. The document is reflected as Not Applicable in the grid pane.
button in the top menu bar and enter the reason in the pop
up window for the document to be not applicable. Click Save after entering the
reason. The document is reflected as Not Applicable in the grid pane.
1. To send an Email message about a particular document to another party associated with the study, the site, the country, or the document, select the document in question from the grid by clicking the appropriate check box.
2. Click the E-Mail button in the top menu bar. An Email window is displayed.
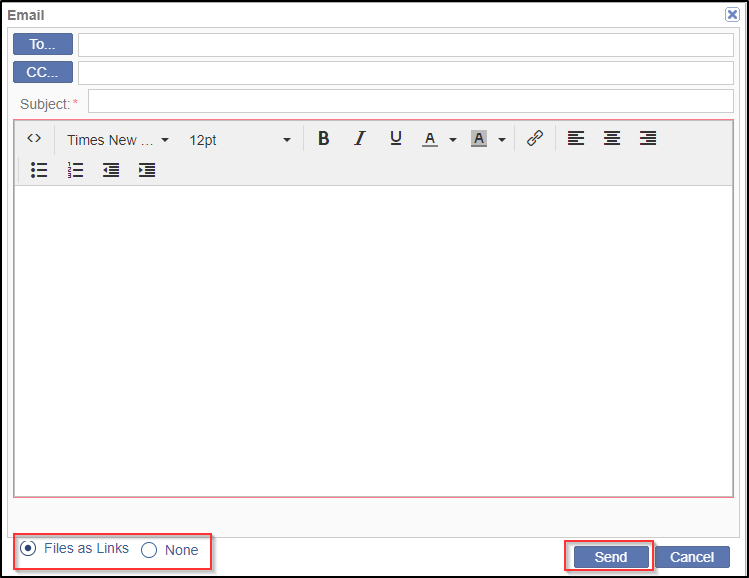
Files can be sent as links or none as shown in the screenshot above.
3. Click the To/CC button to activate the list of room users to whom you can send the message.
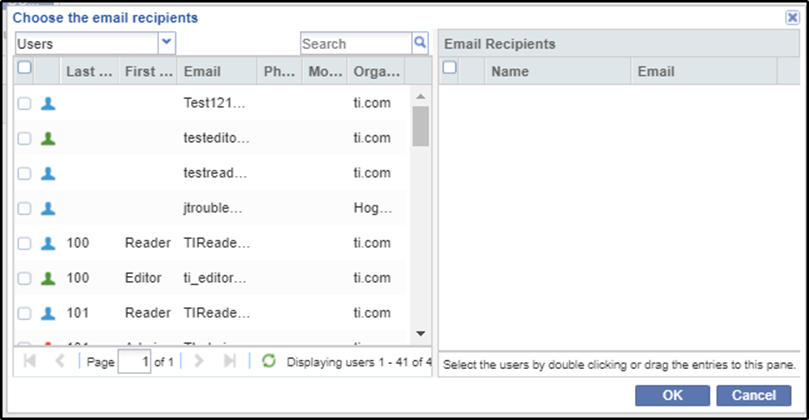
4. Select the users or groups you want to send the message to by dragging and dropping the recipients’ names into the Email recipient’s grid or by double-clicking the names.
5. Click OK. The view returns to the Email window.
6. Complete the required Subject field.
7. Either add attachments to the message or click the Files as Links radio button at the bottom of the window. Note that the user can also select the None radio button to send a message without files attached.
8. Add a custom message in the message field.
9. Click Send. The designated recipients receive the email message.
Save
Click the Save button in the top menu bar to save the changes made in a document.
Cancel
Click the Cancel button in the top menu bar to unsave the changes made to a document.