Activating a Site
Once all essential/required documents are sent by the sites to the trial room and approved by appropriate authorities, the site can be activated. Only Site Activation Members will access the site profile to activate the site. Upon site activation, documents can be auto-named, auto-routed, and auto-filed to the appropriate location within the finalized eTMF. To note, Administrator role can place preference on these automated setting features from the Study Start-Up settings.
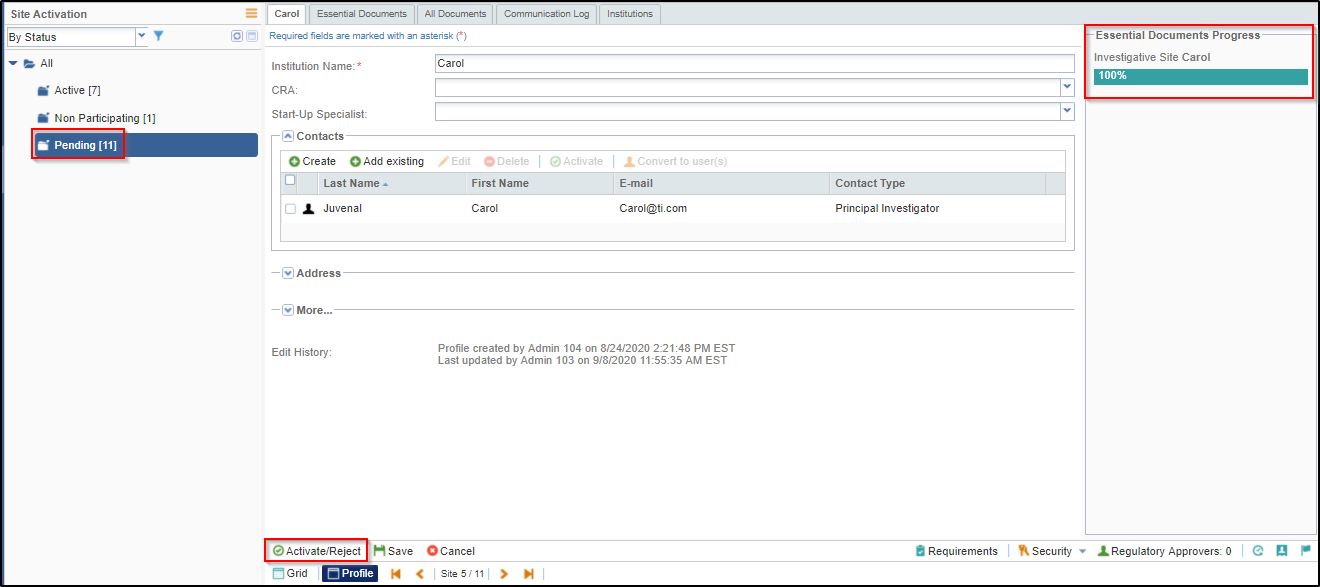
Once all the required documents are approved by both the Start-Up Specialist and the Regulatory Reviewer, the Essential Documents Progress bar shows as 100% in the Site Profile and the Activate/Reject button at the bottom of the Site Profile dashboard appears.

To activate the site:
1. Double click on the empty space of a site to open it in the centre/grid pane.
2. Click the Activate/Reject button displayed at the left bottom of the screen.
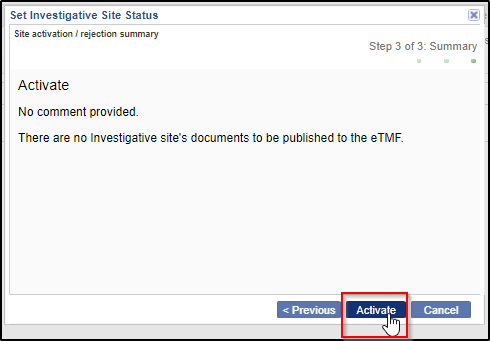
3. The Set Investigative Site Status pop up window is displayed.
3. Select the Status as Active.
4. Enter the comments.
5. Click the Activate button

To reject the site:
1. Click the Activate/Reject button
2. The Set Investigative Site Status pop up window is displayed.
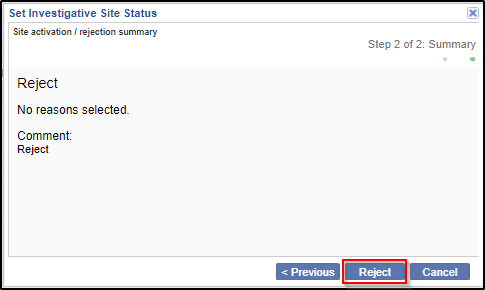
3. Select the Status as Rejected.
4. Select the reason for rejection from the dropdown menu.
5. Enter the comments. Click the Next button.
6. Click the Reject button.

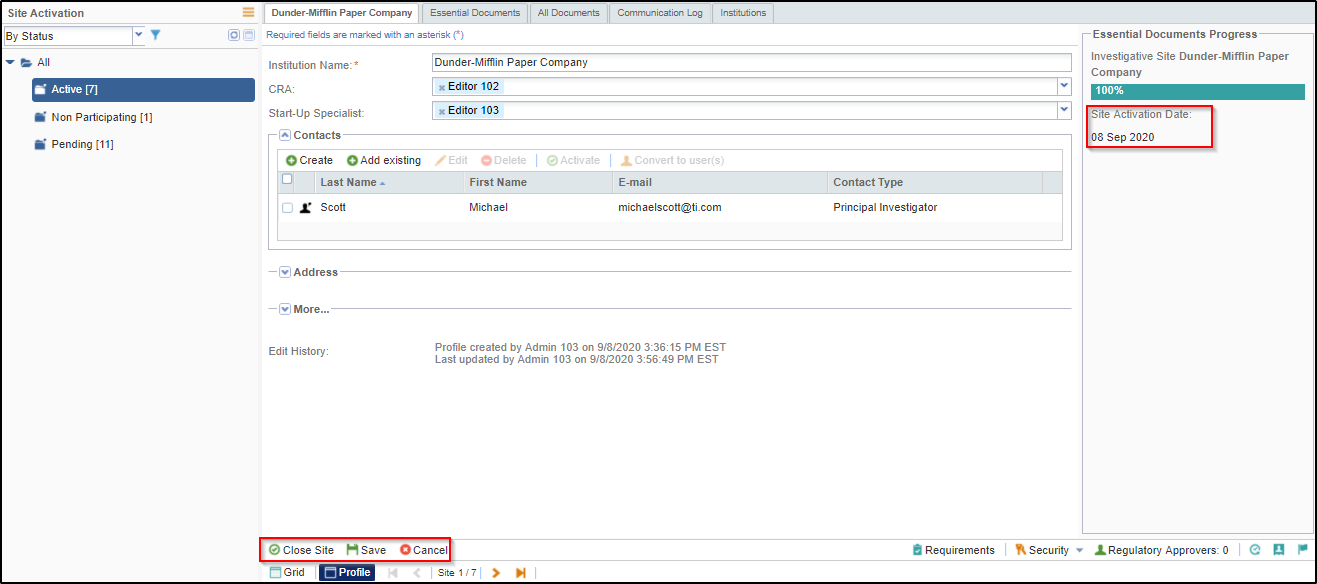
The site is activated and the documents are published to the eTMF or workflow as per your settings. You receive a confirmation about the same. You can also specify the users, and contacts who will receive email confirmation on site activation from Study Start-Up settings.

