Site Visit Navigation
To navigate to the site visit, follow the steps below:
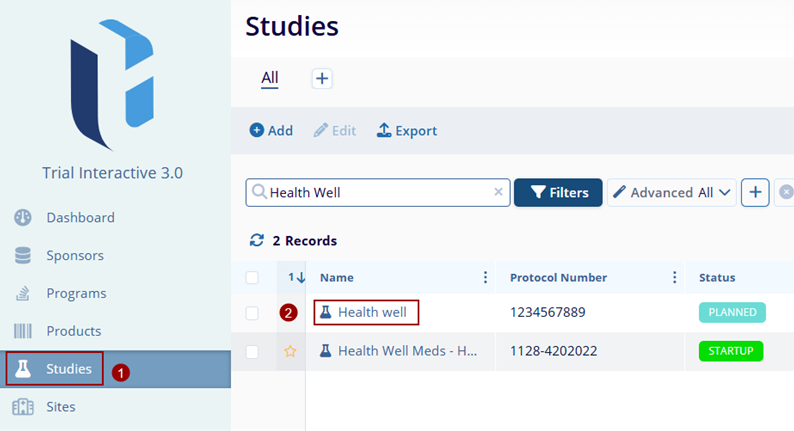
- From the left-hand navigation links, click on Studies.
- Click on the study’s name to select that particular
study.
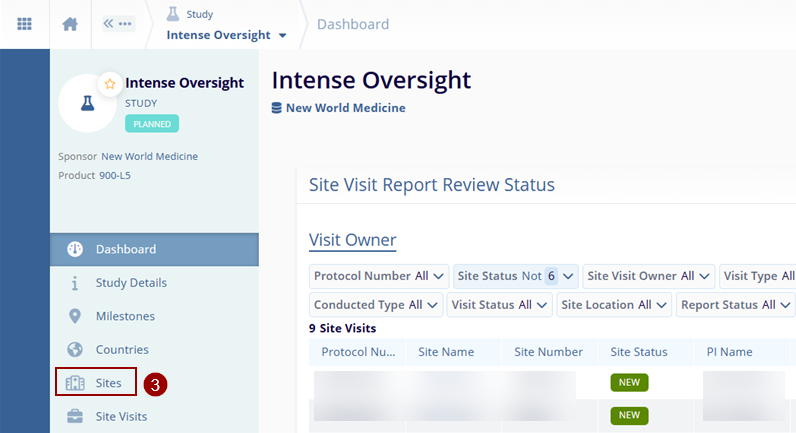
- On the Study Dashboard, navigate to the left-hand navigation
links and click on Sites.
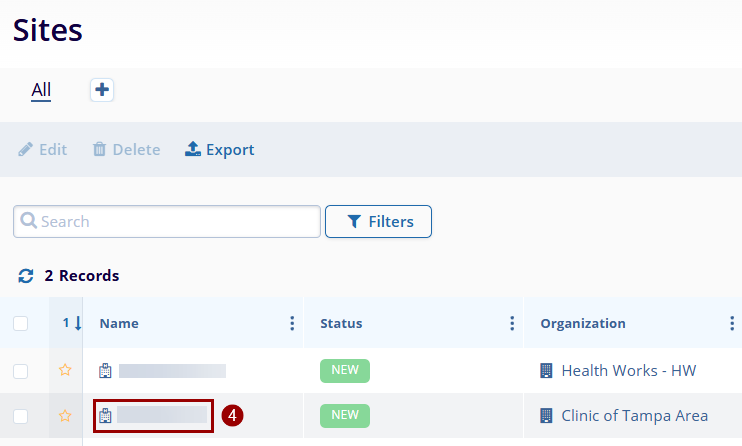
- On the Sites screen, navigate to the site
records section and select a site by clicking on the site name.
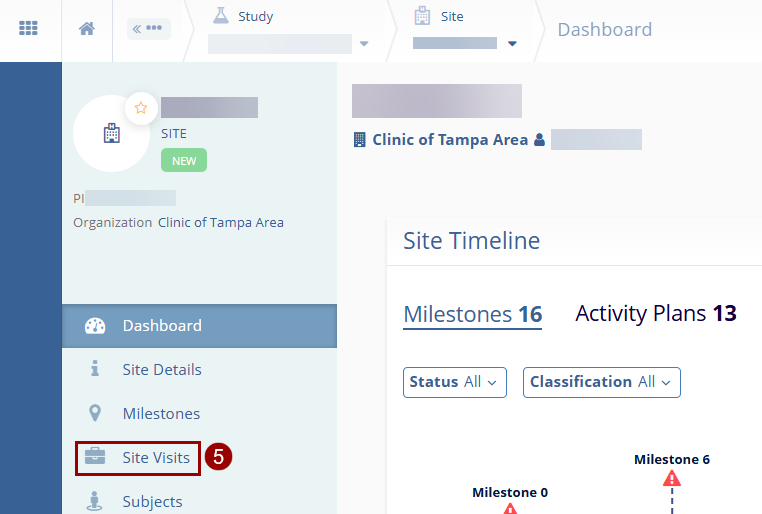
- On the selected site window, navigate to the left-hand
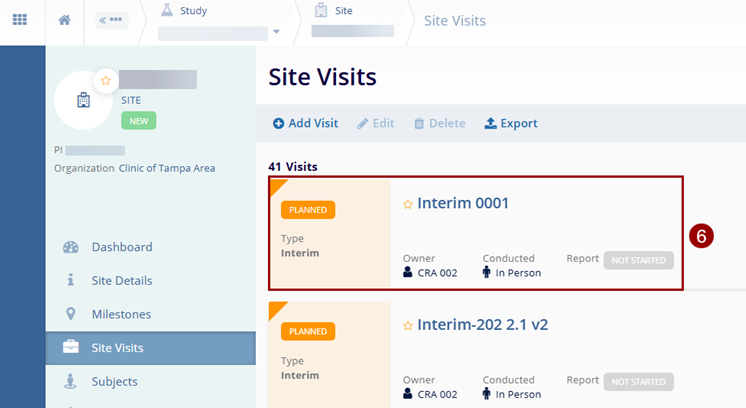
navigation links and select Site Visits.
- On the Site Visits screen, select the visit to review by
clicking on the visit name.
- On the Site Visit General Information window,
review the visit details, make the required changes if any, and
click on the following buttons.
- Add Activity: Refer to the Creating Domain Activity Template Records section to add an activity.
- Discard Changes: Click on Discard Changes to remove any changes made.
- Save: Click on the Save button to save the changes made
- Click on the Save and Next button to save the changes on the current activity and move on to the other activity.
- Next Step: Clicking on Next Step will display a confirmation popup and clicking
on Yes will display further details regarding the site visit.

