
Setting Advanced Validation Field
This advanced function links two or more metadata fields based on specified validation criteria and is not generally used by Administrators. We recommend partnering with the Trial Interactive Service Desk before making any changes to these settings.
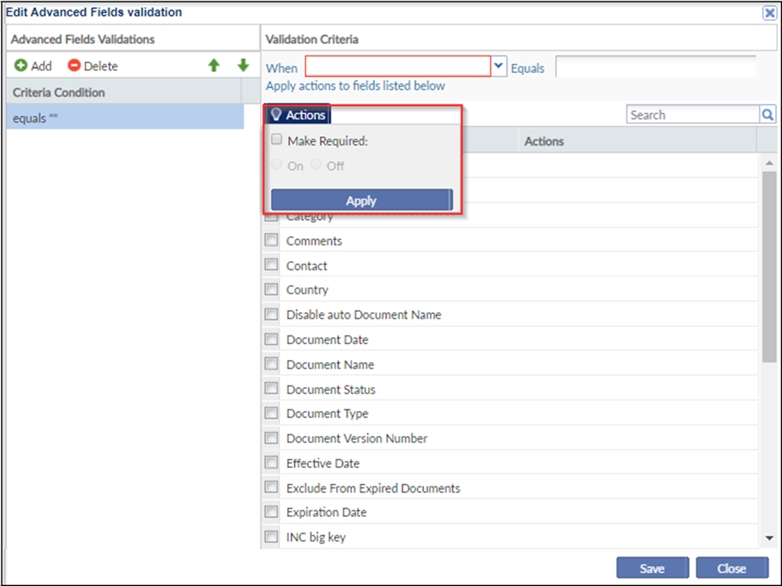
- Click Advanced Validation in the menu ribbon. The Edit Advanced Fields validation
window opens. Refer to the screenshot below
- Click Add in the ‘Advanced Fields Validations’ panel on the left. The ‘Validation Criteria’ panel on the right activates.
- From the ‘When’ field dropdown, select the metadata field that will trigger an action in another metadata field or field.
- Complete the ‘Equals’ field.Note: For fields for which the field data must be selected from a particular set of options, you need to choose from the dropdown menu of selections. For date-related metadata fields, the ‘Equals’ field converts to a calendar selection. For some metadata fields, the ‘Equals’ field is a textbox.
-
Click the ‘Actions’ button. Select the appropriate radio button to define what action will be implemented in the field or fields that will be selected in the next step of the process.
Click the checkbox or checkboxes for the field or fields that you want to be affected in this field validation.