Dashboard Settings
As one of the sub-section of General room setting tabs, the Administrator will see the Dashboard Setup box. An Administrator can change the information that will be available to users in the room when they access their Dashboard.
To modify the availability of dashlets to users, here are the steps to follow.
- Navigate to Main Navigation-> Settings -> General -> Dashboard Setup.
- Double-click any of the dashlet lines in the Available for column.
The field becomes active with a dropdown arrow at the right end of the field.
- Click the dropdown arrow. A set of selections becomes available to the
Administrator.
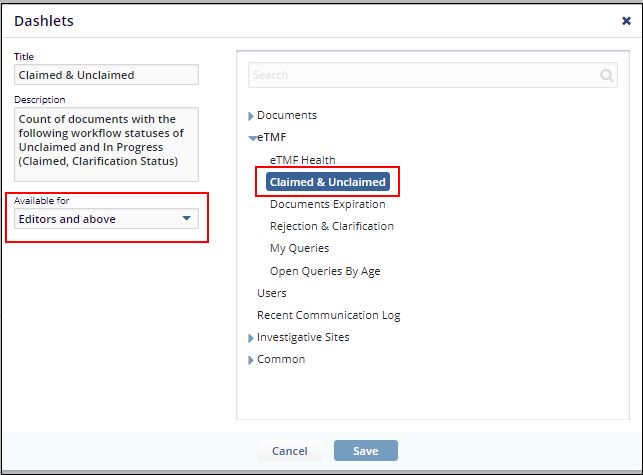
- Select which users in the room will see any particular dashlet in their Dashboard views.
- Click Save if you have made acceptable changes.
- Renaming a dashlet
- Default Dashboard Setup
Above activities are discussed in details in the sections below.
Renaming a dashlet
To rename a dashlet follow the steps as below:
- Double-click the name of a dashlet that you want to rename from the Dashlet
column of the Dashboard Setup window.
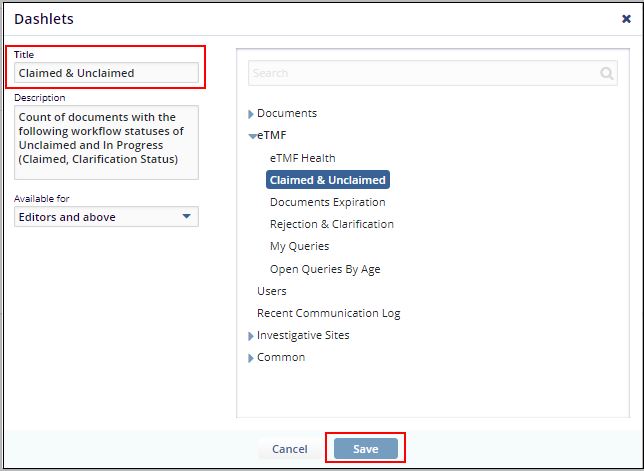
- Type in the new name into the activated field.
- Click Save.
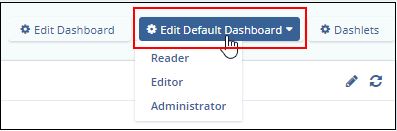
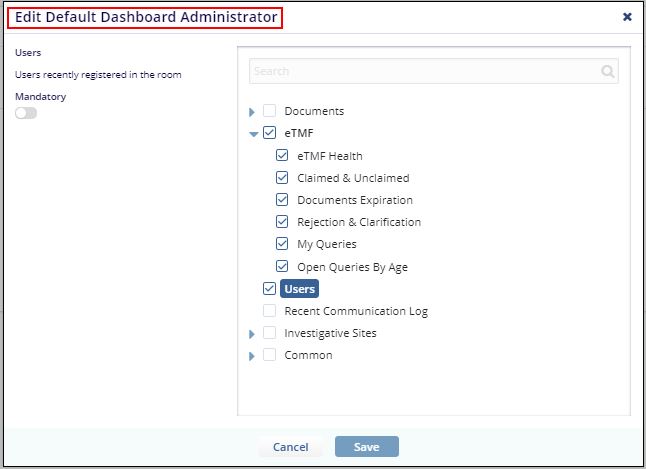
Default Dashboard Setup
You can set the default dashboard for the minimum level role by clicking the button at the bottom of the Dashboard Setup panel. The Default Dashboard Setup window opens. Make the appropriate choices as required and click OK.