Managing Study Access Permissions
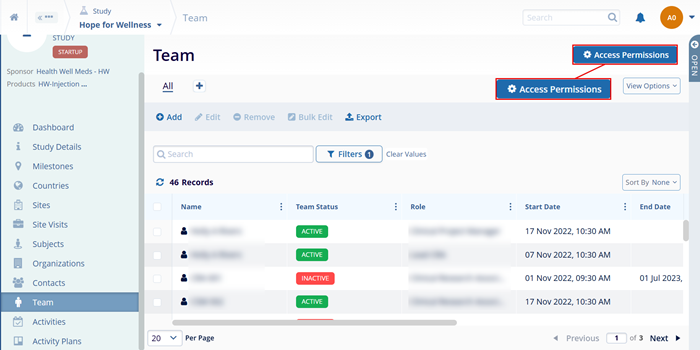
Users will see an ‘Access Permissions’ button at the top-right of the Study Team area. Clicking on that button will navigate to the Site or Study Settings area as appropriate and the Access Permissions menu. Users can also navigate directly thereby accessing the settings area directly.
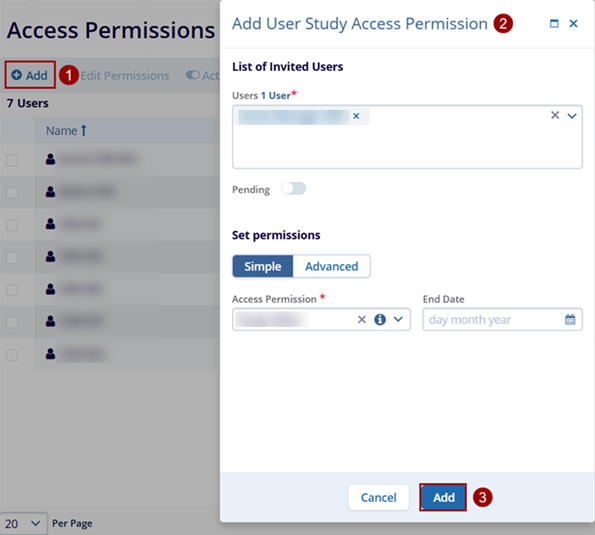
Add users to study access permissions
To add users, follow the steps below.
- On the Access permissions screen, click on the +Add button.
- Add the users and provide them access permissions.
- Click on the Add button.
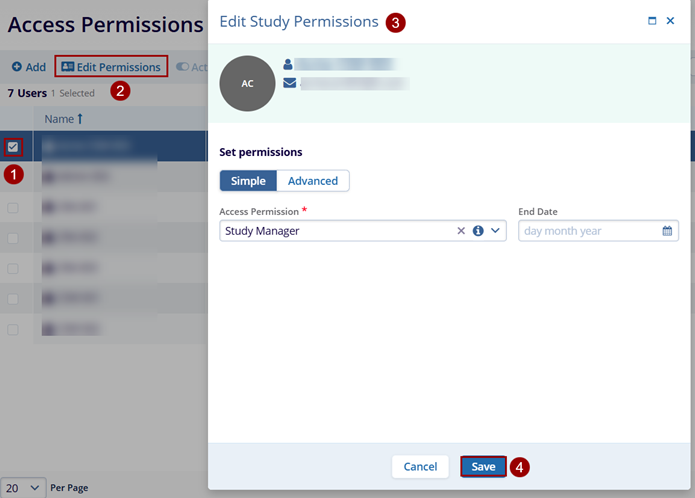
Edit Permissions
To edit permissions, follow the steps below.
- Select a user by clicking on the checkbox.
- Click on the Edit Permissions button.
- Make the required changes and click on the Save button.
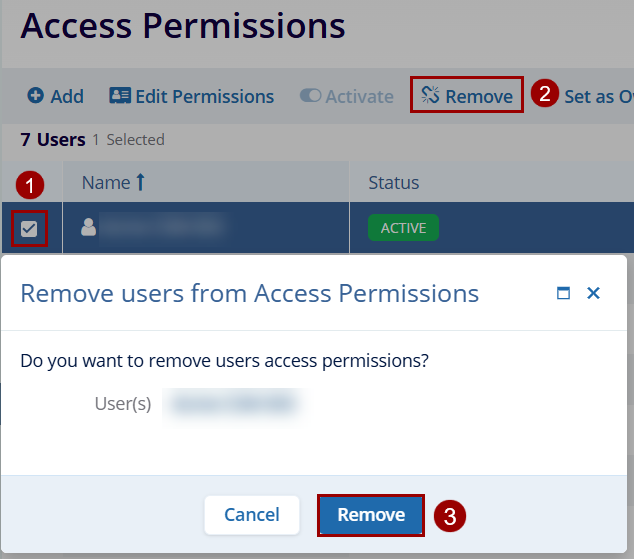
Remove
To remove a user from access permissions, follow the steps below.
- Select a user by clicking on the checkbox.
- Click on the Remove button.
- On the confirmation popup, click on the Remove button.
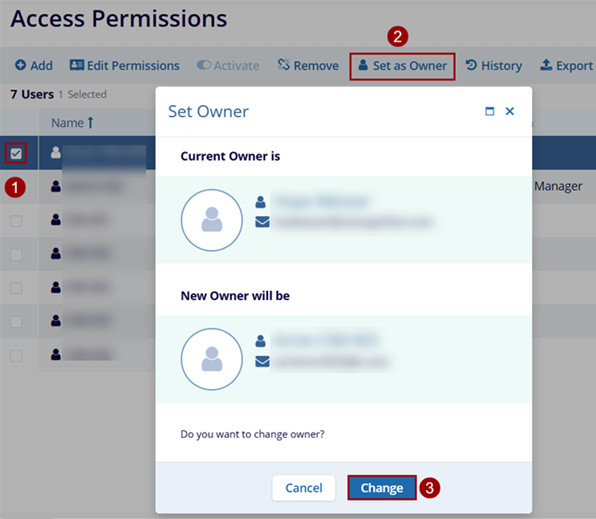
Set as Owner
To set a user as owner, follow the steps below.
- Select a user by clicking on the checkbox.
- Click on the Set as Owner button.
- Click on the Change button.
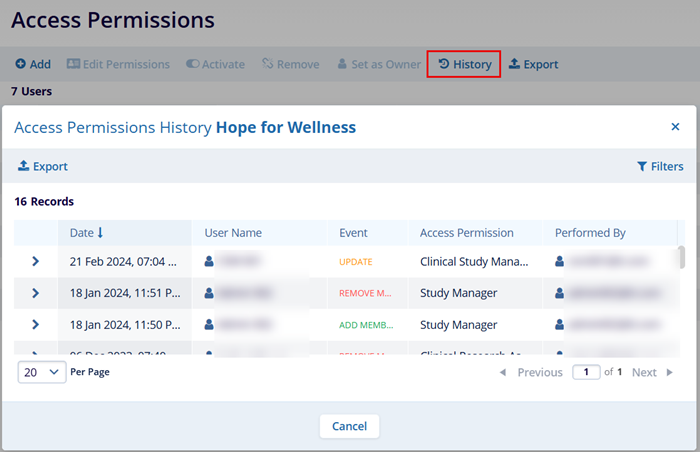
History
To view history, follow the steps below.
- Click on the History button from the top menu bar.