
Importing Documents and Metadata
The Import function allows users to bring documents into the room where permissible; the function also allows for the import of metadata only. If the user has selected a specific target folder in the index pane, the import window will populate with appropriate metadata in anticipation of that folder being the desired final location of the document.
Follow these steps to use the Import function to add documents to a room via this function:
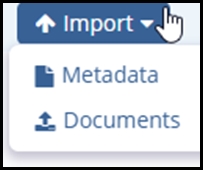
- Click on the Import button above the documents grid.
- This will open the Import Documents window.
- Add documents to the area at the left either by dragging them from your desktop or
by searching for them on your computer. To open the browsing window either click on
the Browse button or the arrow at the center of the documents area.
- When adding .zip files to the room, review the options at the bottom of the window to indicate whether or not these files should be unpacked during upload. The system cannot unpack password-protected files during upload.
- Indicate whether or not any non-PDF documents should be converted to PDF files during the upload process. The types of files that can be converted are specified in the room’s settings.
- Indicate, via the checkbox at the top of the right side, whether or not any metadata
should be applied to the documents.
- Metadata can be applied to all documents at once or to a subset of documents. To apply metadata to only some of the documents, check the box next to the documents to which the metadata should be added.
- Press ‘Import’ or, if you have applied metadata, Press ‘Import and Apply
Metadata.’
- If you have chosen to apply metadata to only a few of the documents, only those documents will be uploaded to the room. Repeat steps 4 and 5 until all documents have been uploaded.