
Initiating the eSignature Process
In order to send a document for signature, please follow these steps:
- Locate the document in the Documents module/Documents Library.
- Open the Document Activities menu by right-clicking on the document or by clicking on the three-dot icon on the document line in the grid.
- Select the ‘Send for eSignature’ option.
-
- This will open the ‘Send for eSignature’ window.
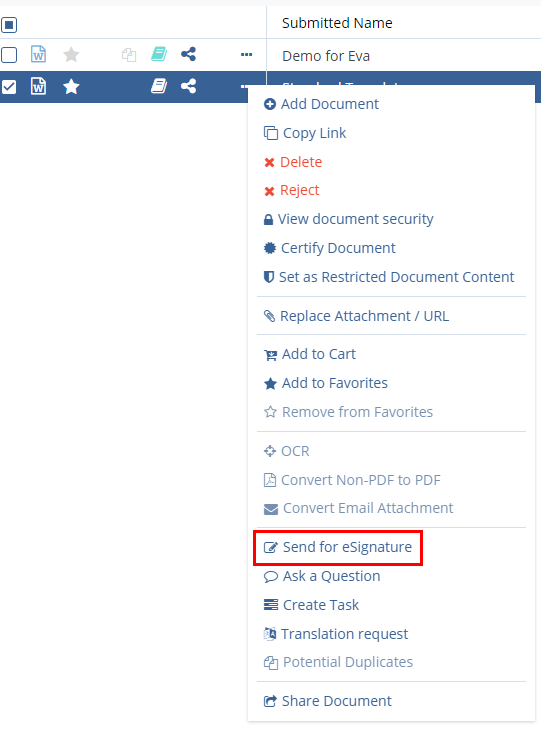 Figure 1: eSignature Sending Option
-
- Choose the user or users who will need to sign the document by
moving them from the left side to the right side.
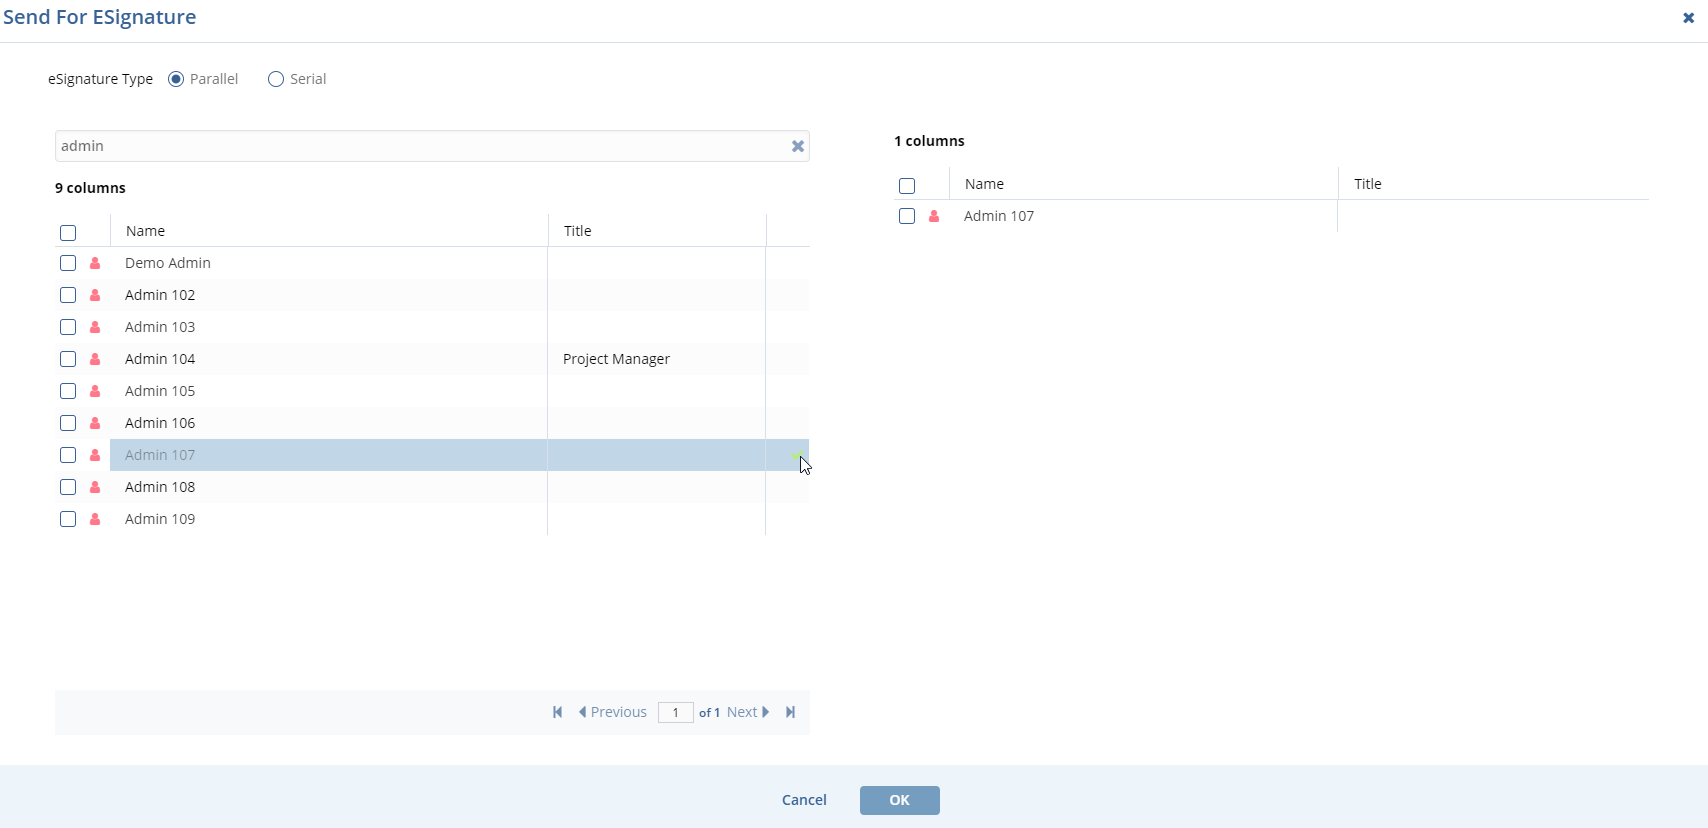 Figure 2: eSignature Page
- Using the radio buttons at the top-left, indicate whether the signatories (assuming that there is more than one signature required) should sign in parallel or if they need to be completed one at a time.
- Press ‘OK’
- From this point on, the steps will vary depending on which
signature vendor your study room is using. For all but TI Sign, the
system interface will open and the user can complete the process
using the assigned vendor.
- See the steps below for signing documents with TI Sign.
- From this point on, the steps will vary depending on which
signature vendor your study room is using. For all but TI Sign, the
system interface will open and the user can complete the process
using the assigned vendor.