Additional Record Type Field settings
Admin users can configure the following settings within the ‘Record Type Field Settings’ tab.
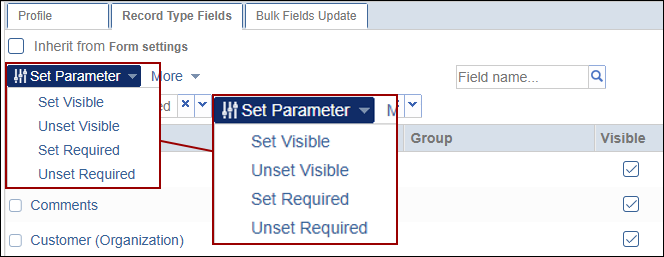
Set Parameter
To set a parameter, follow the steps below.
- Within the ‘Record Type Fields’ tab, click on the Set Parameter dropdown.
- Select the option from the available dropdown options.
- Set Visible
- Unset Visible
- Set Required
- Unset Required
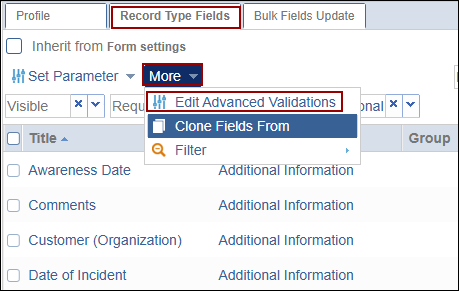
Edit Advanced Validations
To edit advanced validations, follow the steps below.
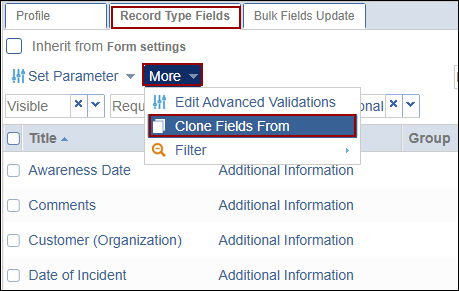
- Within the Record Type Fields tab, click on the More dropdown and select
the Edit Advanced Validations option.
- On the Edit Advanced Field Validation screen, click on the +Add button under the Criteria Condition section.
- Under the Validation Criteria section, add values for When and Equals criteria fields.
- Select a field from the list.
- Click on the Action button.
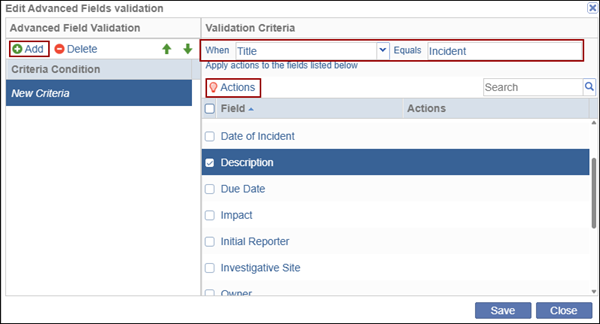
- Configure the necessary actions and click on the
Apply button.
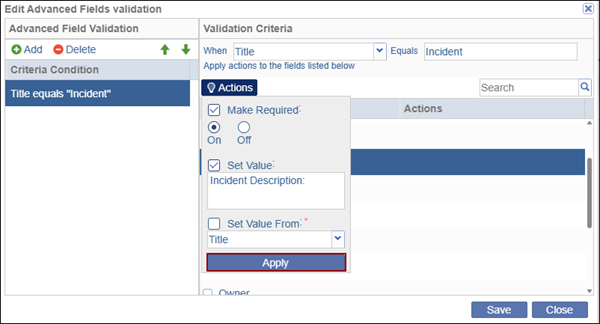
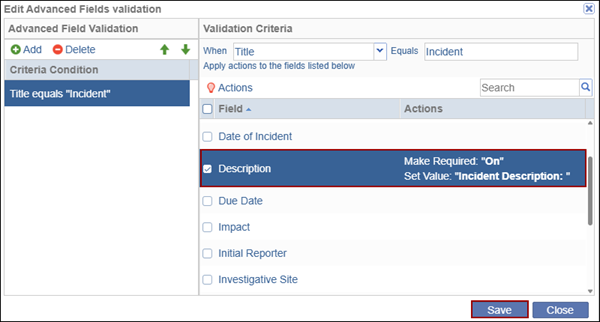
- Once the action is configured, click on the Save button.
Important
- In the above example, the validation rule is defined as: When Title equals Incident, the Description field becomes required and value is set as Incident Description.
- This means that when a user creates an Incident with the record type, where this validation is applied, the Description field becomes required along with the configured value.
Clone Fields From
To clone fields from another record type, follow the steps below.
- Within the Record Type Fields tab, click on the More dropdown and select the
Clone Fields From option.
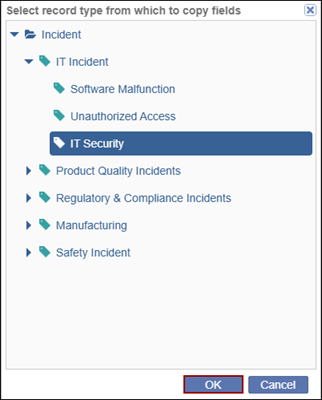
- Select a record type to copy the fields from and click on the OK button.
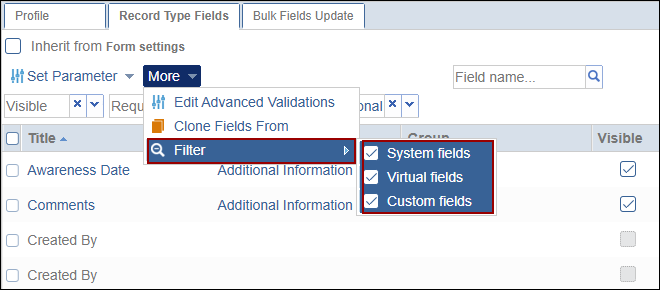
Filter
To configure filters, follow the steps below.
- Within the ‘Record Type Fields’ tab, click on the ‘More’ dropdown and select the ‘Filters’ option.
- Check or uncheck the checkbox for the following options.
- System Fields
- Virtual Fields
- Custom Fields