Record Type Profile
To configure the record type profile, follow the steps below.
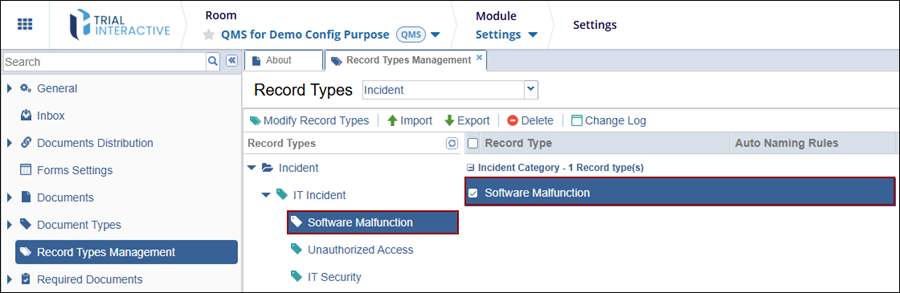
- Select a record category i.e., Incident, CAPA and Action Item,
etc., expand the parent and sub-folders, and select the desired
record type.
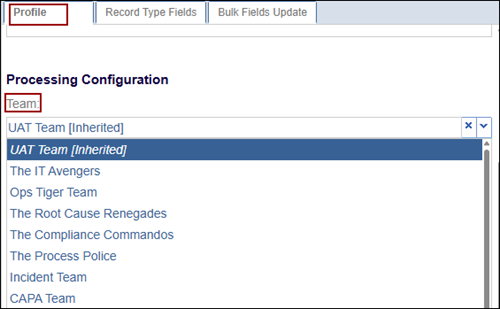
- Click on the Profile tab, navigate to the Process Configuration section, and
select a team from the available dropdown options.
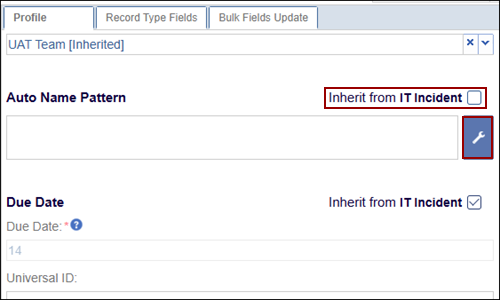
- Uncheck the parent record type checkbox to configure the Auto
Name Pattern and click on the wrench icon.
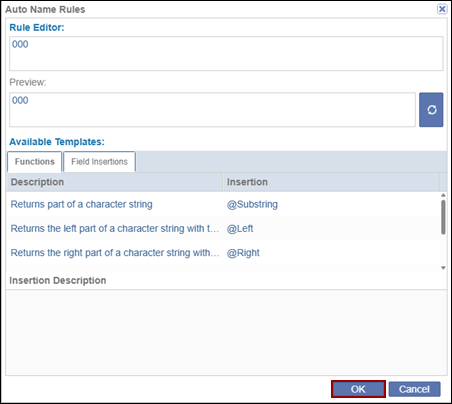
- On the Auto Name Rules window, add the necessary details in Rule Editor and select the required options from the Functions and Field Insertions from the Available Templates section.
- Click on the OK button once the necessary configurations are done.
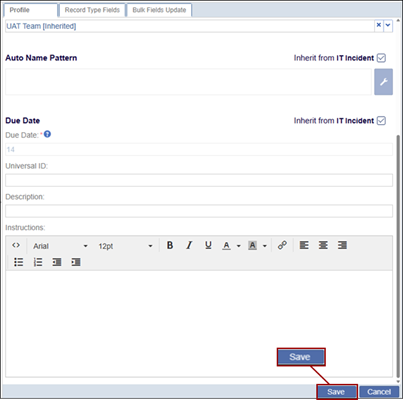
- Uncheck the parent record type checkbox to configure the Due
Date and enter the number of days in the field.
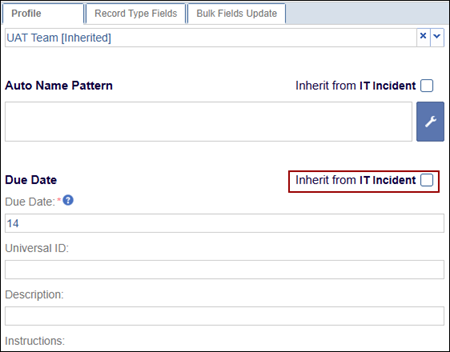
Note: If the checkbox is enabled, the record type will inherit the configurations from its parent record type.
- Additionally, add the following details and click on the ‘Save’ button at the
bottom.
- Short Name
- Universal ID
- Description
- Instructions