
Setting Up Your Individual Dashboard
Unless otherwise restricted by room administrators, each user can control the appearance of their own dashboard.
Follow the steps below to customize your dashboard:
- Click the ‘Edit Dashboard’ button at the top-right of the dashboard.
- This will open the ‘Set up your Dashboard’ window
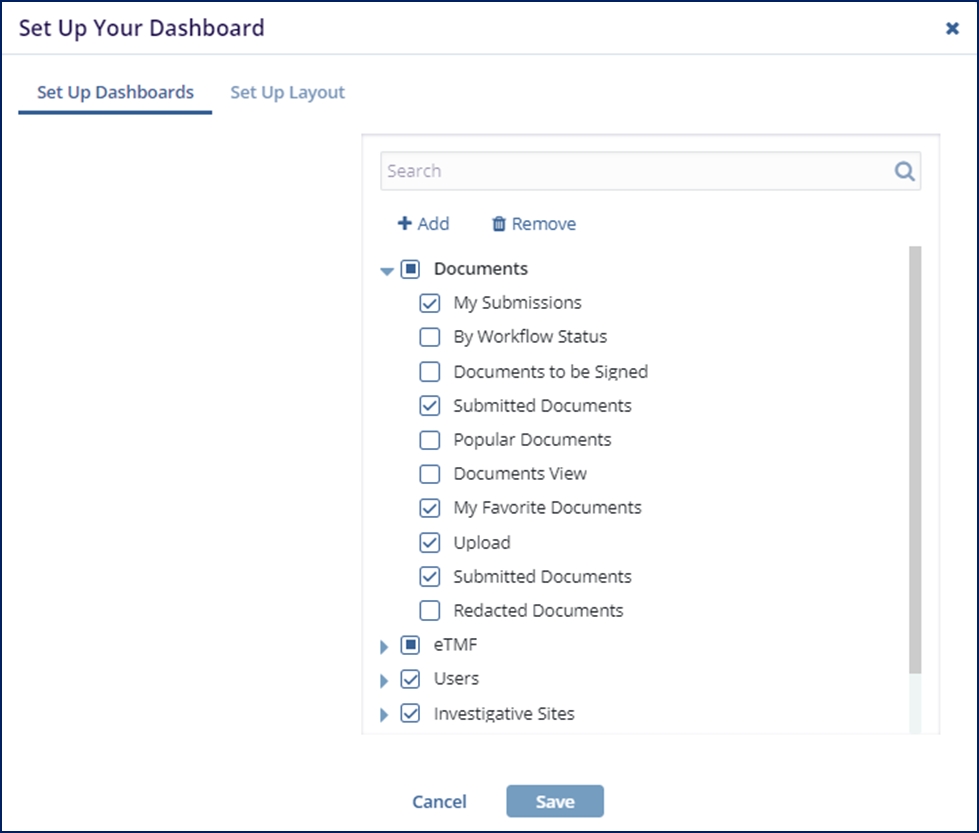
- This will open the ‘Set up your Dashboard’ window
- Check the box next to each dashlet which should be displayed on your dashboard.
- You can also check the entire category to select all related dashlets.
- Once you know what dashlets you use most frequently, you may want to press the
‘+Add’ button to create a custom dashlet category.
- If you choose to do this, you can click on the name of a dashlet and drag it from its home category into your custom category. Once done, the dashlet will be displayed on the dashboard in your custom category.
- If you would like to change the number of columns showing on the dashboard, click on the ‘Set Up Layout’ tab and choose the desired number of columns.
- Press ‘Save’ when done.
- Each category of dashlet can be adjusted by doing the following:
- Press the Pencil icon at the right side of the dashlet category to rename the category.
- Click on the lower-right corner of the category to alter the height of the category window.
- Click on the category header to drag the window to a new position on the dashboard.