Steps to Add a New Organization
- To add a new organization, click the "+Add" button from the menu bar above the grid.

- This action will open the "Create Organization" screen.

Note: To create an organization, you must enter the mandatory fields Name, Type, and Status which are marked with an asterisk (*) next to the field title. Other fields are optional.
Step by Step All fields are explained below:
- Name: Enter the name of the organization in the "Name" field.
- Number: Enter the unique number for an Organization.
-
Parent Organization: To add a parent
organization to this child organization, click on the drop-down
arrow and select the appropriate parent organization from the list.
To create a New parent organization, click on the
“+Create” button. Refer to the
screenshot below.

-
When the user click on the “Create” button,
the screen opens on the same child organization. To prevent
confusion, move the form to one side of your screen and fill in the
information accordingly.

Note: To create a Parent Organization, you must enter the mandatory fields Name, Type, and Status which are marked with an asterisk (*) next to the field title. Other fields are optional.
- Click on the “Create” button to
create a Parent Organization. It will display a
pop-up that the record is successfully created.

- The parent organization will now be automatically populated in
the parent field of the child organization. Please refer to the
screenshot below.

- Type: Select the type of organization from the dropdown menu.
- Subtype: Select the subtype that best describes the Organization.
- Status: Choose the status as your requirement.
- Primary Contact: To add a contact to the organization, click on the drop-down arrow and select the appropriate Contact from the list. To create a New contact click on the “+Create” button. Users can access this link to understand How to Create a Contact.


- Phone Numbers: Click on "+Add" to input phone numbers. Enter the phone number in the provided field.
- Emails Address: Click on "+Add" to enter email addresses. Enter the email address in the provided field.
- Notes Message Box: Enter any additional notes regarding the organization in the "Notes" field.
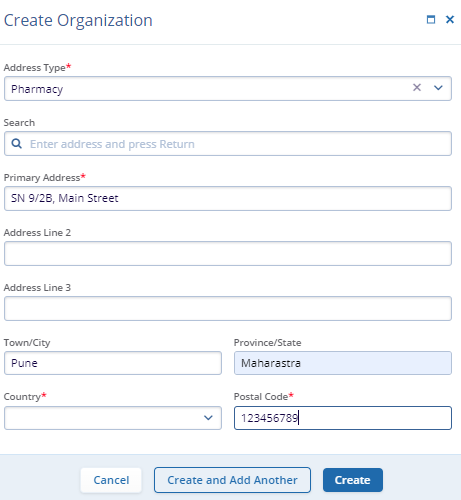
- Include Address: Toggle the switch if you want to include an address. All address related fields appear. Please refer to the screenshot below.

Note: To include an address, you must enter the mandatory fields Address Type, Primary Address, and Country and postal code which are marked with an asterisk (*) next to the field title. Other fields are optional.
- Search Address: Click on the search icon to search for the address and enter your address it will show you an auto-populated list.
- After filling in all required fields, you have three options at
the bottom of the form.
- Create: Saves the new organization and closes the screen.
- Create and Add Another: Saves the new organization and opens a new screen to add another organization.
- Cancel: Discards the information and closes the screen.
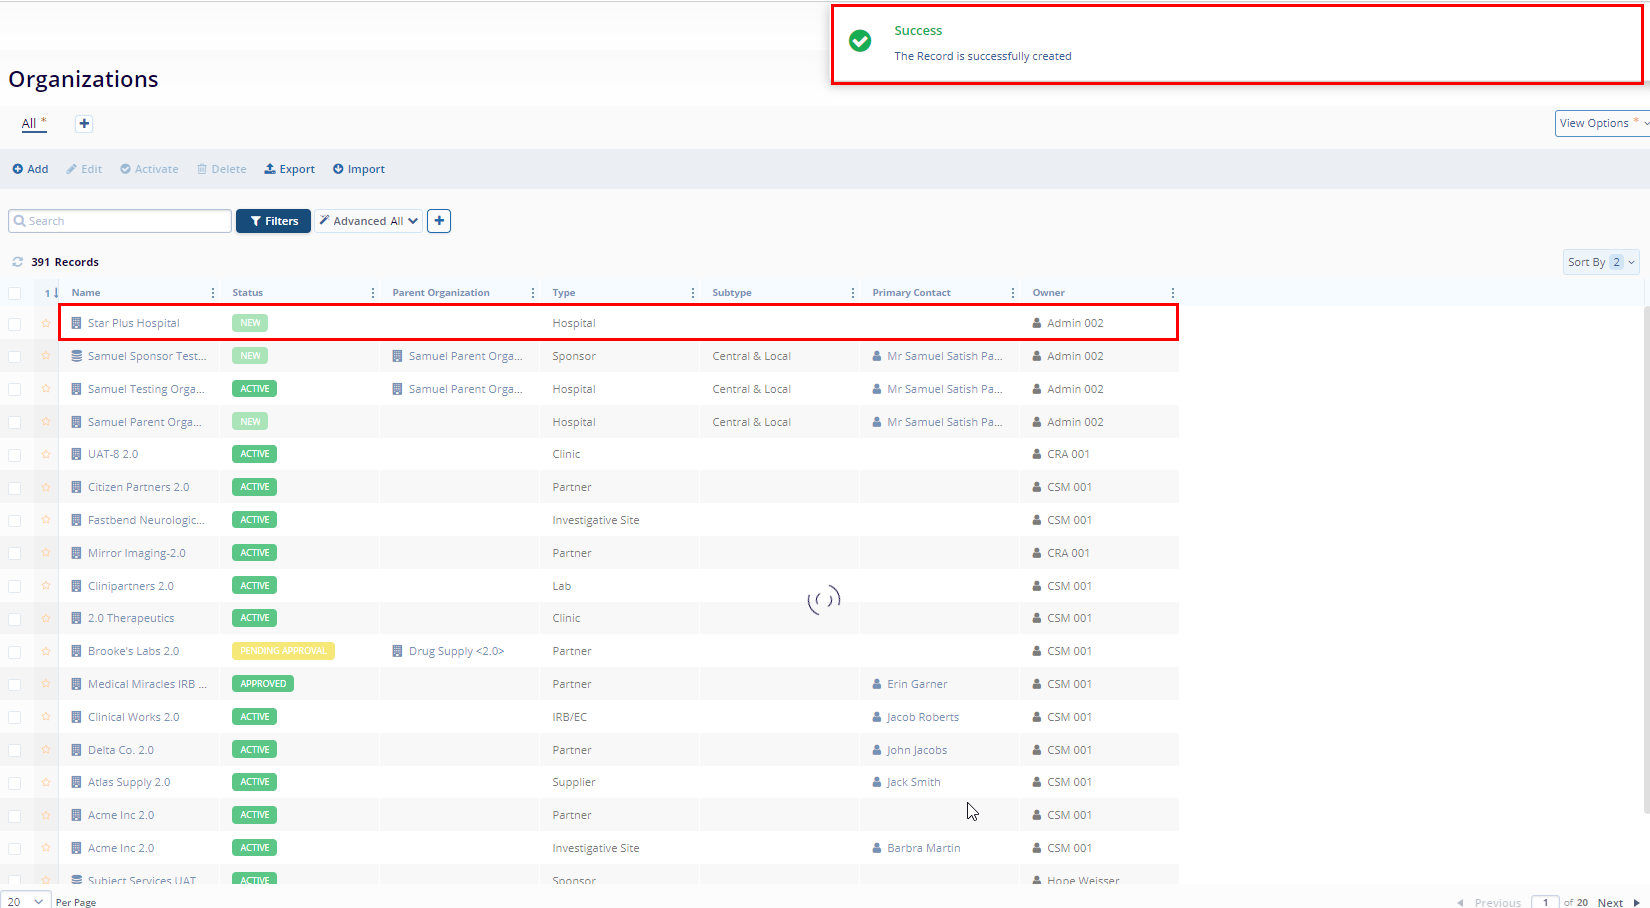
- When the user clicks on the “Create” or “Create and Add Another” button. This action will create an organization and it will display a pop-up

