
Organization Settings
To view the organization modal and customize the settings, follow the steps below.
- Click on the waffle icon and select the Settings module.
- On the Settings screen, expand the Organizations setting dropdown from the left-hand
navigation pane.
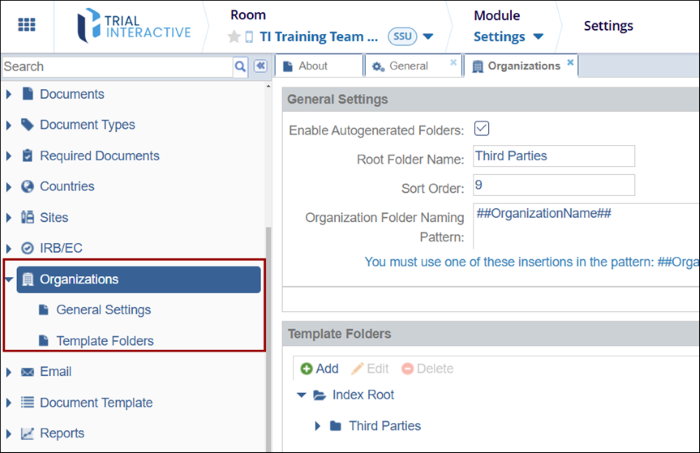
- Select the General Settings option and configure the following
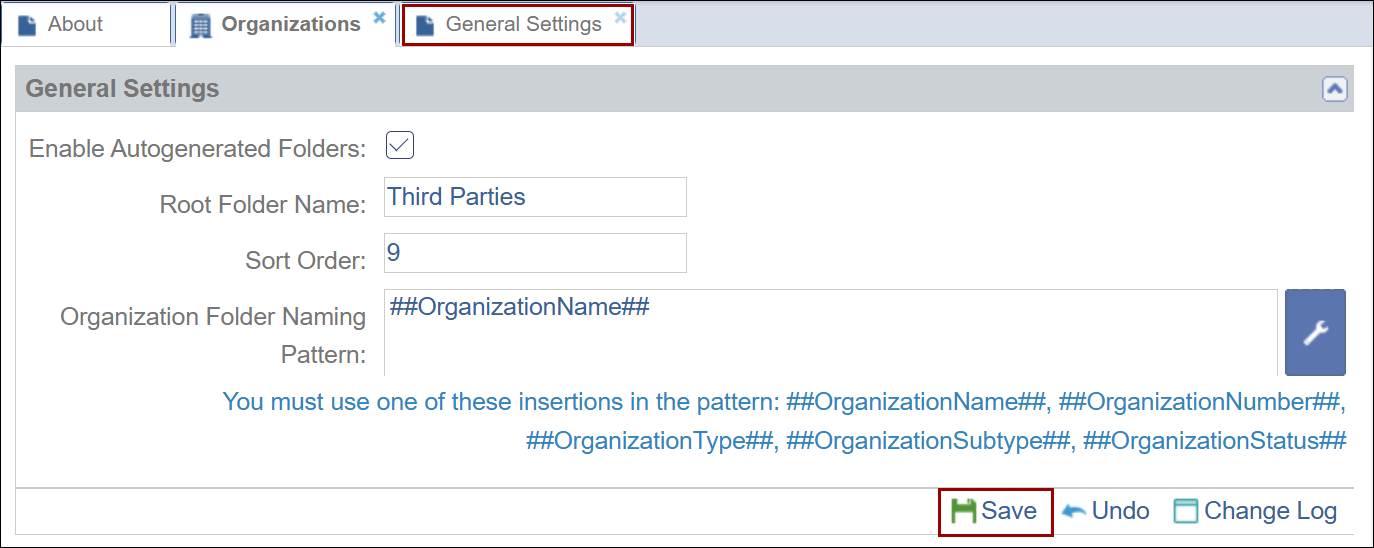
- Enable Autogenerated Folders: Check the box to enable this setting and vice versa
- Root Folder Name: Add a root folder name
- Sort Order: Define the sort order
- Organization Folder Naming pattern: Click on the wrench icon to add a new organization folder naming pattern. Organization Name is selected by default.
- Once the settings are configured, click on the Save button.
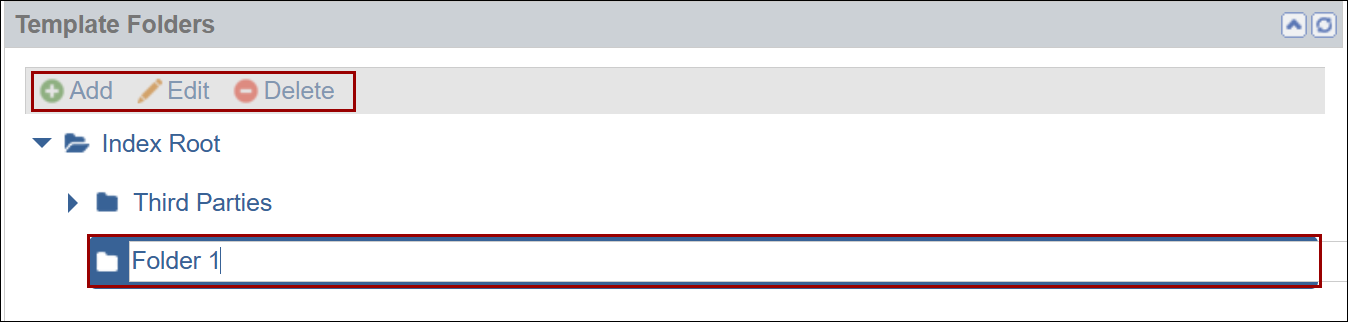
- Select the Template Folders option and configure the following settings.
- Add Folder: To add a root folder follow the steps below.
- Click on the +Add button.
- Add the folder name.
- Add Folder: To add a root folder follow the steps below.
- Edit Folder: To edit the root folder, follow the steps below.
- Select the root folder and click on the Edit button.
- Rename the folder name.
- Delete Folder: To delete the root folder, follow the steps below.
- Select the root folder and click on the Delete button.
- From the left-hand navigation pane, select the Document Types setting.
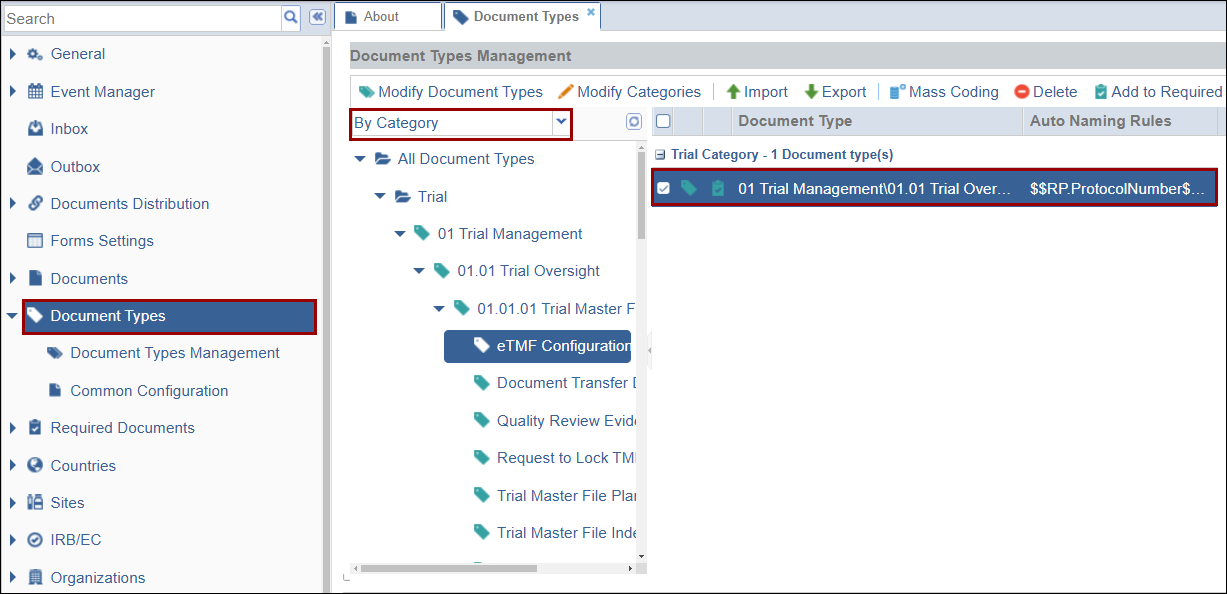
- Select a document type by applying the By Category sort criteria.
- In the right-hand side metadata panel, click on the Profile tab and enable
the Related to Organization setting.
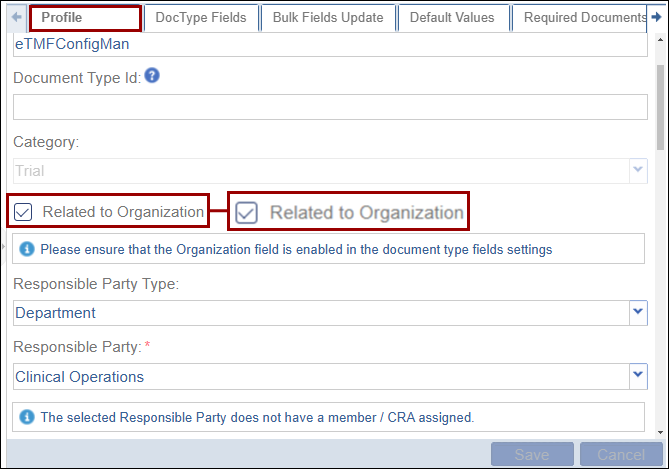
- Click on the Doc Type Fields tab, and make the organization field visible and/or required by clicking on the respective checkbox.
- Click on the Save button.Note: Super Administrators must create organizations, sub-organizations and services at the domain level since organizations are always set up at the client/domain level.
