
Opening a workflow query
It is assumed that the user is already a part of the workflow in the room and has already claimed the document for review. Also, the statuses for each workflow are configurable. For these instructions, we are using the default or most commonly used statuses but the statuses available in your study room may be different.
To open a workflow query, follow these steps:
- Apply metadata to the document as accurately as possible.
- Some fields will be required even if the point of the query is to clarify the required value. Fill in the field to the best of your ability.
- Select the status of “Clarification” from the
dropdown menu to the document and indicate the issue.
- It is not required to add comments to a document when applying a status of ‘Clarification’ but it is highly recommended that you be as specific as possible in order to give the query recipient enough detail to correctly and quickly answer your question.
- Enter the details in the Comments field to enable the ‘Create Query’ button.
- Click the ‘Create Query’ button displayed below the
Comments field in the metadata panel.
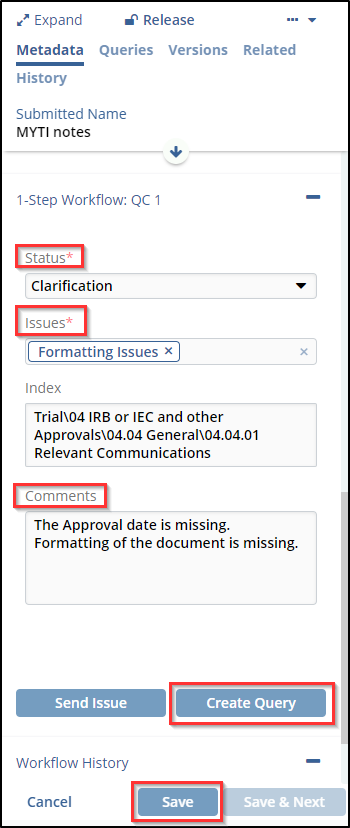
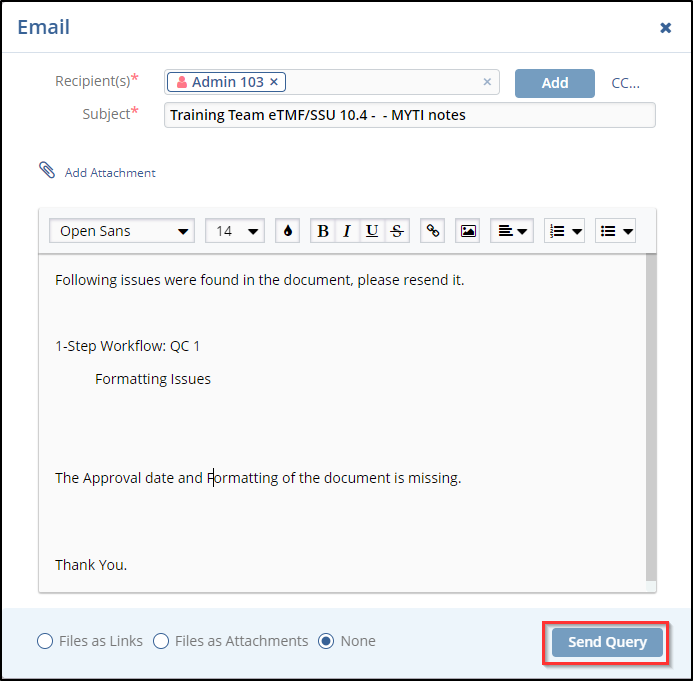
- This opens the Email popup window.
- The email window will automatically populate with the submitter as the recipient, the template email, the issues chosen, and any comments that you provided. Customize the email and add any additional recipients as necessary.
- Select the appropriate option from the following radio buttons
available at the bottom of the email popup window –
- Files as Links
- File as Attachments
- None.
- Click the ‘Send Query’ button displayed at the
bottom of the popup window next to the radio buttons.
- Click the ‘Save’ button displayed at the bottom of
the metadata panel.
- If you inadvertently press the ‘Save & Next’ button, you will need to go get your document from the ‘Clarification’ folder at the left side of the screen before continuing.