
Create Audit Profile
Selecting the Add button in the Document Quality Review setting enables users to create a new Audit Profile. Before starting this process, ensure that all applicable Quality Review Statutes are already created.
To Create an Audit Profile, follow these steps:
- Navigate to the Quality Review Settings. By default, Documents Quality Review Settings is selected.
- Click the Add button in the top menu bar above the audit's name. This opens the Create Audit Profile window.
- Enter a Title for the audit profile. It is best to be as specific as possible.
- Entering a Description in the field is optional but highly recommended, as it serves as a mission statement for the audit and helps in selecting the appropriate audit settings for the remaining fields.
- The Documents to Audit area has several options to choose from:
- Documents will be added to the pool on-demand: Create a blank audit with no documents. Editor, Manager, and Administrator users can manually add documents to the audit via the Documents Cart
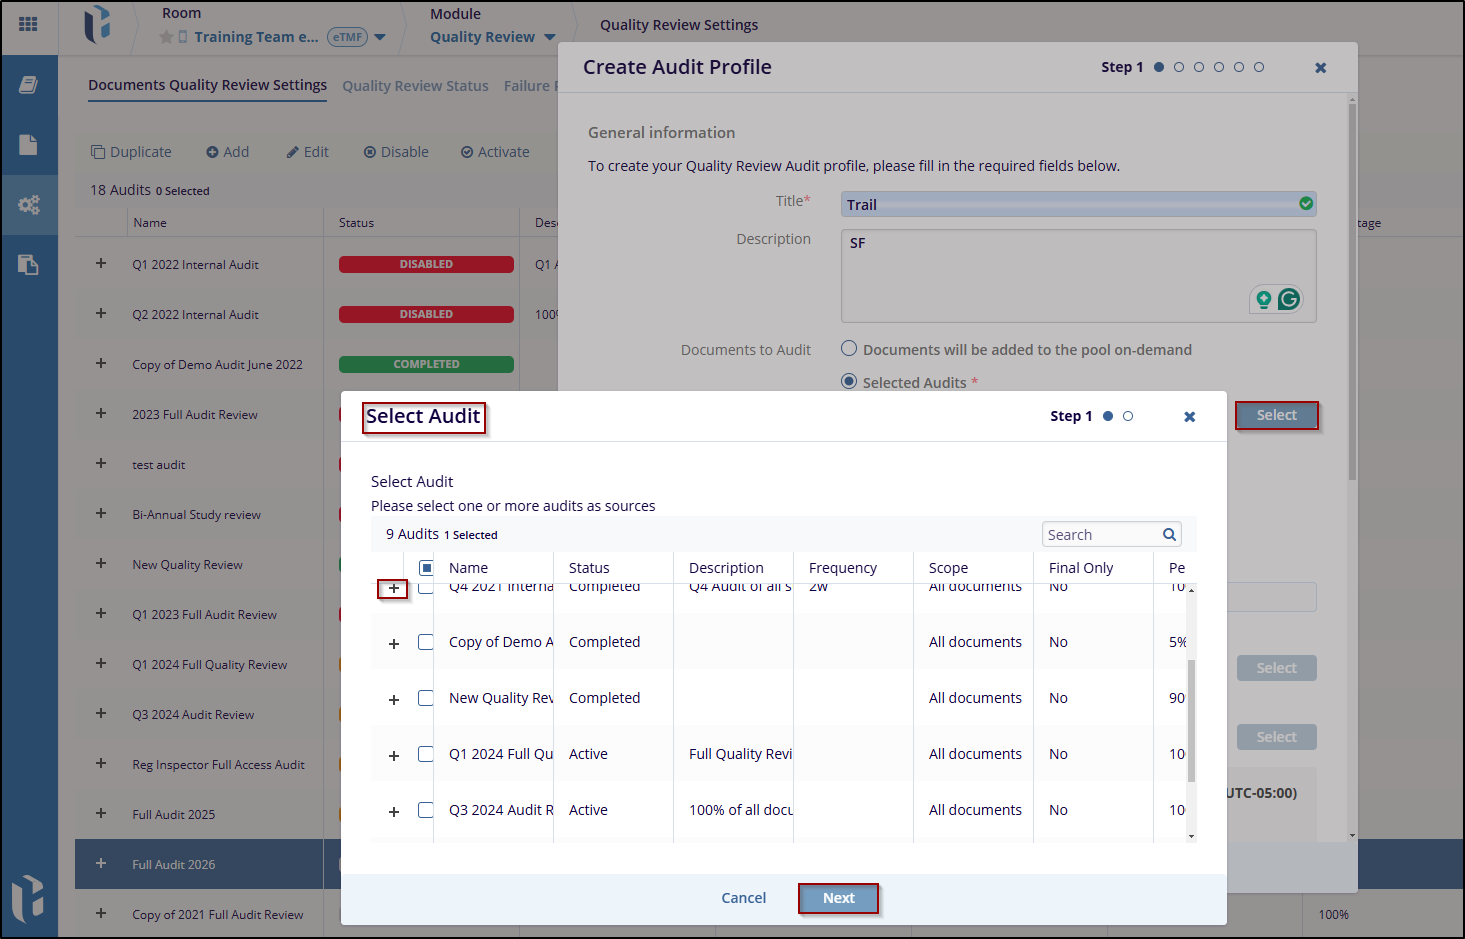
- Selected Audits: This option allows reviewing work done in a prior audit or set of audits. If selected, the user can specify which audit and auditor(s) to review.
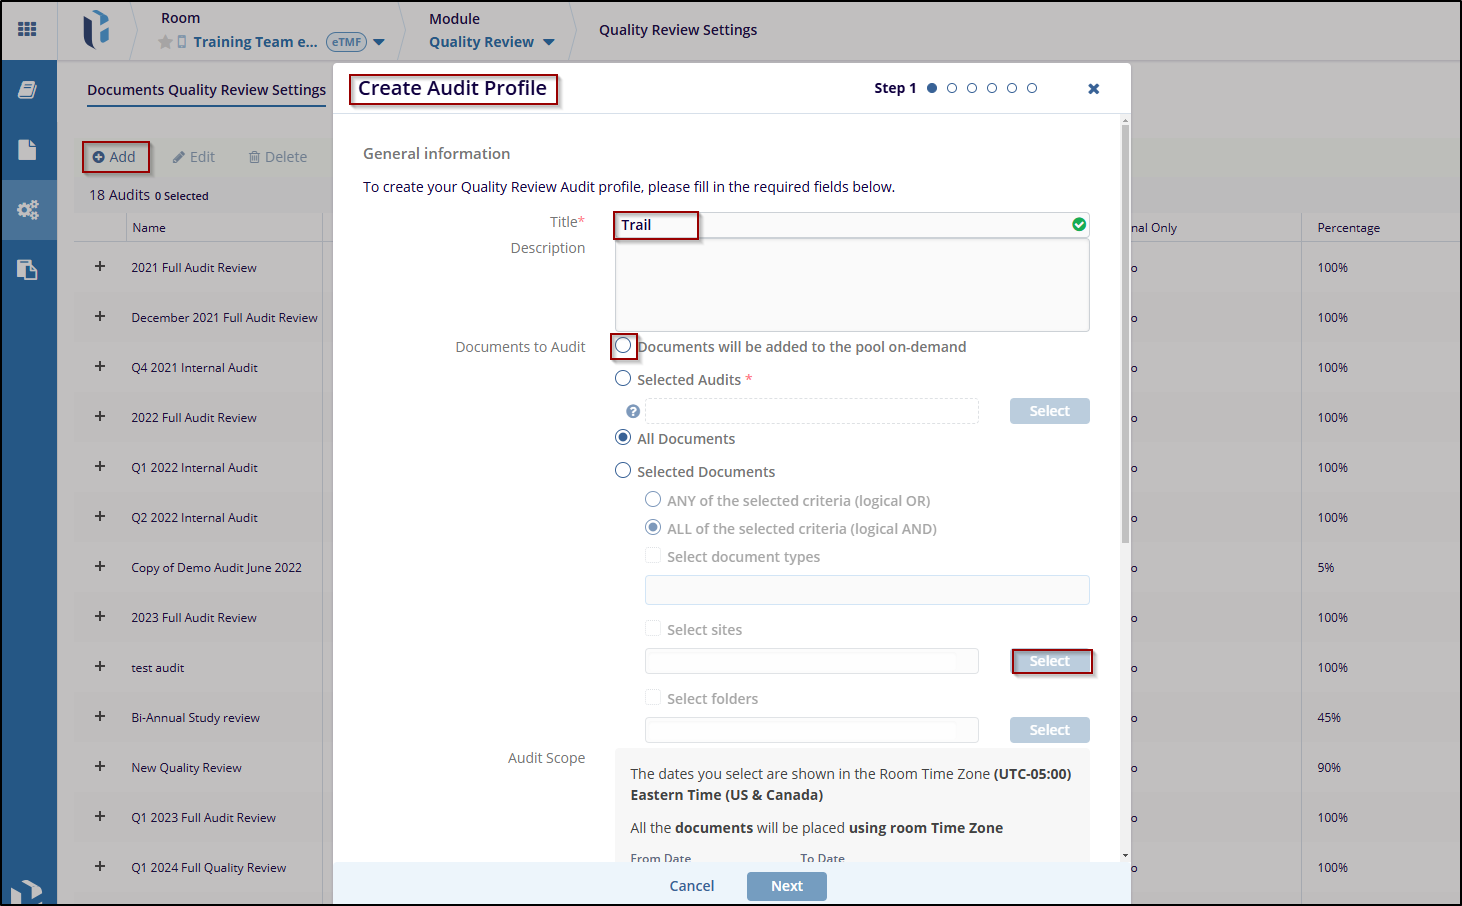
- Click the Select button to open the Select Audit window.
- Click the Next to select the auditors in the next step.
- Select all documents that meet the criteria below (Please select one or more audits as sources)
- Selected Documents: Specifies criteria used by the system to gather documents for review, click the finish button.
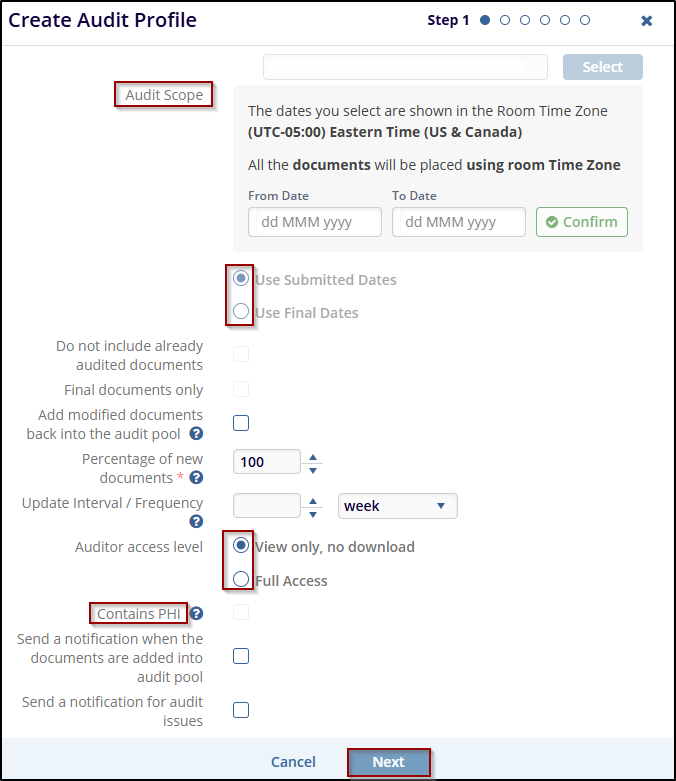
- The Audit Scope is applicable for audits reviewing documents from a specific timeframe.
- Select whether to use Submitted Dates or Final dates to determine document inclusion
in the audit scope:
- Use Submitted Dates: The date the document was submitted.
- Use Final Date: The date the document was made Final and published to the index.
- Indicate whether the system should include documents already included in a previous audit.
- Specify whether to include only documents with a final status.
- If not checked, a document may go through the QC Workflow and Quality Review Audit simultaneously, which can lead to confusion and is not recommended.
- Enable the option to Add modified documents back into the audit pool if metadata is
updated when the Audit Responder addresses an audit finding. This ensures documents
are re-added for further review if the following metadata fields are updated:
- Index
- Category
- Document Type
- Set the Percentage of new documents. This determines the random sampling percentage when the system gathers documents matching the criteria.
- Use the Update Interval/Frequency field for ongoing audits that need updates at regular intervals. The system will gather new documents at the specified interval.
- Indicate the auditor access level.
- View only, no download: Restricts the auditor to view-only access.
- Full Access: Allows the auditor to download or modify documents based on their user access level rights.
- Specify whether auditors should have access to the Contains PHI function, which allows auditors to delete files containing PHI and assign them to the Audit Responder for redaction.
- Choose whether the system should send audit notifications.
- Click the Next button to proceed to the next step. The next step is to assign
the Auditors for the audit.
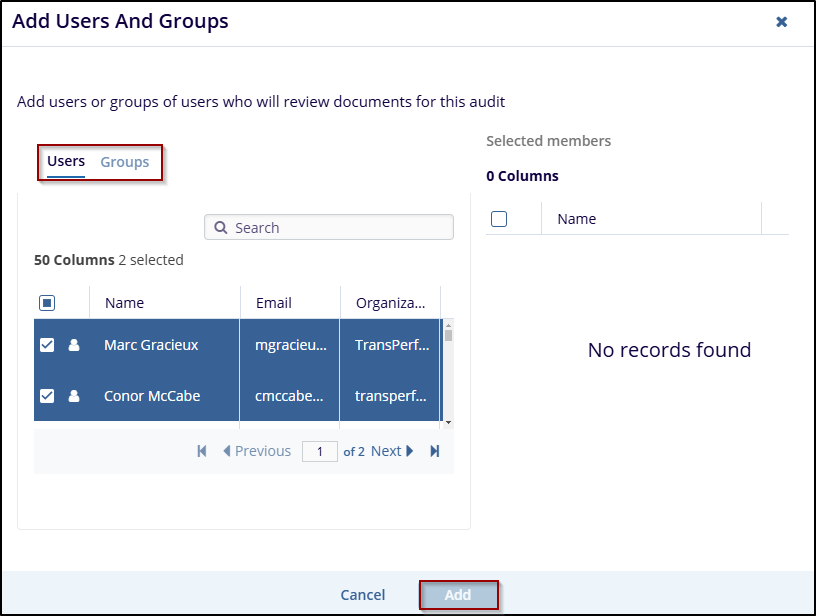
- Click the Add button to open the Add Users and Groups window.
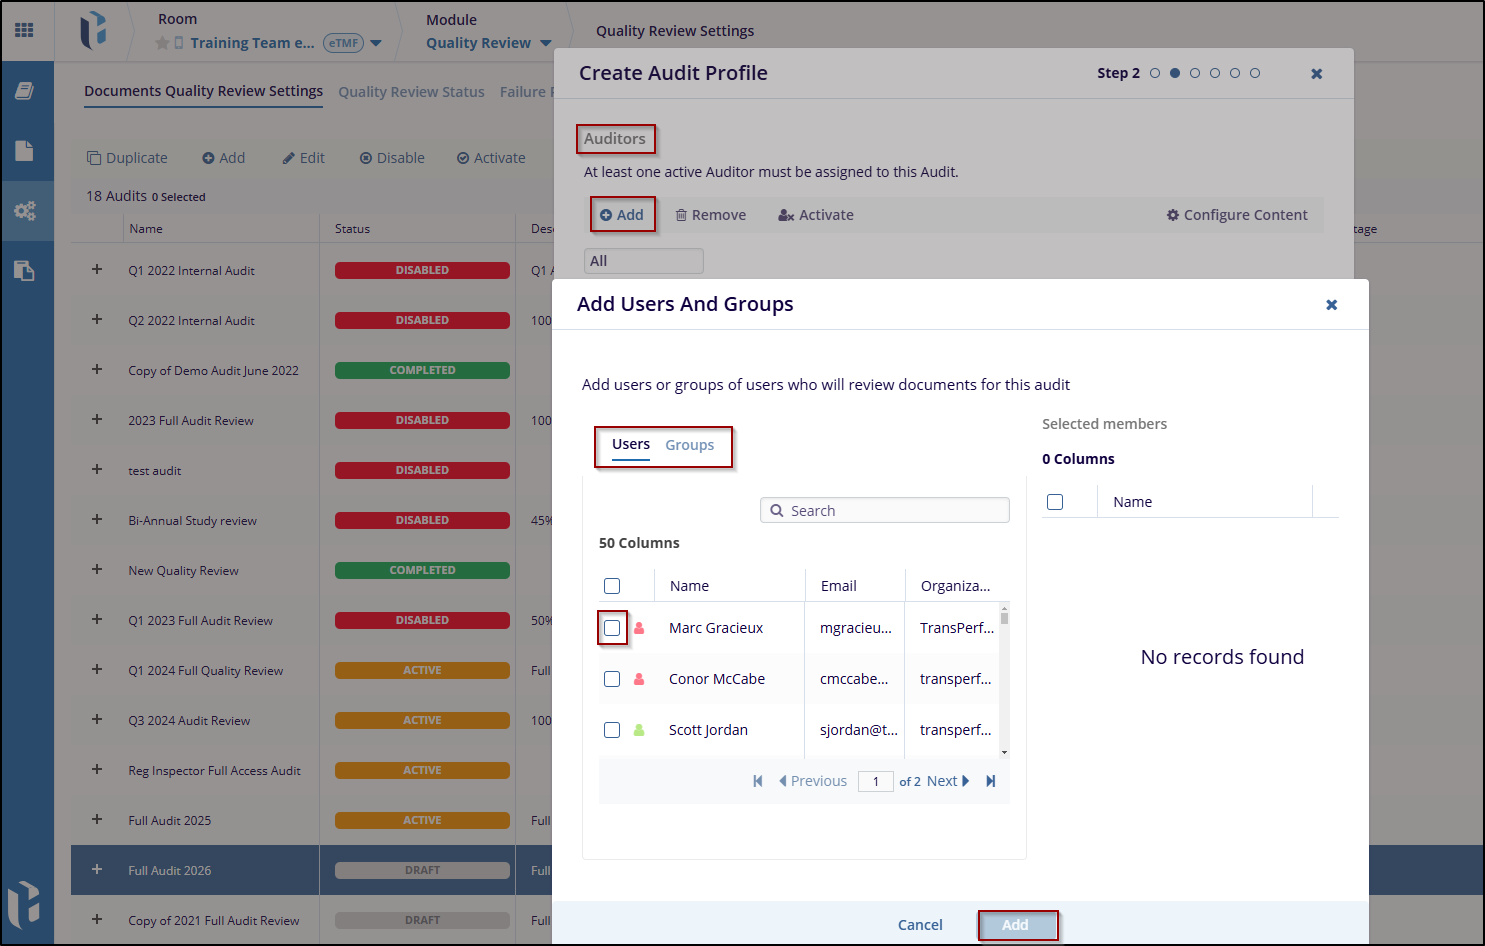
- Move the applicable users and/or groups to the right panel by clicking, dragging, double-clicking, or pressing the + sign next to the user's name.
- Click the Add button at the bottom of the popup window.
- If multiple auditors are added, the Configure Content option can be used:
- This option is most useful when you have chosen specific criteria such as document types or investigative sites and you would like a specific auditor to review a specific document type or all documents associated with a specific site.
- Select the auditor and click the Configure Content button displayed in the top right corner.
- Choose the criteria to assign documents to the selected auditor:
- Document Types
- Sites
- Folders
- Once selected, specify which document types, sites, or folders apply to the selected user.
- Select the auditor who needs to be removed from the audit.
- Click the Deactivate button. This will open the Documents Reassignments window.
- Choose what to do with the user's remaining documents.
- Leaving the Automatically reassign all documents randomly between existing auditors box checked will do just that. The auditors' remaining documents will be reassigned randomly.
- If the box is unchecked, you will be able to choose an auditor to reassign the documents to. Move the selected recipient from the left side of the window to the right side.
- Press Add to proceed through the remainder of the Edit Audit wizard and press Finish
to save your changes.
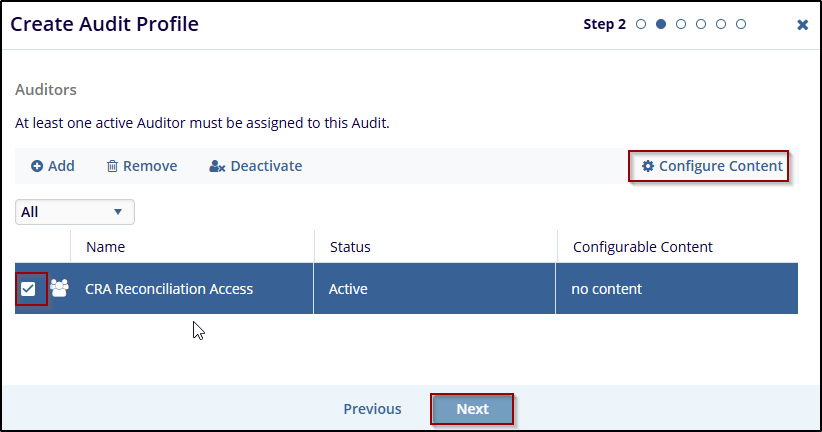
- When you are done adding auditors and, if necessary, configuring content, click the Next button.
- The next step is to assign the Audit Managers for the audit.
- Click the Add button in the top-left corner of the popup window, this will open the Add Users and Groups window.
- Move the applicable users and/or groups to the right panel by clicking and dragging, double-clicking, or by pressing the + sign that appears at the right side of the user's line.
- Click the Next button when done.
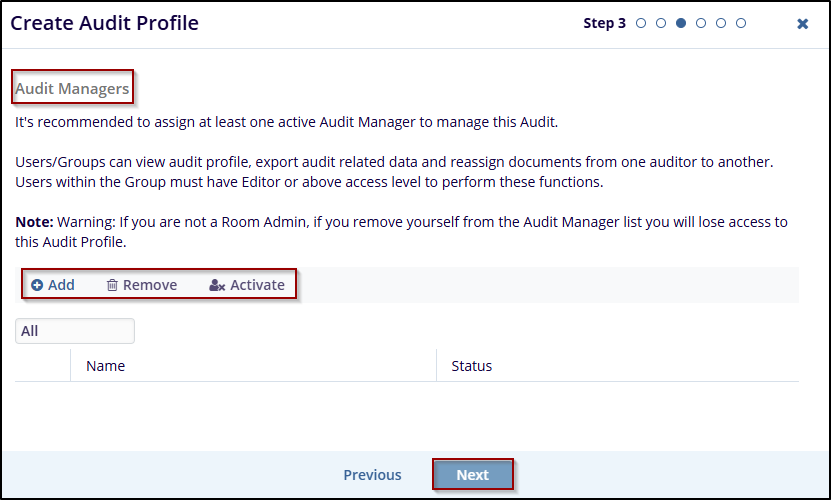
- The selected Audit Managers will appear in the grid.
- The next step is to assign the users who will be Audit Responders for the audit.
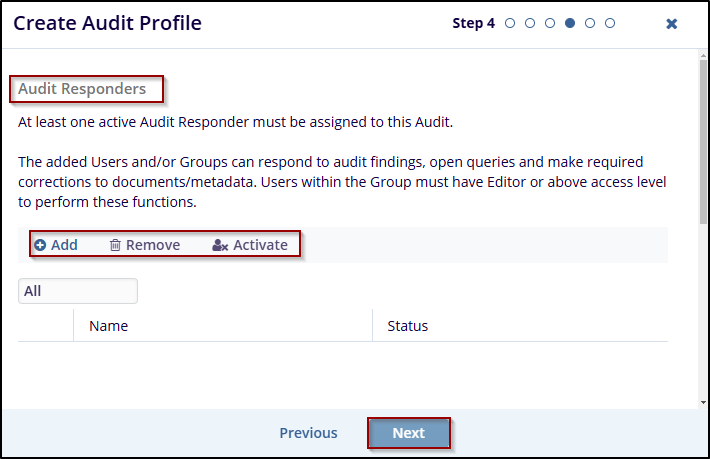
- Click the Add button. This will open the Add Users and Groups window.
- Move any applicable users and/or groups to the right panel by clicking and dragging, double-clicking, or pressing the + sign that appears at the right side of the user's line.
- Click the Next button, once completed.
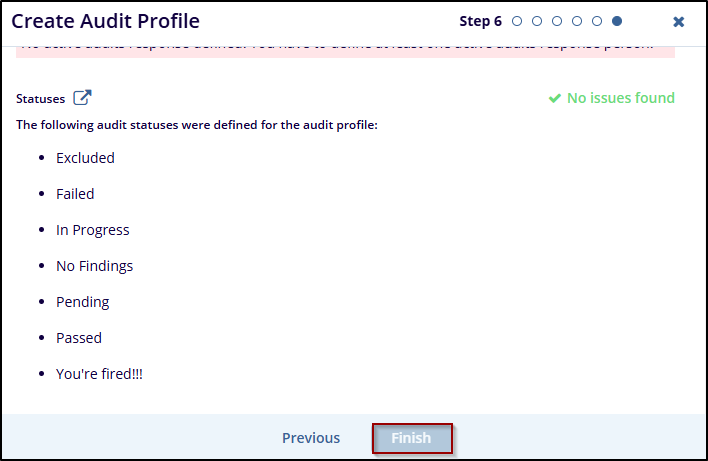
- In the next window, choose the document statuses for the audit. These must have been created before the audit setup.
- At least one status must be included for each of the basic five system statuses:
- Passed
- Failed
- Pending
- In Progress
- Excluded
- Click the Next button once done.

- The final screen will display any detected errors (e.g., a user added as both an Audit Manager and an Audit Responder).
- If errors are detected, use the section link to go back and correct the issue.
- Once done, click the Finish button.
- A window will appear asking whether to activate the audit, click No to close the window, and the audit will be added to the list with an Inactive status, or click Yes to close the window, and the audit will be added to the list with an Active status.
-
The Document Quality Review Settings will display the newly created audit profile in the grid.