
Approve CAPA
When a CAPA record enters the approval workflow, the designated authorities are responsible for advancing the record through each stage until it reaches the final stage. At the final stage, a user (typically an Approver) reviews and approves the record, thereby resolving it.
To approve and resolve a record, follow the steps below.
- Login as a user who is assigned as an authority in the first stage of the workflow and
click on the Open CAPA button from the email notification.
.png)
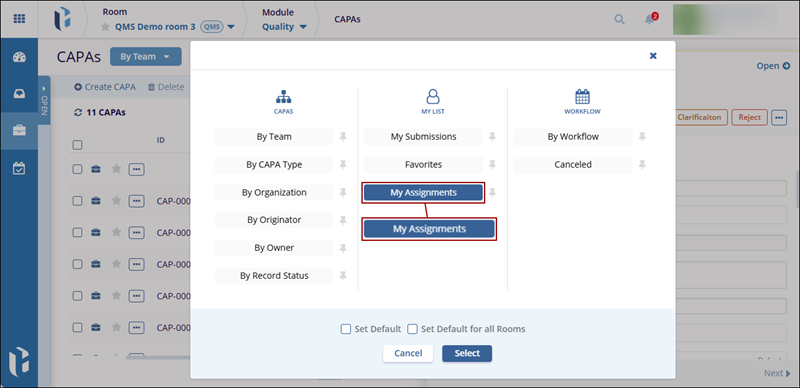
- Additionally, users can access the CAPA record assigned to them by setting the My Assignments view from the dropdown at the top.
- On the CAPA records screen, click on the Claim button.
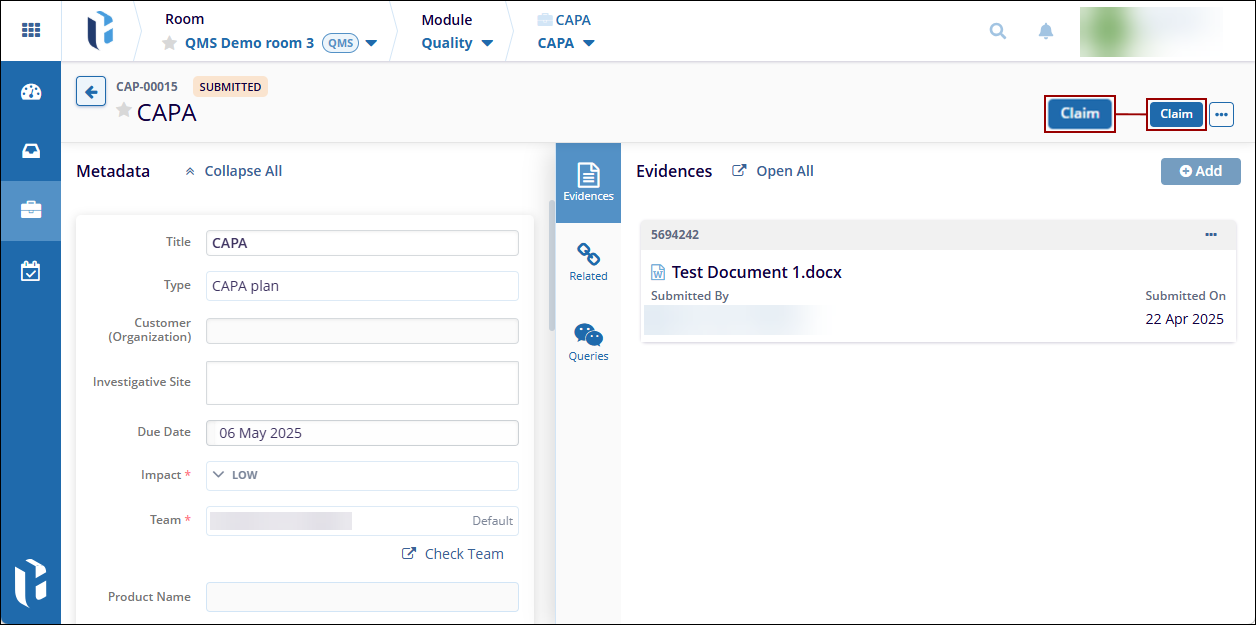
Note:
- The ‘Claim’ button appears when there are multiple authority types in the workflow stage, and any one of the authorities should manually claim the record.
- If there is only one user in a stage, the record is auto-claimed.
- Once the assigned authority clicks the ‘Claim’
button, the record is claimed by that authority and the action
buttons appear as configured in the workflow.
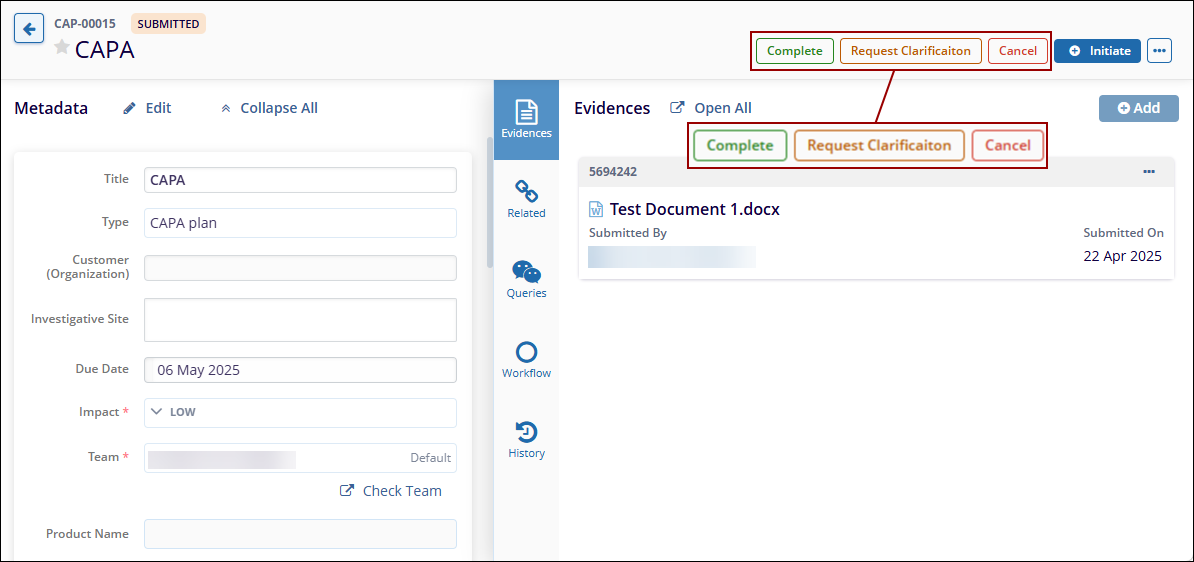
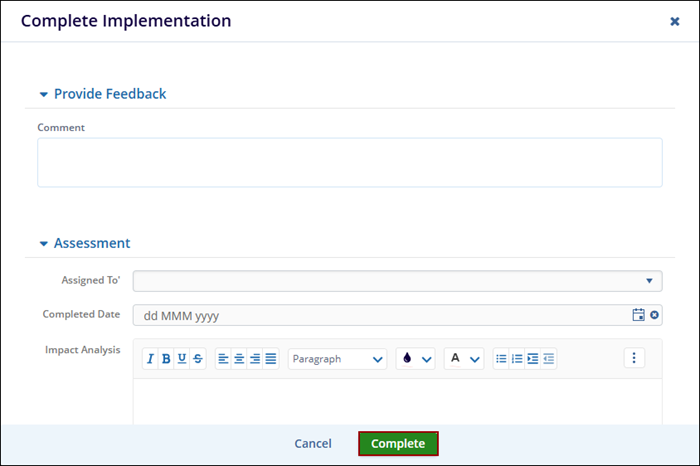
- Click on the Complete button, fill in the necessary details in the Complete
Implementation form, and click on the Complete button.
Note: The display of forms and other sections, upon clicking an action button, depends on the Triggers configured within the workflow.
- Once the record is completed, it is transitioned into the next stage, i.e.,
Implementation Approval, and the record displays the statuses as configured in the workflow.
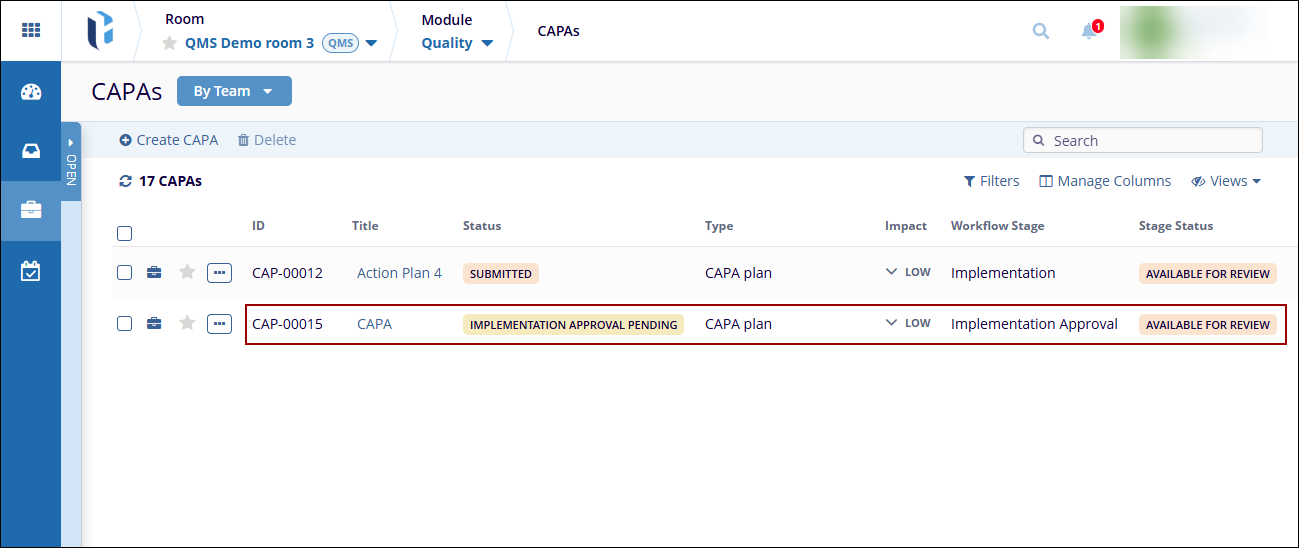
Note: Follow the steps from STEP 1 to STEP 6 to complete the record transition to the last stage.
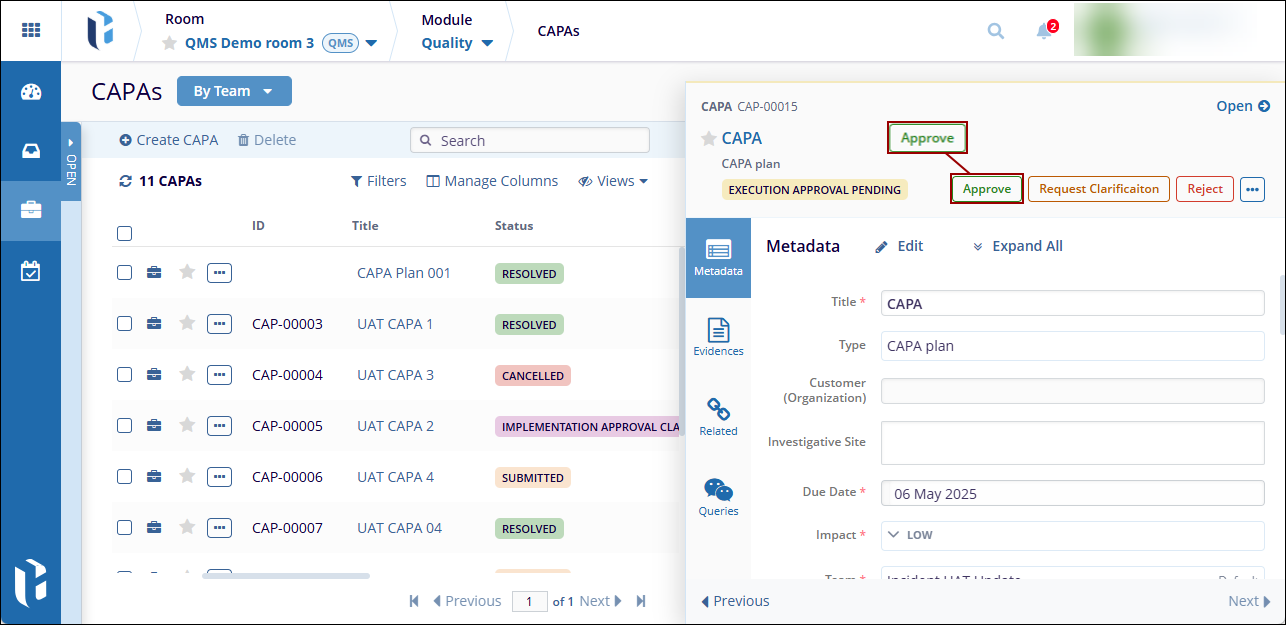
- As the assigned authority in the last stage, access the CAPA record through the email
notification or the My Assignments view.
- Click on the Approve button above the Quick View panel.
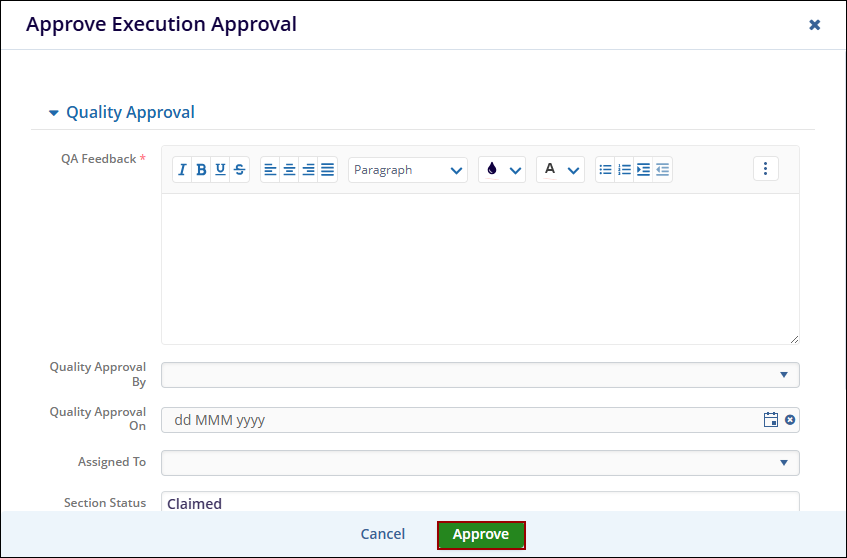
- Enter the required details in the Approval Execution Form and click on the
Approve button.
- Once the CAPA is successfully resolved, all the authorities for
whom the notifications are enabled, receive an email stating the
CAPA is resolved.

- On the CAPA records page, click on the Close CAPA button above the Quick View
panel.
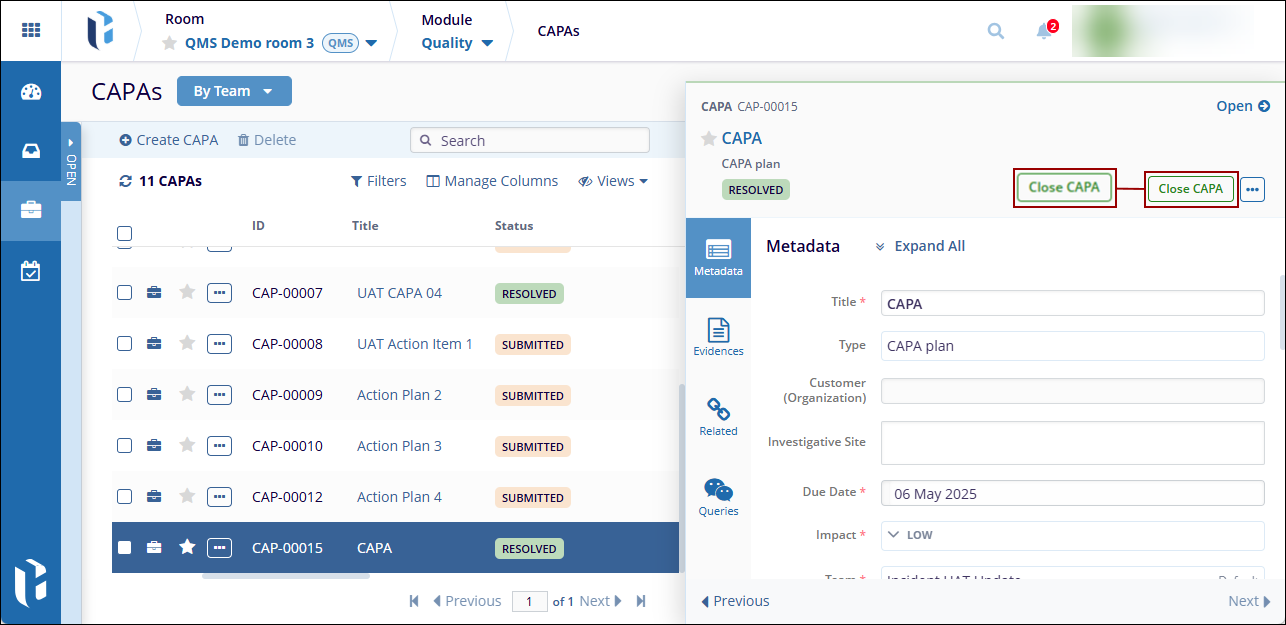
- On the Close CAPA popup, mandatorily add a comment and click on the Close CAPA button.