
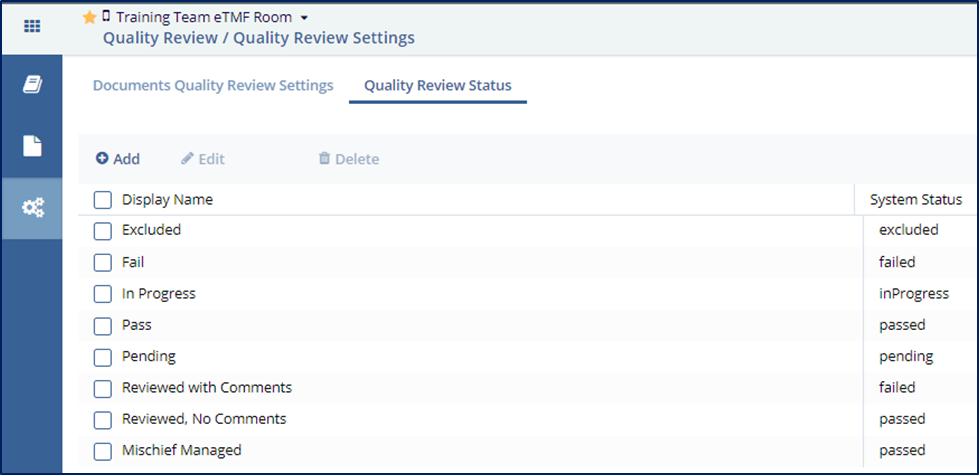
Managing Quality Review Statuses
Every status which can be assigned to a document during an audit has to be added into the Audit Status window before the related audit is built. The system allows users to create custom statuses but each one will represent one of the basic 5 system statuses:
The 5 basic system statuses are:
- Passed – There are no findings associated with the document.
- Failed – Assigning a status which means that the document has failed generates an audit finding which will then need to be reviewed and, if possible, corrected by the Audit Responders.
- Pending – Documents in Pending status are those which still require review by an auditor.
- In Progress – This status can mean whatever it needs to and serves as a placeholder between passed and failed statuses.
- Excluded – Users are not able to manually apply a status of ‘Excluded’ to documents
in the audit but, in specific circumstances, the system may apply this status.
Adding an Audit Status
Follow the steps below to add audit statuses:
- Click the Add button on the Quality Review Status tab.
- The fields under the Display Name and System Status fields are activated.
- Type in the Display Name.
- Click the dropdown arrow from the System Status field and select the established System Status term to associate with the newly added Display Name.
- The ‘Add’ button is replaced with ‘Save’ and ‘Cancel’ buttons during this process.
Press ‘Save’ when you are done.
- The status will be saved and added to the list.

Editing an Audit Status
Follow the steps below to edit audit statuses:
- Select the audit status from list in the Quality Review Statuses window.
- You can edit the audit in the following by:
- Pressing the ‘Edit’ button from the top ribbon bar or,
- Clicking the Edit button that appears while hovering the mouse over the
status.

- Notice that the Add and Edit buttons changes to Save and Cancel when the audit is activated for editing. Refer to the screenshot below:
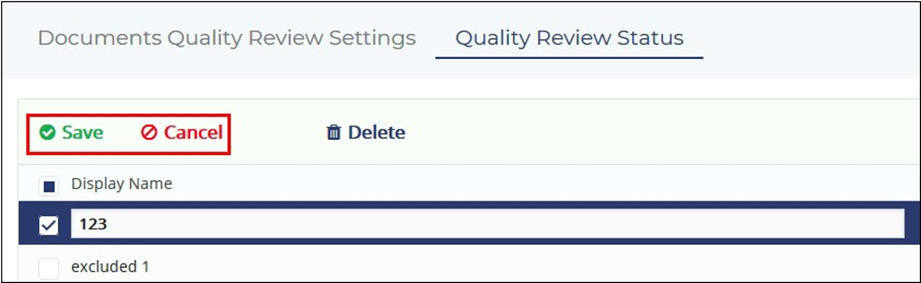
4. Make the required changes and click Save
Deleting an Audit Status
Follow the steps below to delete an audit status:
- Select the status from the list in the Quality Review Status window.
- Either click ‘Delete’ from the top ribbon bar or click the trash can icon that appears on hovering the mouse over the status.