
Sign a Document
To sign a document, follow the steps below.
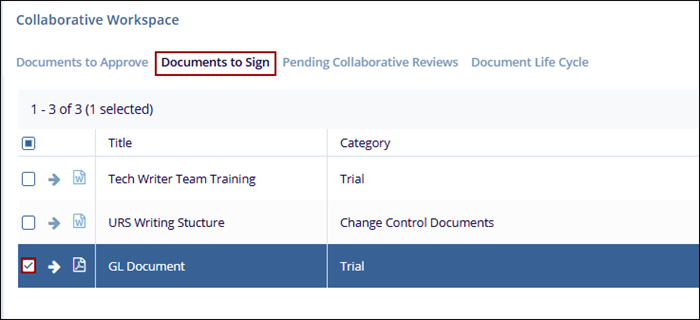
- Navigate to the Documents to Sign tab within the Collaborative Workspace dashlet.
- Select the Document to eSign and click on the arrow.
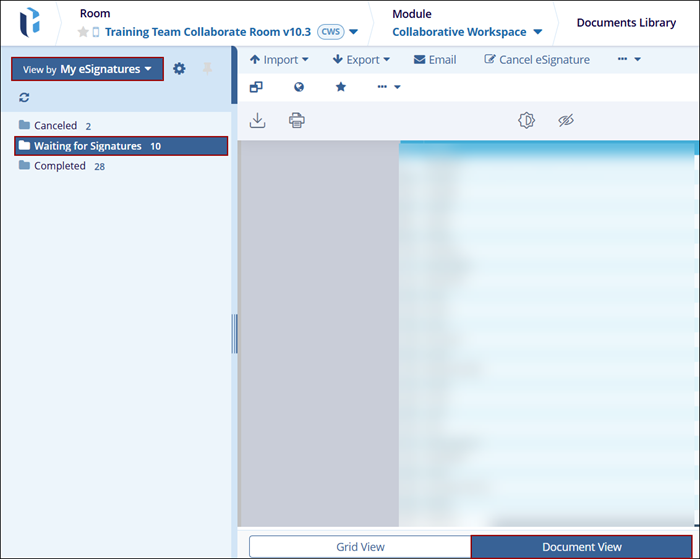
- The Document View opens by default with the My eSignature view applied and
the Waiting for Signatures folder selected.
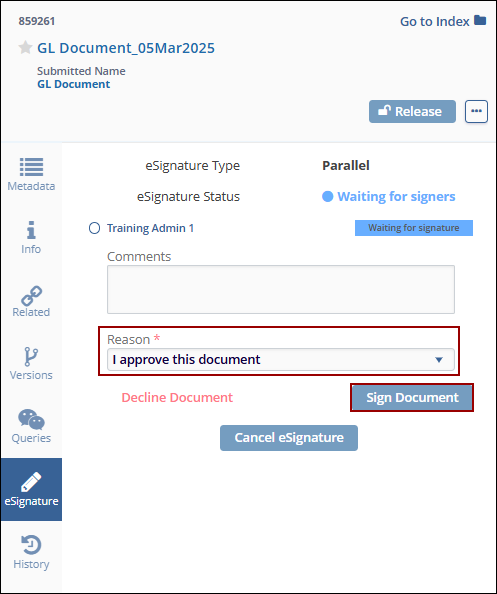
- Select the eSignature tab in the metadata panel and enter a reason from the available dropdown options.
- Click on the Sign Document button.
- On the Please Provide Your Credentials popup, mandatorily enter the Username* and Password*.
- Once the user’s name and password are entered, click on the OK
button.
.png)
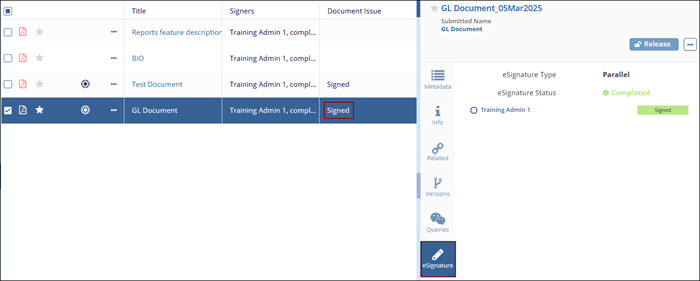
- Once the document is signed successfully, the metadata panel displays the status as
Completed and the Document Grid displays the status as Signed.
- The signed documents can be located in the Completed folder within the Document Life Cycle view.