
Manage Columns
The Manage Columns allows users to customize the columns that appear in a data table. It provides the option to select, organize, and adjust the columns to display specific data as required.
To customize the column display using Manage Columns, follow these steps:
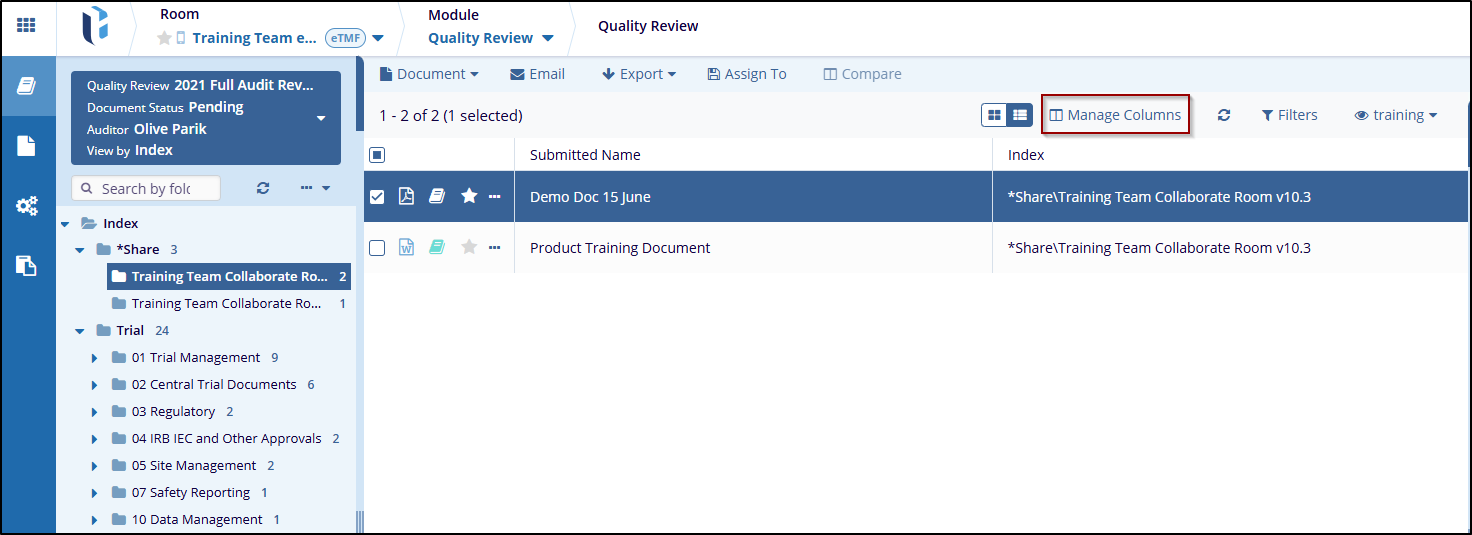
- Click on Manage Columns next to the refresh icon, Manage Columns window will
pop up.
- On the left side of the manage column window, a list of Available Columns is used to add a title to the table.
- Users can use the search bar to find columns. Check the checkbox available for the
title that the user wants to add to their view.
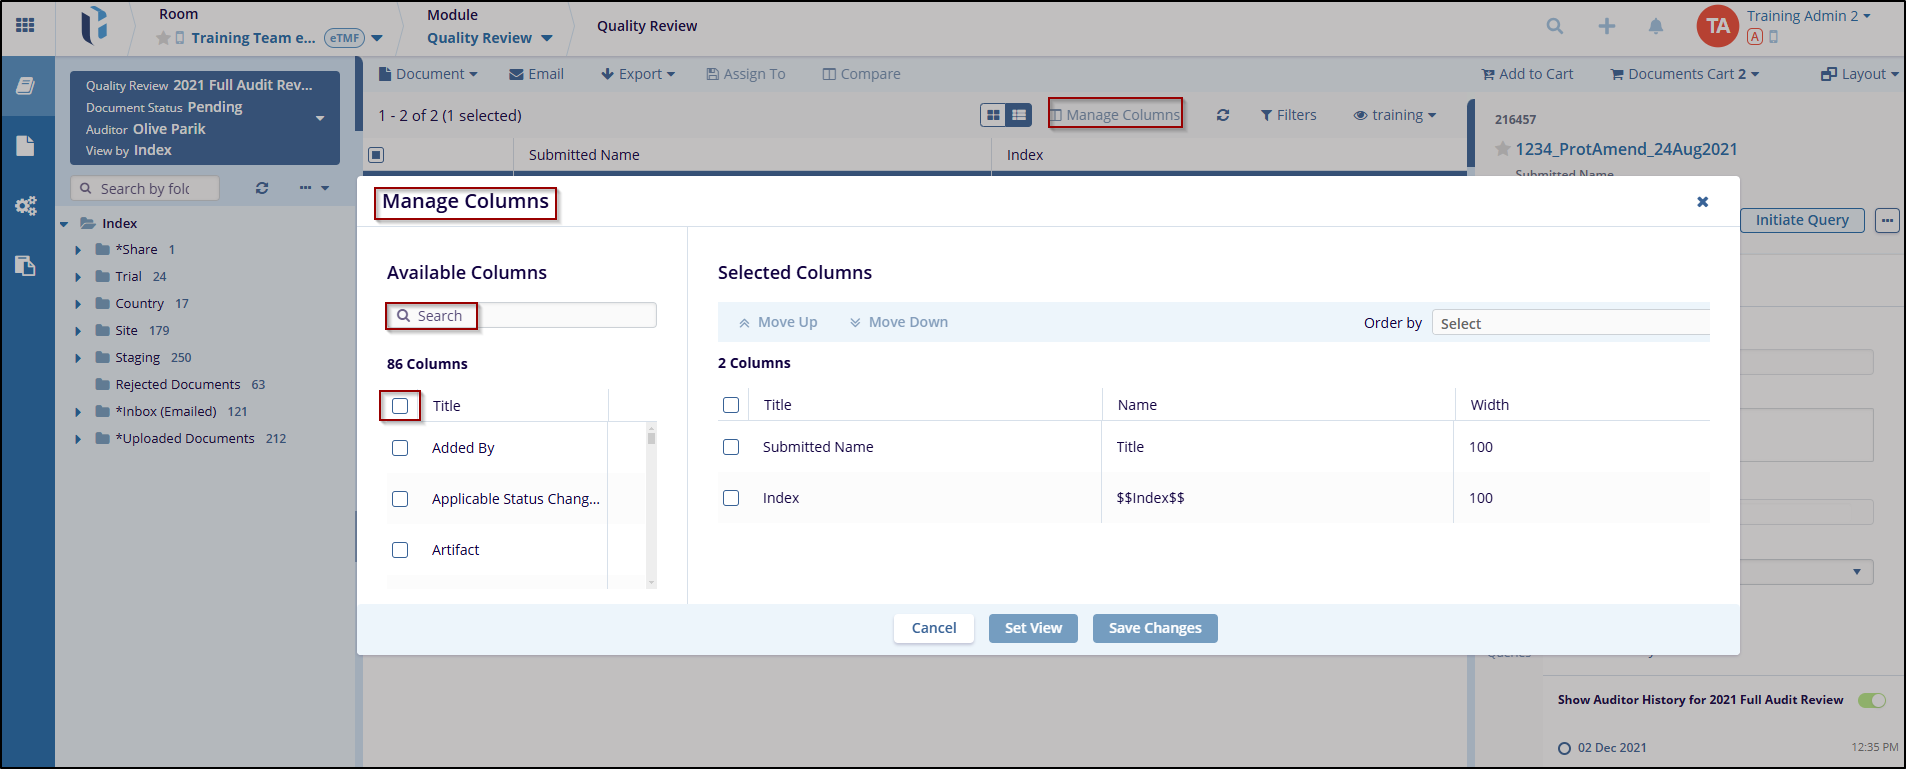
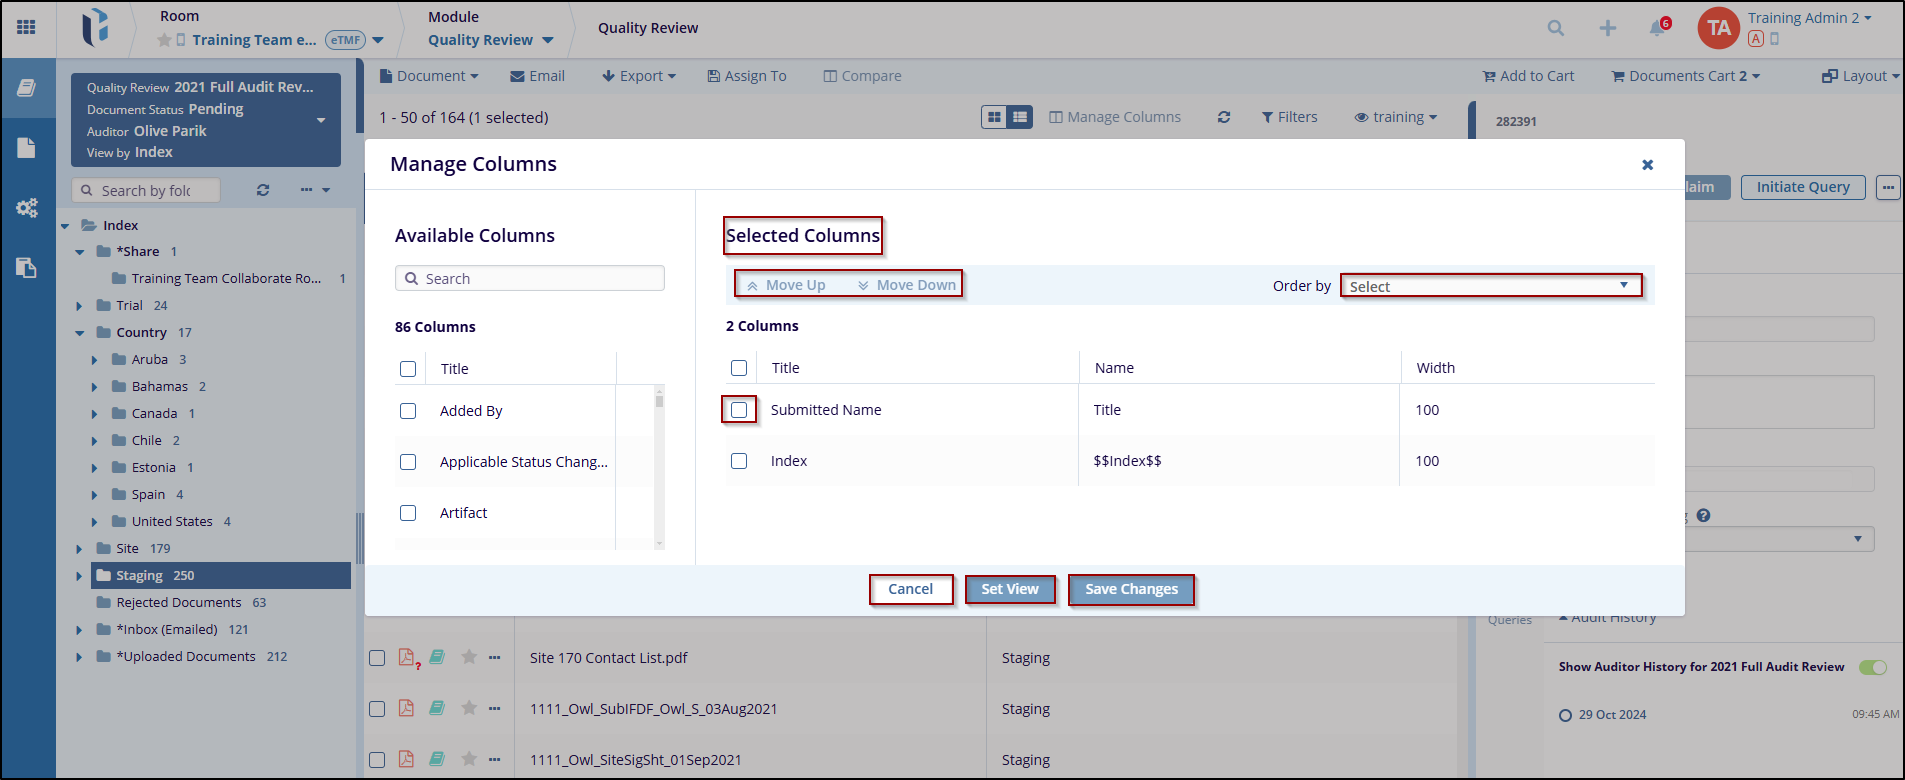
- In the Selected Columns section, the user can use the Move Up and Move Down buttons to reorder the columns in the selected list. For each selected column, the user can see its Title, Name, and Width.
- Use the Order by dropdown menu to select a column for sorting the data. Choose whether the user wants the sorting to be Ascending or Descending.
- After customizing the columns, click on Save Changes to apply the settings or
the user can click Set View to apply and see the updated view. If the user
wants to discard the changes, click on the Cancel button.
- Once the changes are applied, the user can click the Refresh icon to refresh
the Columns.
