Index
The index dropdown arrow allows the user to take actions to Modify Index and Export Index.
To modify the index, follow these steps:
- Click the dropdown arrow next to search by folder on the left side of the screen, this will open a list of available folders, or click the search bar and the user can enter the required folder name or sub-folder name for a quick search.
- To refresh click the Refresh icon next to the search bar.
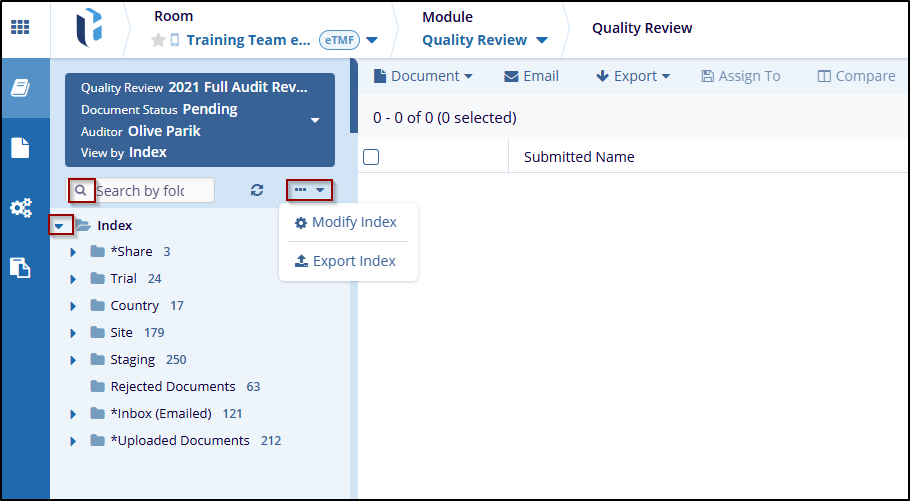
- Click on the three-dot menu and select the Modify Index option from the dropdown options, a new window will open, where the user can see folders have lock icons that are restricted folders that cannot be edited, and some are not locked folders that can be edited by selecting the Pencil icon.
- Click on the dropdown arrow and the + icon will open a list of available subfolders.
- To delete the folder, click the delete icon next to the pencil icon.
- To apply the changes, click on the Save button or click on the Cancel button to discard the changes.
-

To export the index, follow these steps:
- Select the Export Index from the Index dropdown to open a new window with available options Export Options and Select Metadata Fields.
- By default, the Export option is selected, with the following options:
- Export Index: select this option to export the entire index.
- Export Index Outline: choose this if only need the structure of the index, without detailed folder data.
- The default format in the dropdown is HTML and the users can also select other formats like Microsoft Word and Microsoft Excel while exporting.
- The user can adjust additional options based on requirements:
- Export Empty Folders: select this option if want the folders with no information in the export.
- Export Empty Folders Only: this option will only export the empty folders.
- Include Unpublished Documents: select this option if unpublished documents are to be included in the export.
- Include System Folders: select this option if wish to include system folders
in the export as well.
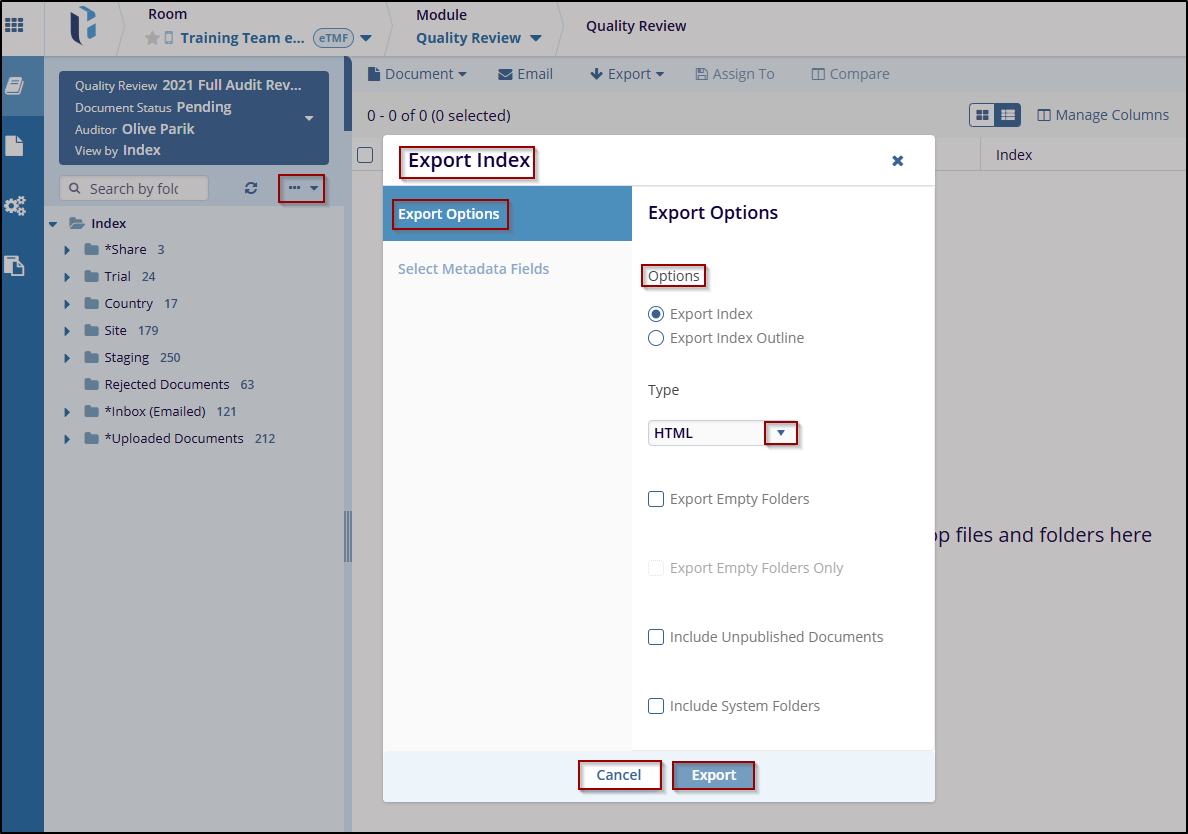
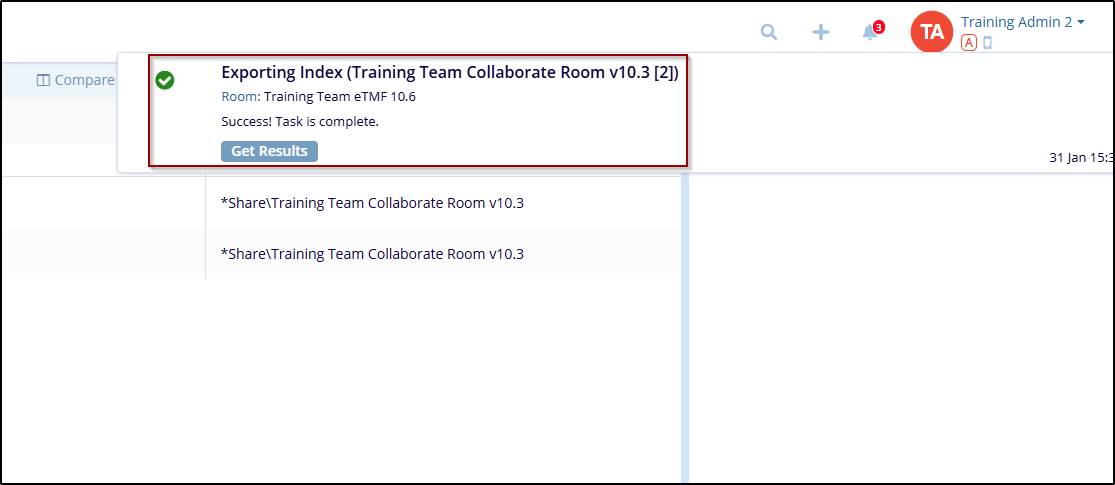
- After selecting all required options, click on Export to get the result or click on Cancel to exit the dialog without making any changes.
- Once clicked on Export, a message is displayed on the screen ‘Success! Task is complete’.