
Steps to perform action on Pending, Respond, and Resolve Queries
- Click on Pending to filter and display only queries with the status Pending.
- The grid view on the right will update to show all queries currently marked as Pending.
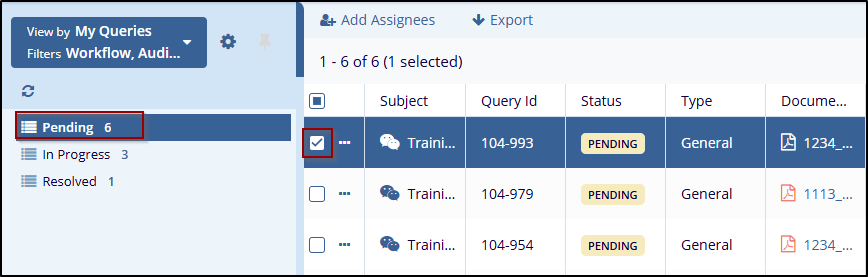
- From the list of pending queries, click on the checkbox next to a query or click directly on the query row to select it.
- The Metadata Panel on the right-hand side will open, displaying detailed information about the selected query.
- In the Metadata Panel, review the following:
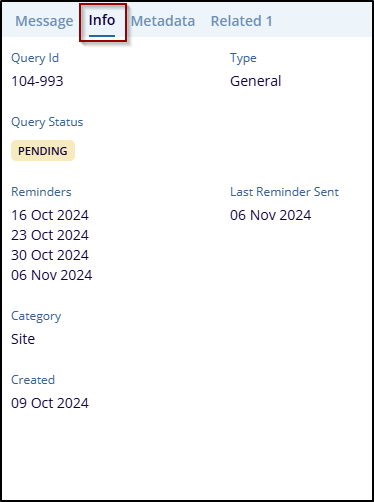
- Query ID and Status
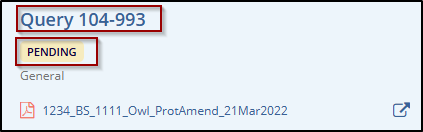
- Document associated with the query.

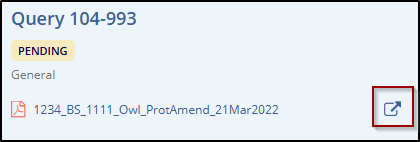
- Go to Document icon: This helps the user to open the document in the document
section that is attached to the query. (for more check eTMF, Document section.)
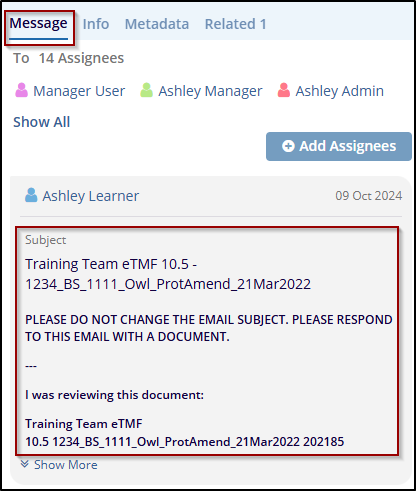
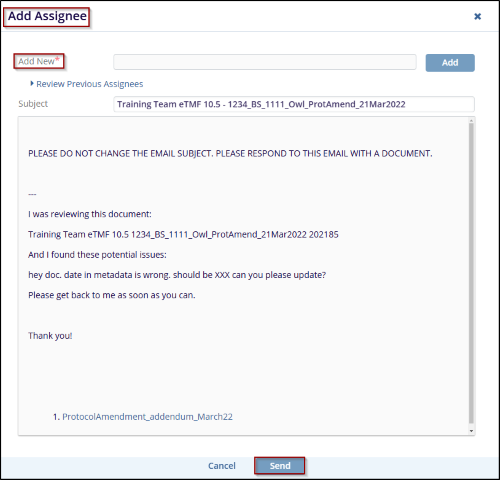
- Add Assignees will add users that are responsible for resolving the query.
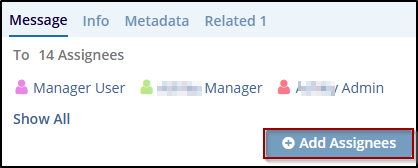
- Message section, which contains the query’s subject and instructions.
- Info section provides general details about the query, such as the query ID, status,
and creation date. It often includes the most relevant metadata related to the
particular case or record.
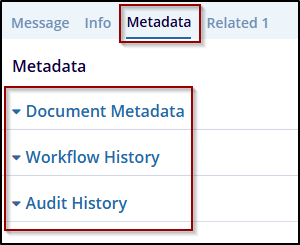
- Metadata This section refers to information regarding the query, such as Document
Metadata, Workflow History, and Audit History. This includes data that provide
additional context to the query.
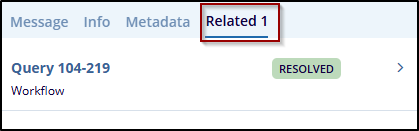
- Related is used to reference related queries that are connected to the main query. This could include relationships with other queries and tasks that are relevant for follow-up.
- In the Assignees section, the user will see a list of users assigned to resolve the query.
- Click the Add Assignee, a window that will pop up, enter the name or email of the
person who needs to be added, and click on Send to send the response. (For more
check the Add Assignees section available in the Top menu bar).
- Based on the query message and requirements, perform the necessary action, such as:
- Reviewing the associated document.
- If required, respond.
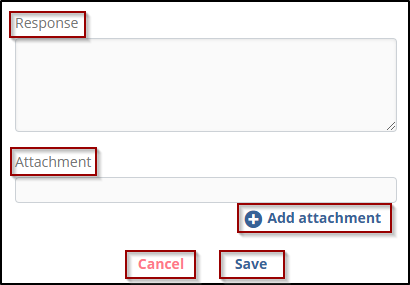
- Click on the Respond button at the bottom, and a Response window will pop up.
- The user can type a message, attach a file, and click on the Save button to
submit the response or click on the Cancel button to discard the response.
- Once the initial review is complete, the status of the query changes to In Progress to indicate that work is actively being done on it.
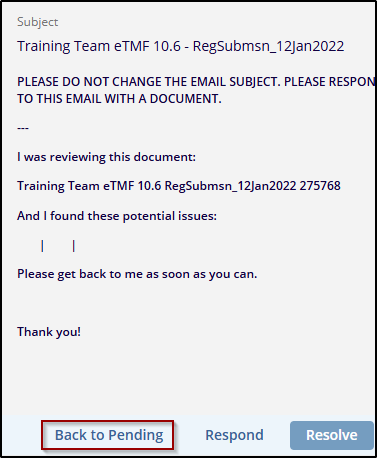
- After completing the required action, respond to the query in the Message section
and attach the necessary supporting documents, the query will be In Progress folder.
If a response is not provided, to the same message user can revert to back to
Pending by clicking on the Back to Pending button.
- Click on the Resolve button to update the query status, Resolve Query window will pop up.
- Select Resolution as Resolve and add comments to the same query.

- Click on the Resolve button to save the response and mark the query as Resolved, indicating that no further action is required.
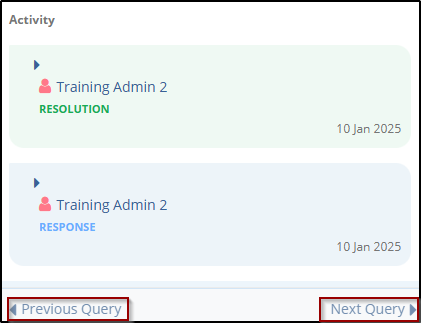
- Use the Previous Query or Next Query buttons to move between queries
if there are multiple pending or in-progress queries.
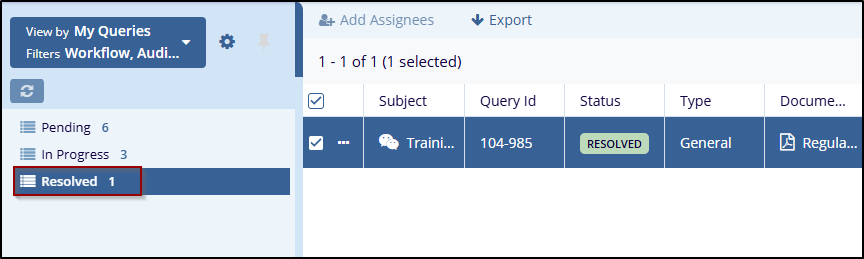
Note: Once the query has been fully addressed, the same query will be updated to Resolved’ status.